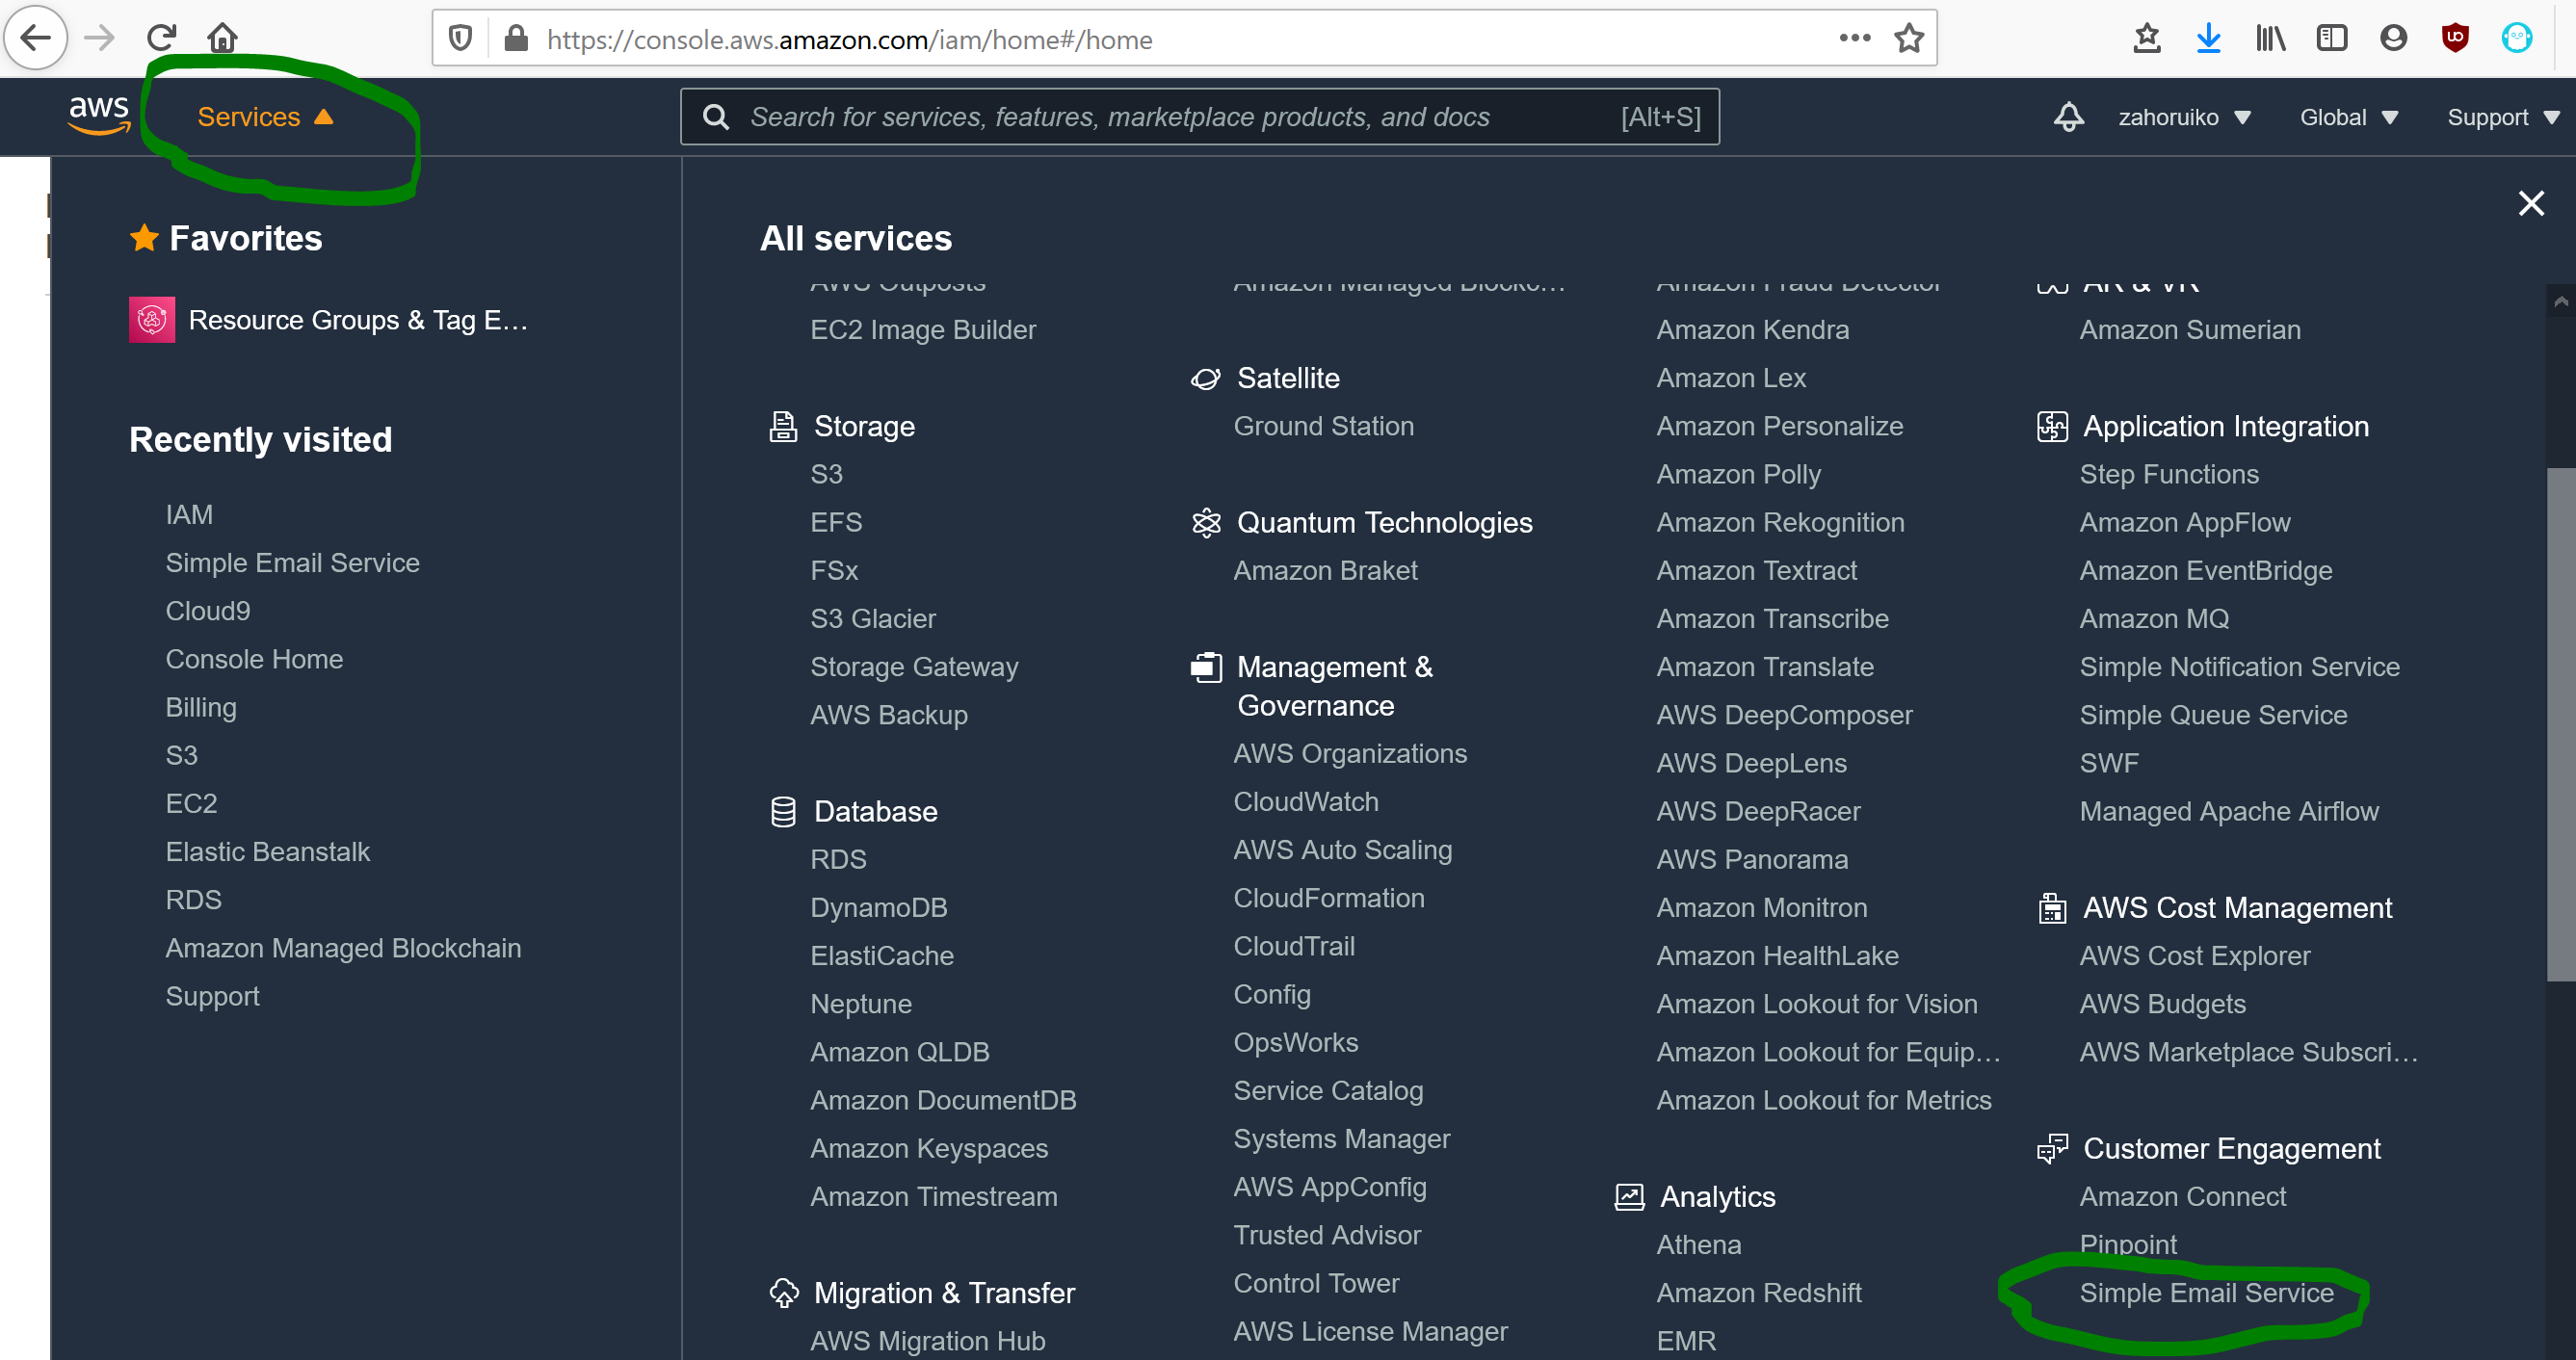
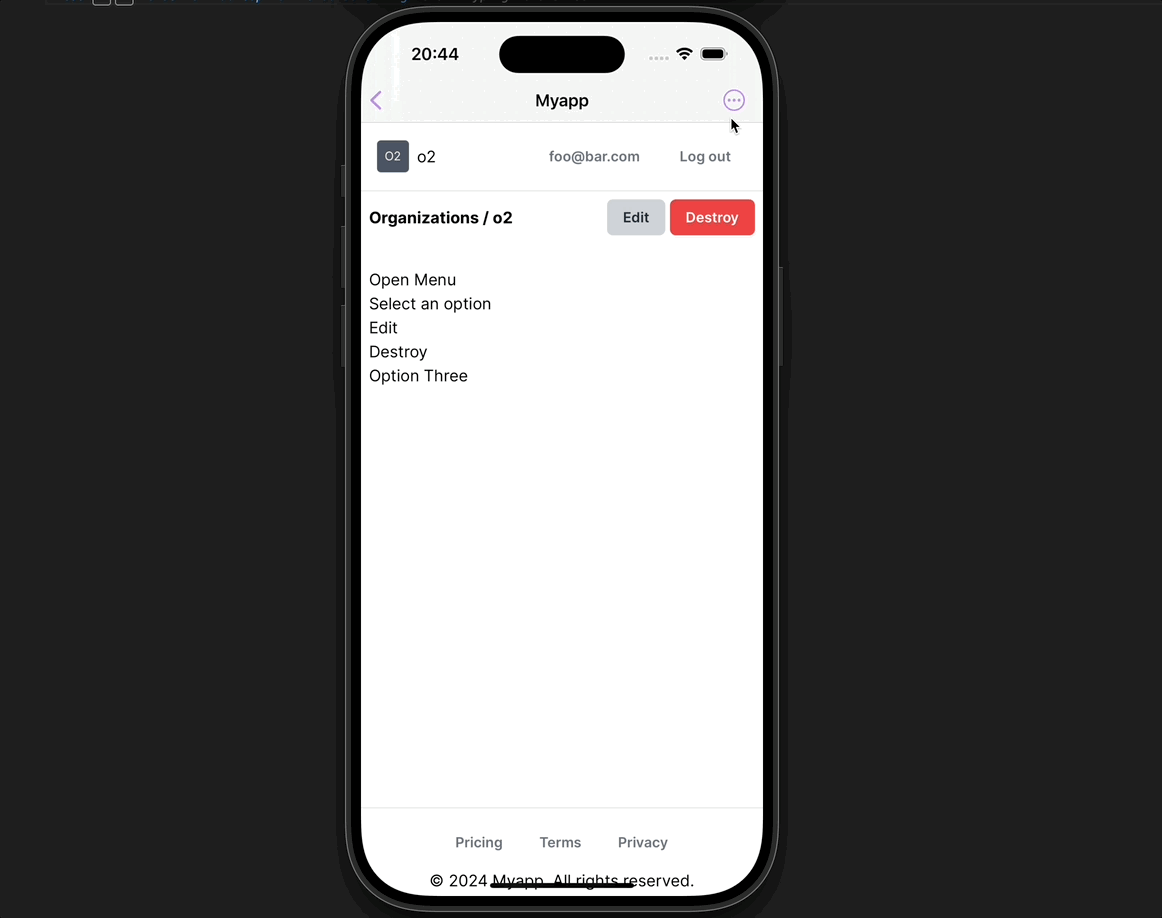
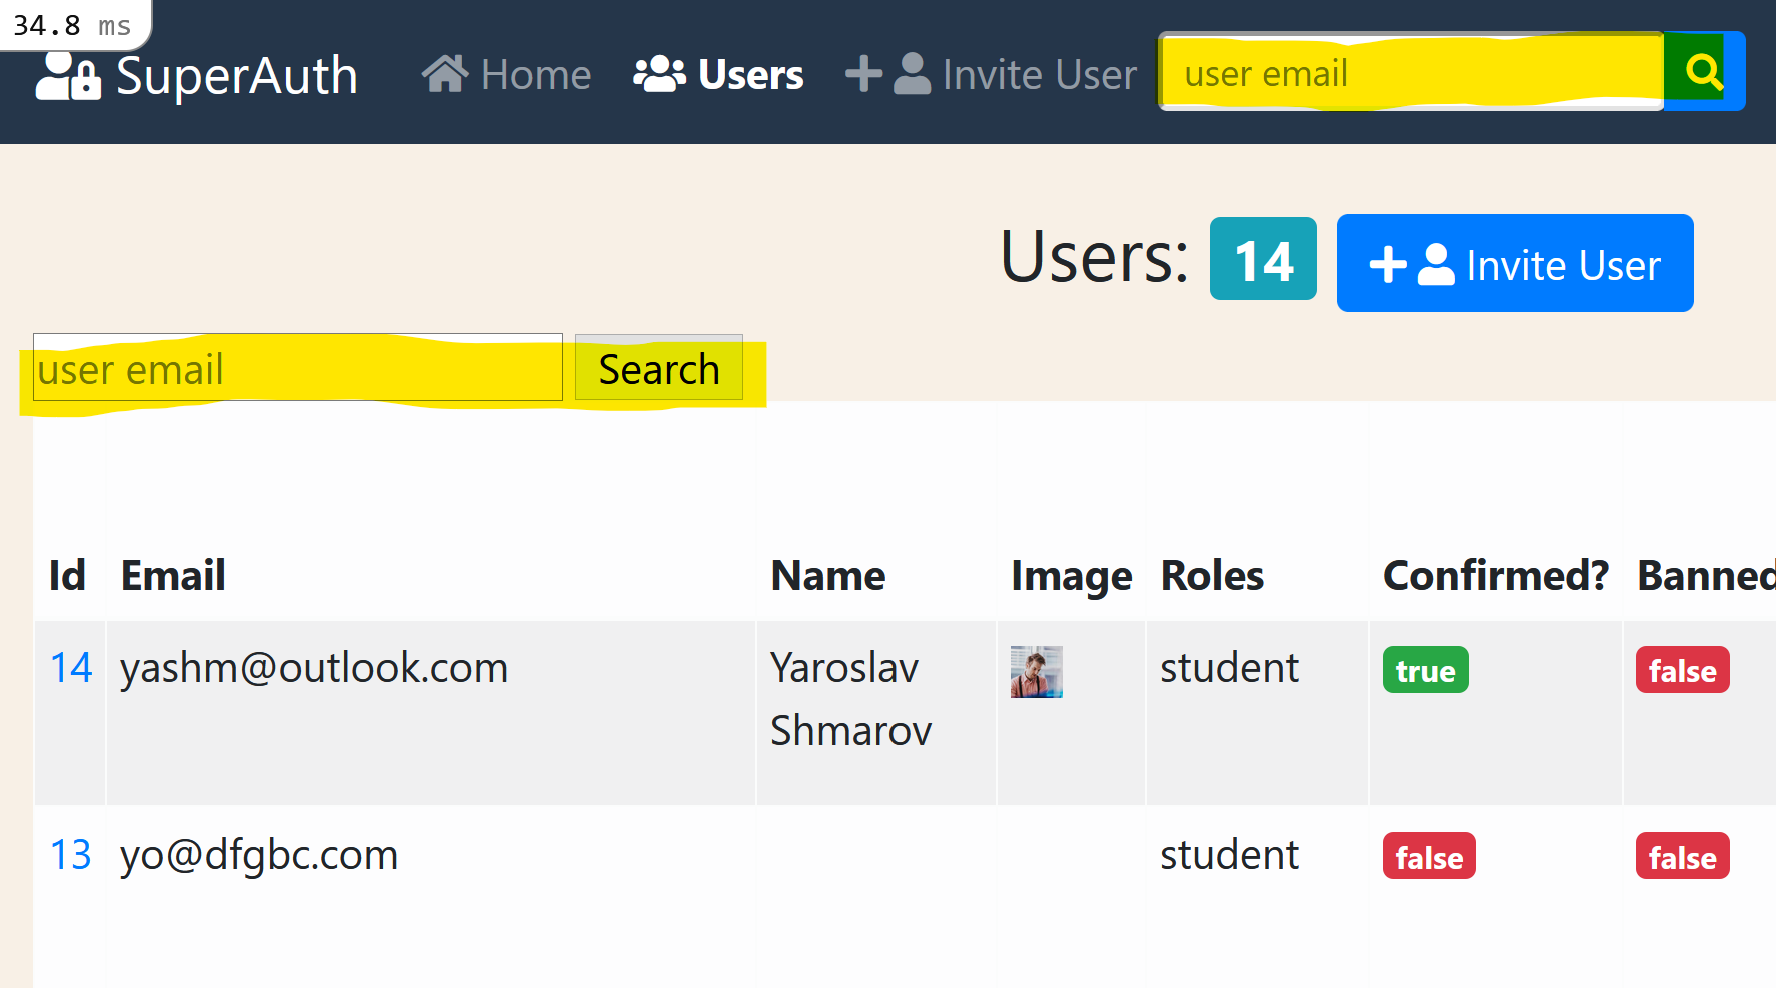
< navigation link, page title, or action buttons.
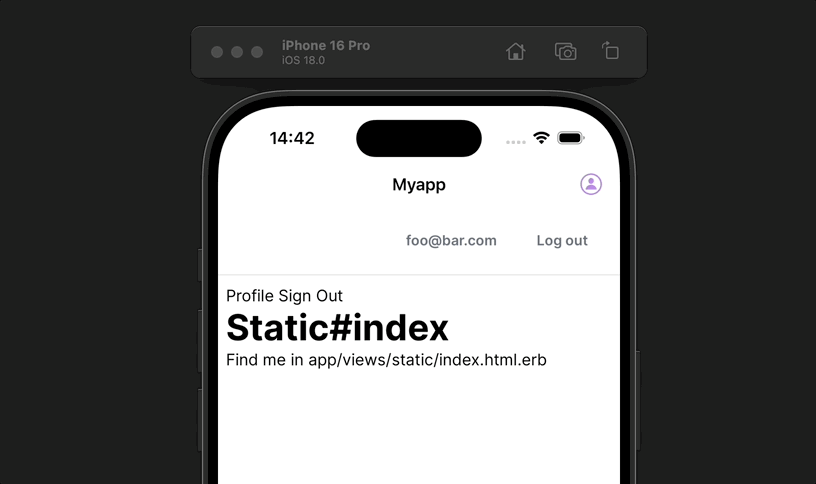
UIMenu is a component that lets you open a small native dropdown:
You can add a UIMenu using Hotwire Native Bridge.
First, add the Bridge component to your Hotwire Native iOS app:
// NavComponent.swift
import HotwireNative
import UIKit


final class NavComponent: BridgeComponent {
    override class var name: String { "nav" }

    override func onReceive(message: Message) {
        guard let viewController else { return }
        addButton(via: message, to: viewController)
    }

    private var viewController: UIViewController? {
        delegate.destination as? UIViewController
    }

    private func addButton(via message: Message, to viewController: UIViewController) {
        guard let data: MessageData = message.data() else { return }

        let items:[UIAction] = data.items.map { item in
            UIAction(title: item.title, image: UIImage(systemName: item.image)){ (action) in
                // create a hash/dictionary to send the selector for this item
                // back to the webside
                let data = ["selector": item.selector]

                // trigger the callback on 'this.send("connect"...' from the
                // stimulus controller.
                self.reply(to: "connect", with: data)
                //                        ^^^^^^^^^^^
                // this passed the data through to the callback function on the webside
            }
        }

        // build the menu item
        let image = UIImage(systemName: data.image)
        let menu = UIMenu(children: items)
        let menu_item = UIBarButtonItem(image: image, menu: menu)

        if data.side == "right" {
            viewController.navigationItem.rightBarButtonItem = menu_item
        } else {
            viewController.navigationItem.leftBarButtonItem = menu_item
        }
    }
}

private extension NavComponent {
    struct MessageData: Decodable {
        let items: [MenuItem]
        let image: String
        let side: String
        let title: String
    }
    struct MenuItem: Decodable {
        let title: String
        let image: String
        let url: String        // not really used...discard at some point
        let selector: String   // important!  used to signal which menu item was selected
    }

}
Add a Stimulus controller in your Web app:
// app/javascript/controllers/bridge/nav_controller.js
import { BridgeComponent } from "@hotwired/hotwire-native-bridge"

export default class extends BridgeComponent {
  static component = "nav"
  static targets = ["item"]

  connect() {
    super.connect()

    const items = this.itemTargets.map(item => {
      return {
        title: item.innerText,
        image: item.dataset.image || 'none',
        selector: `a[href="${item.getAttribute("href")}"]`,
        url: item.getAttribute("href")
      }
    })


    console.log("items:", items)

    const element = this.bridgeElement
    const title = element.bridgeAttribute("title") || 'menu'
    const side = element.bridgeAttribute("side") || "left"
    const image = element.bridgeAttribute("image") || "none"

    this.send("connect", {items, title, image, side}, (object) => {
      // When this is returned from the Bridge side, the object
      // will be populated with a data attribute, within which is
      // a selector attribute that contains the selector string
      // that identifies which itemTarget we should click.
      document.querySelector(object.data.selector).click()
    })
  }
}
Finally, define links and icons that should appear in UIMenu
<%= tag.div data: { controller: 'bridge--nav', bridge_side: 'right', bridge_image: 'person.circle' } do %>
  <%= link_to 'Profile', edit_user_registration_path, data: { bridge__nav_target: 'item', image: 'person.circle' } %>
  <%= link_to 'Sign Out', destroy_user_session_path, data: { bridge__nav_target: 'item', image: 'return', turbo_method: :delete, turbo: true } %>
<% end %>
Notice that bridge_side can be right or left.
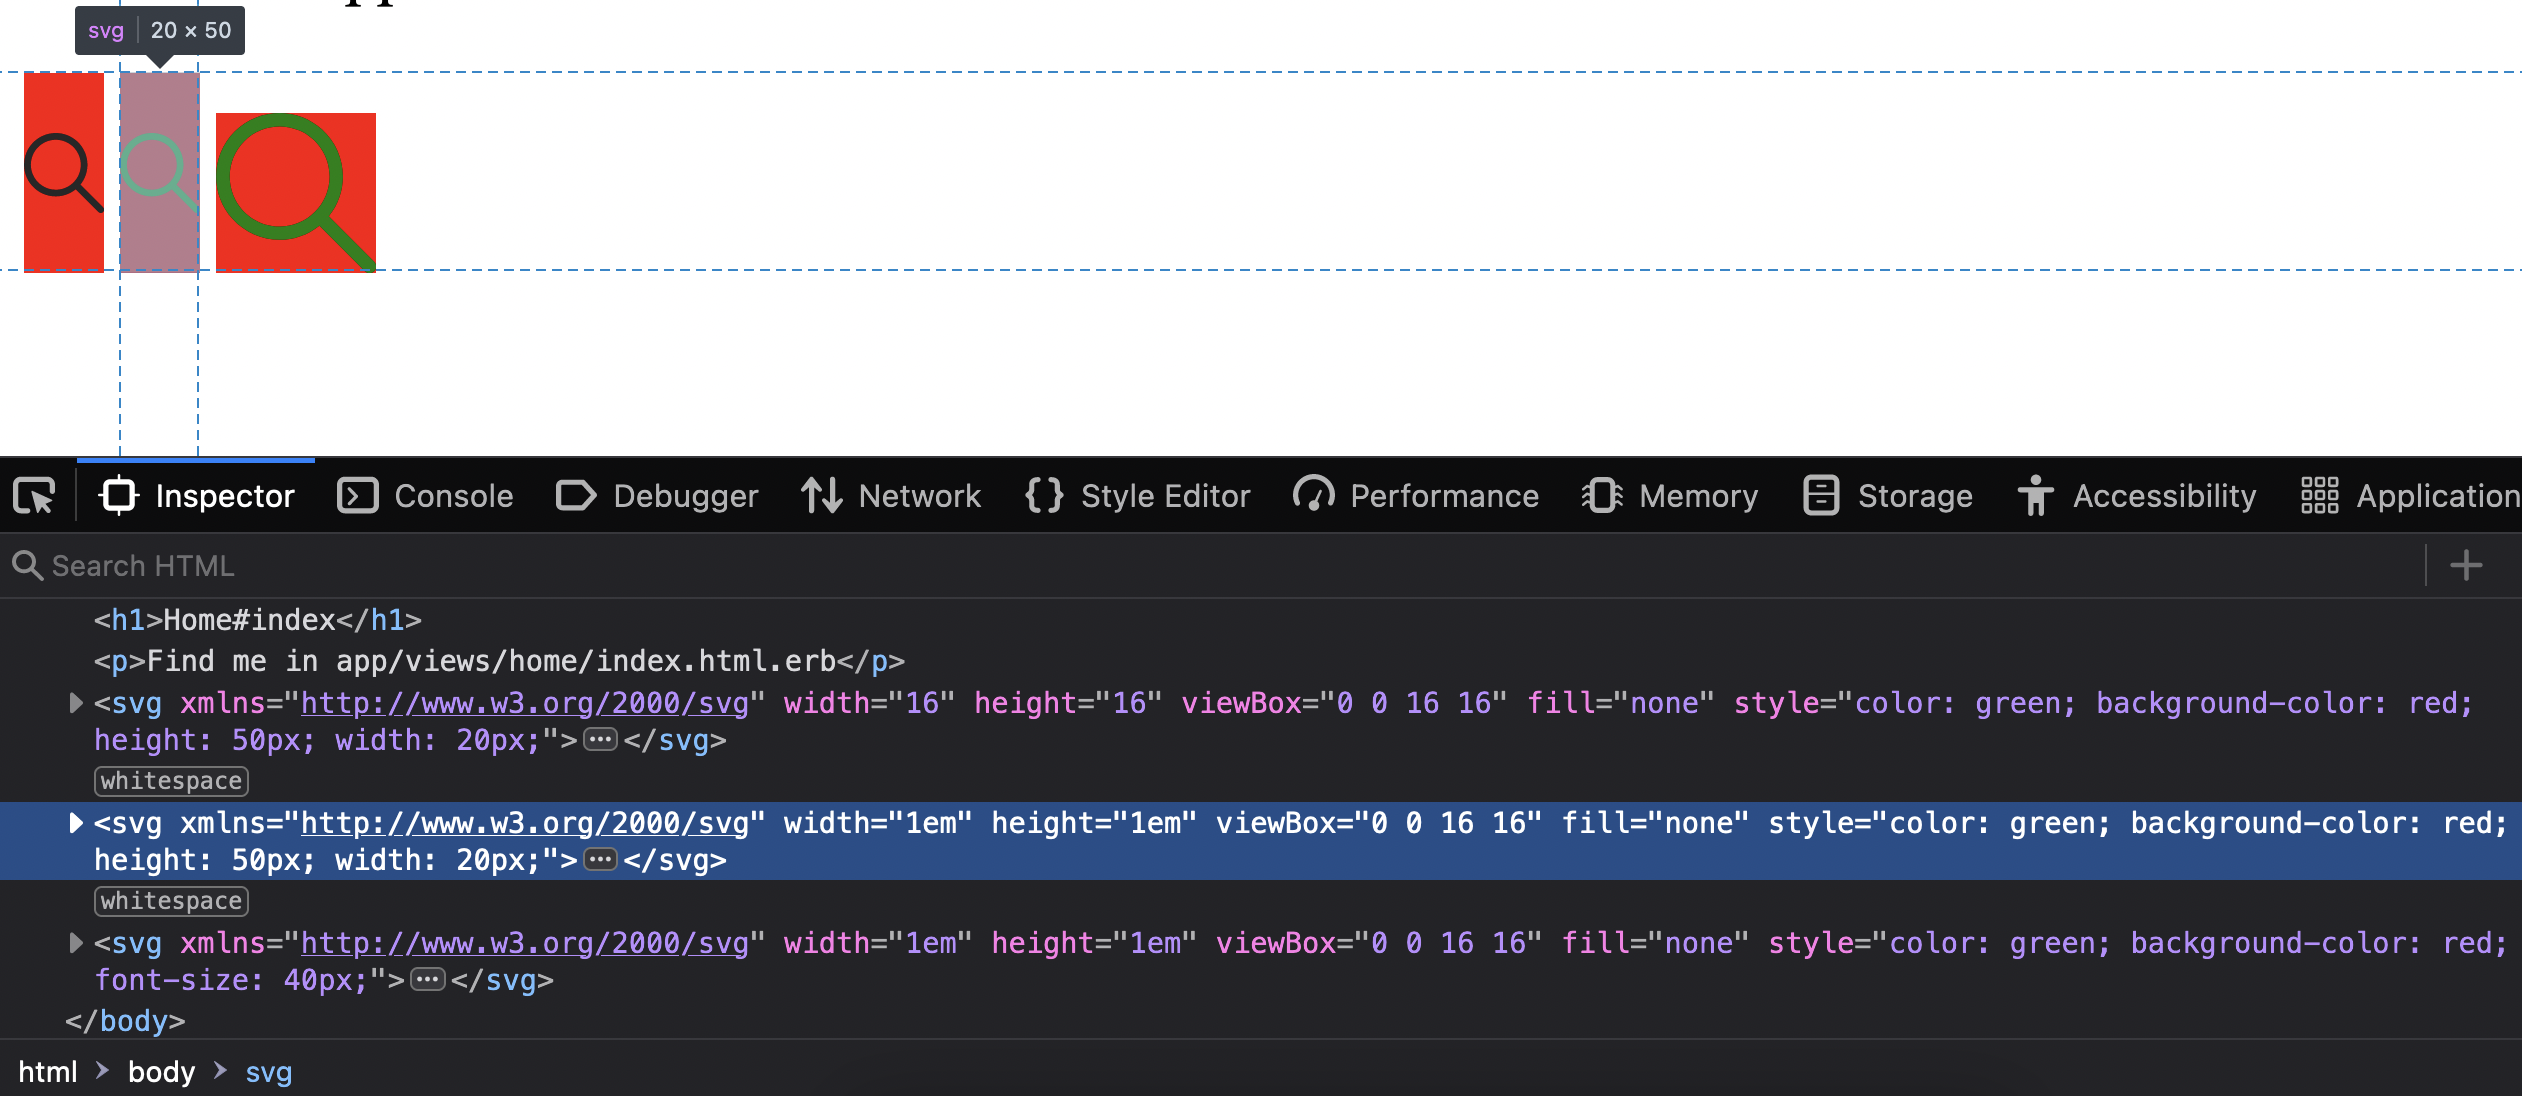
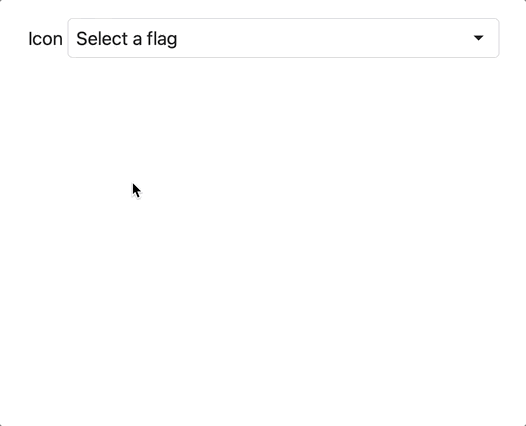
You can lookup icons to use in SF Symbols app.
Credit to beanman for coming up with this solution.
John Pollard also talked about this component in his RailsConf talk.
]]>


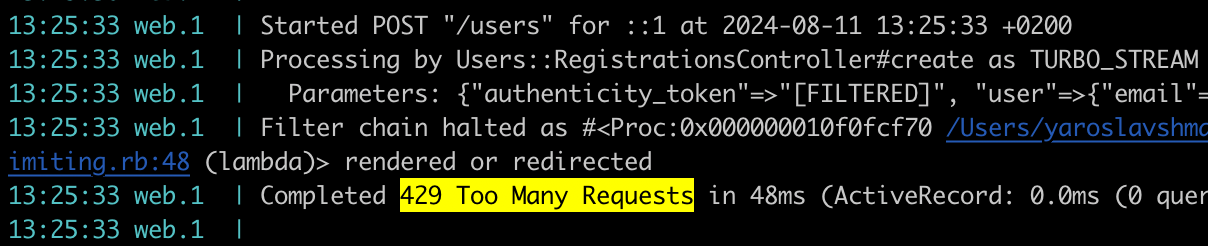
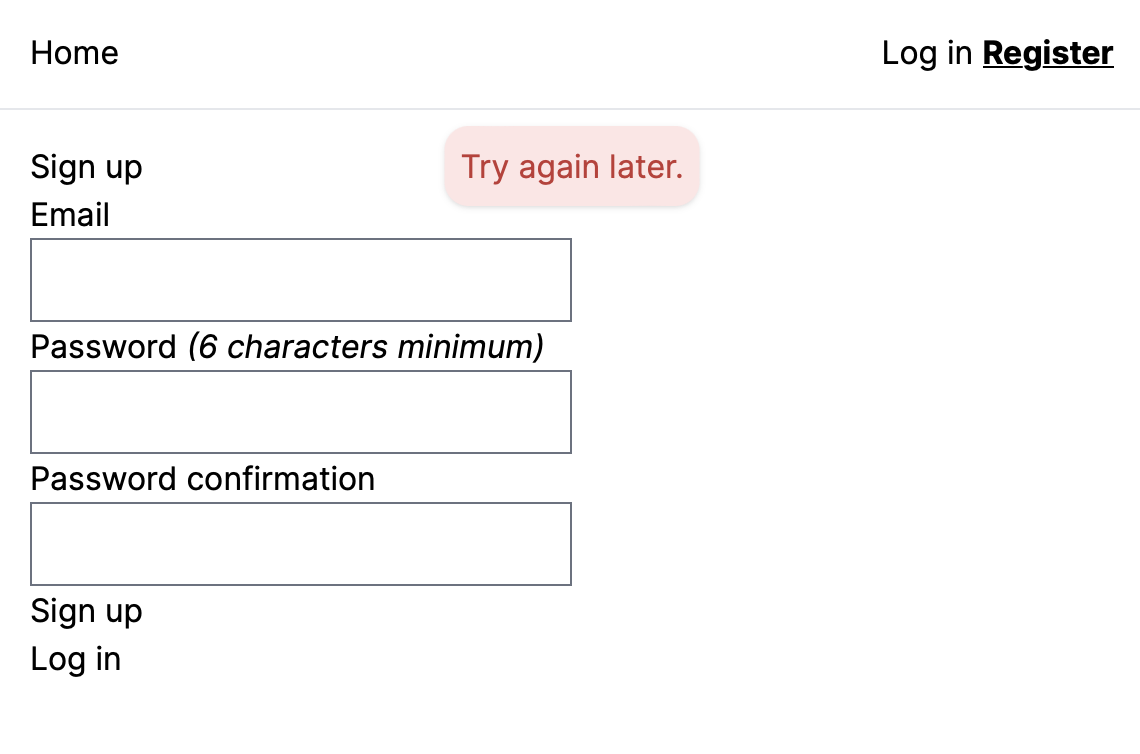


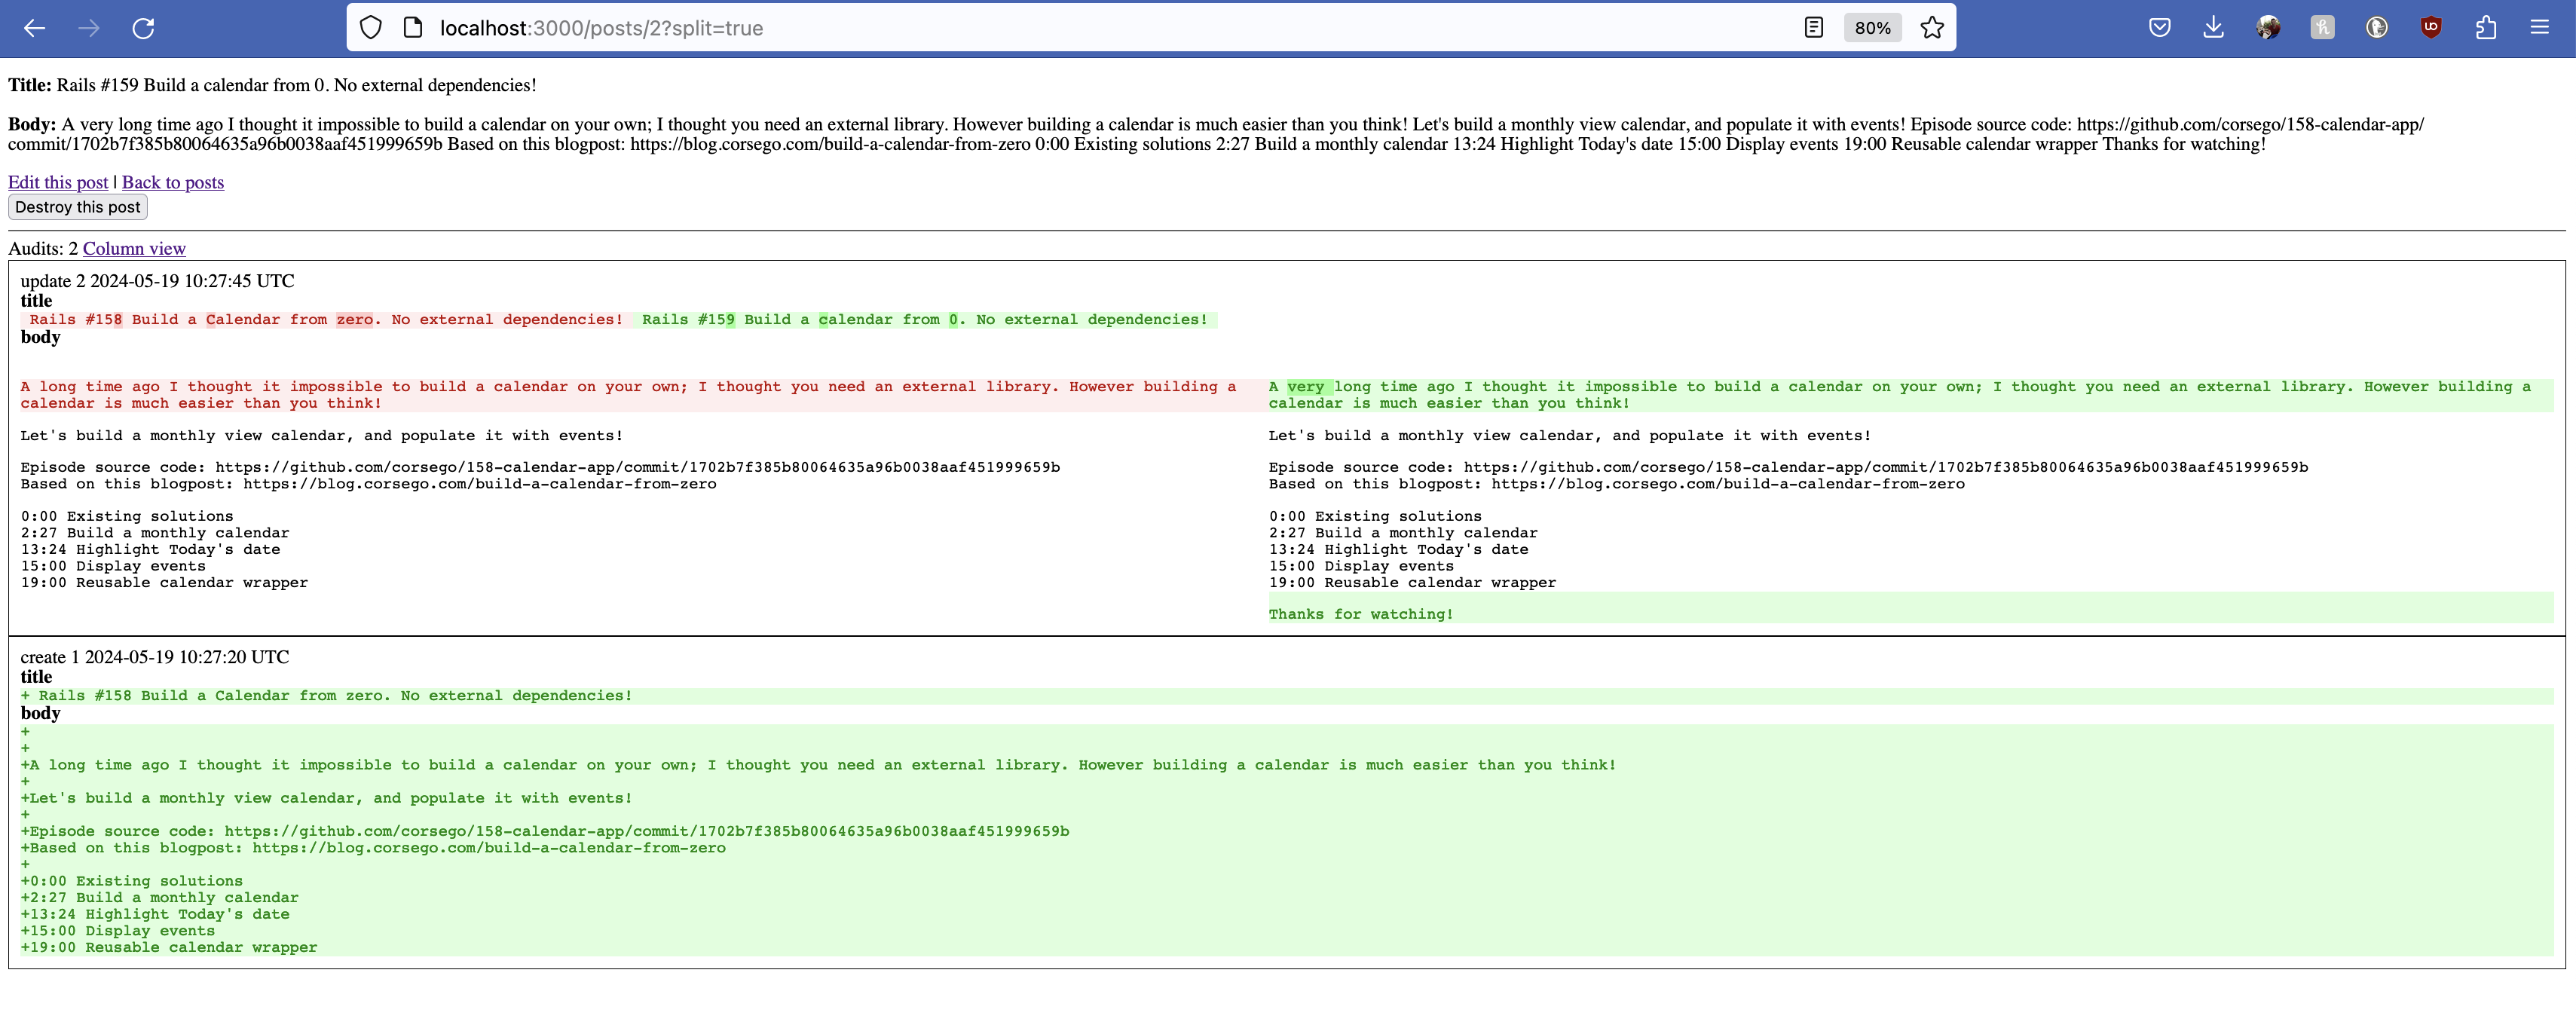


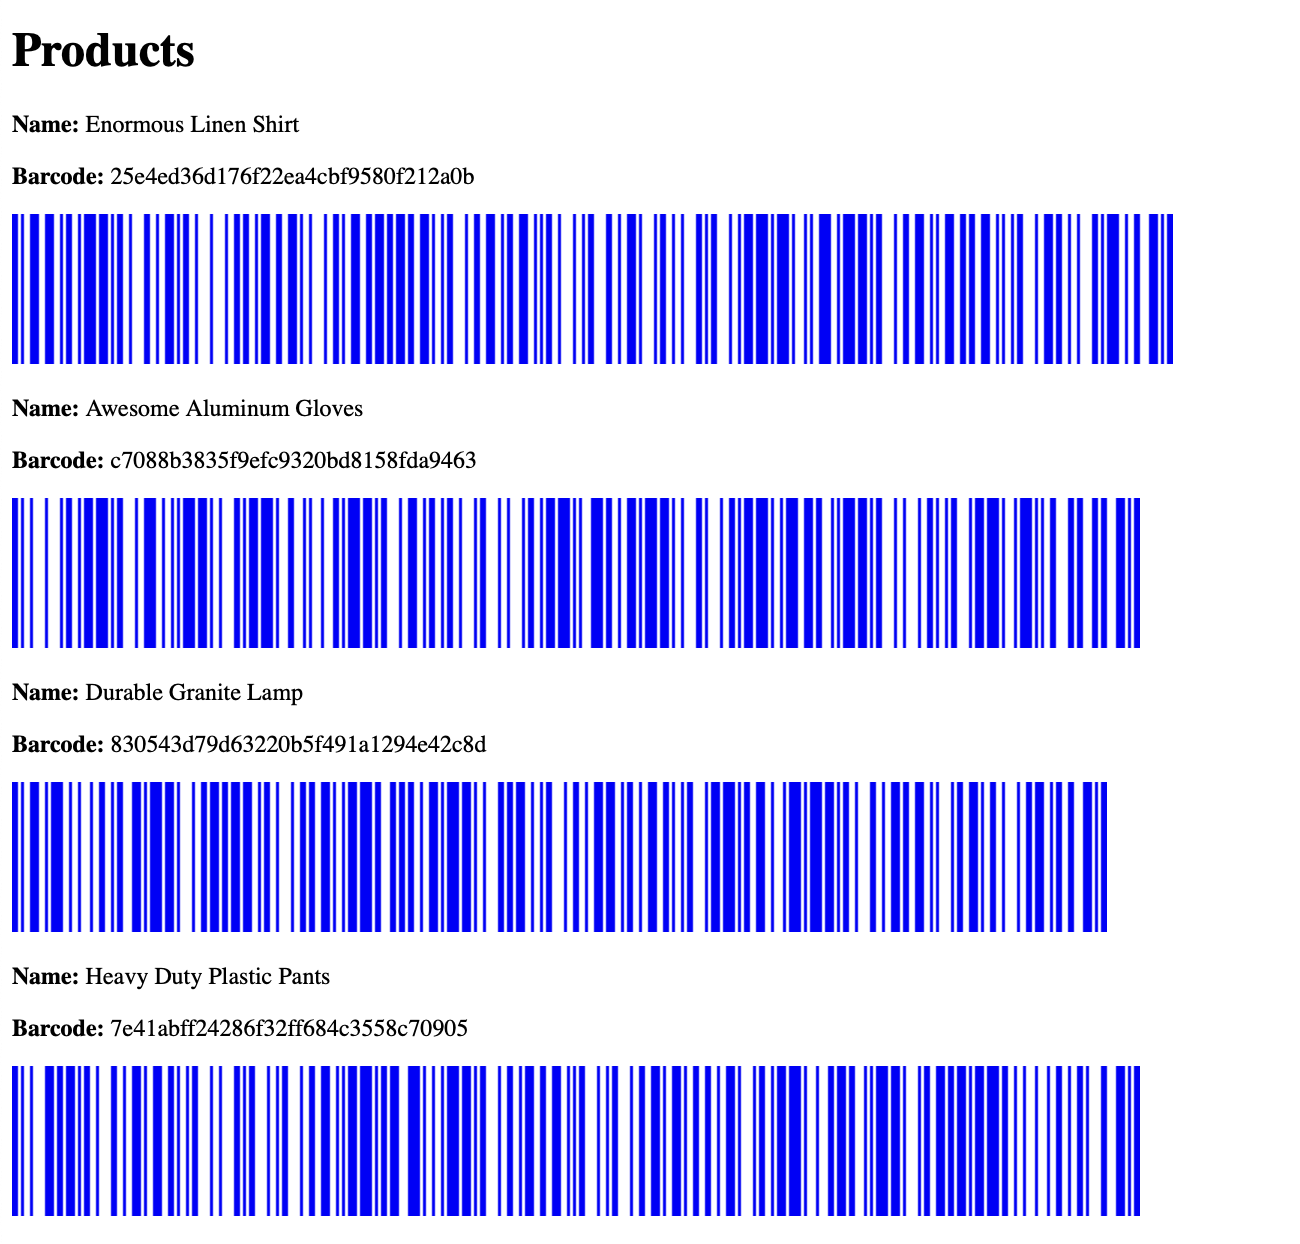


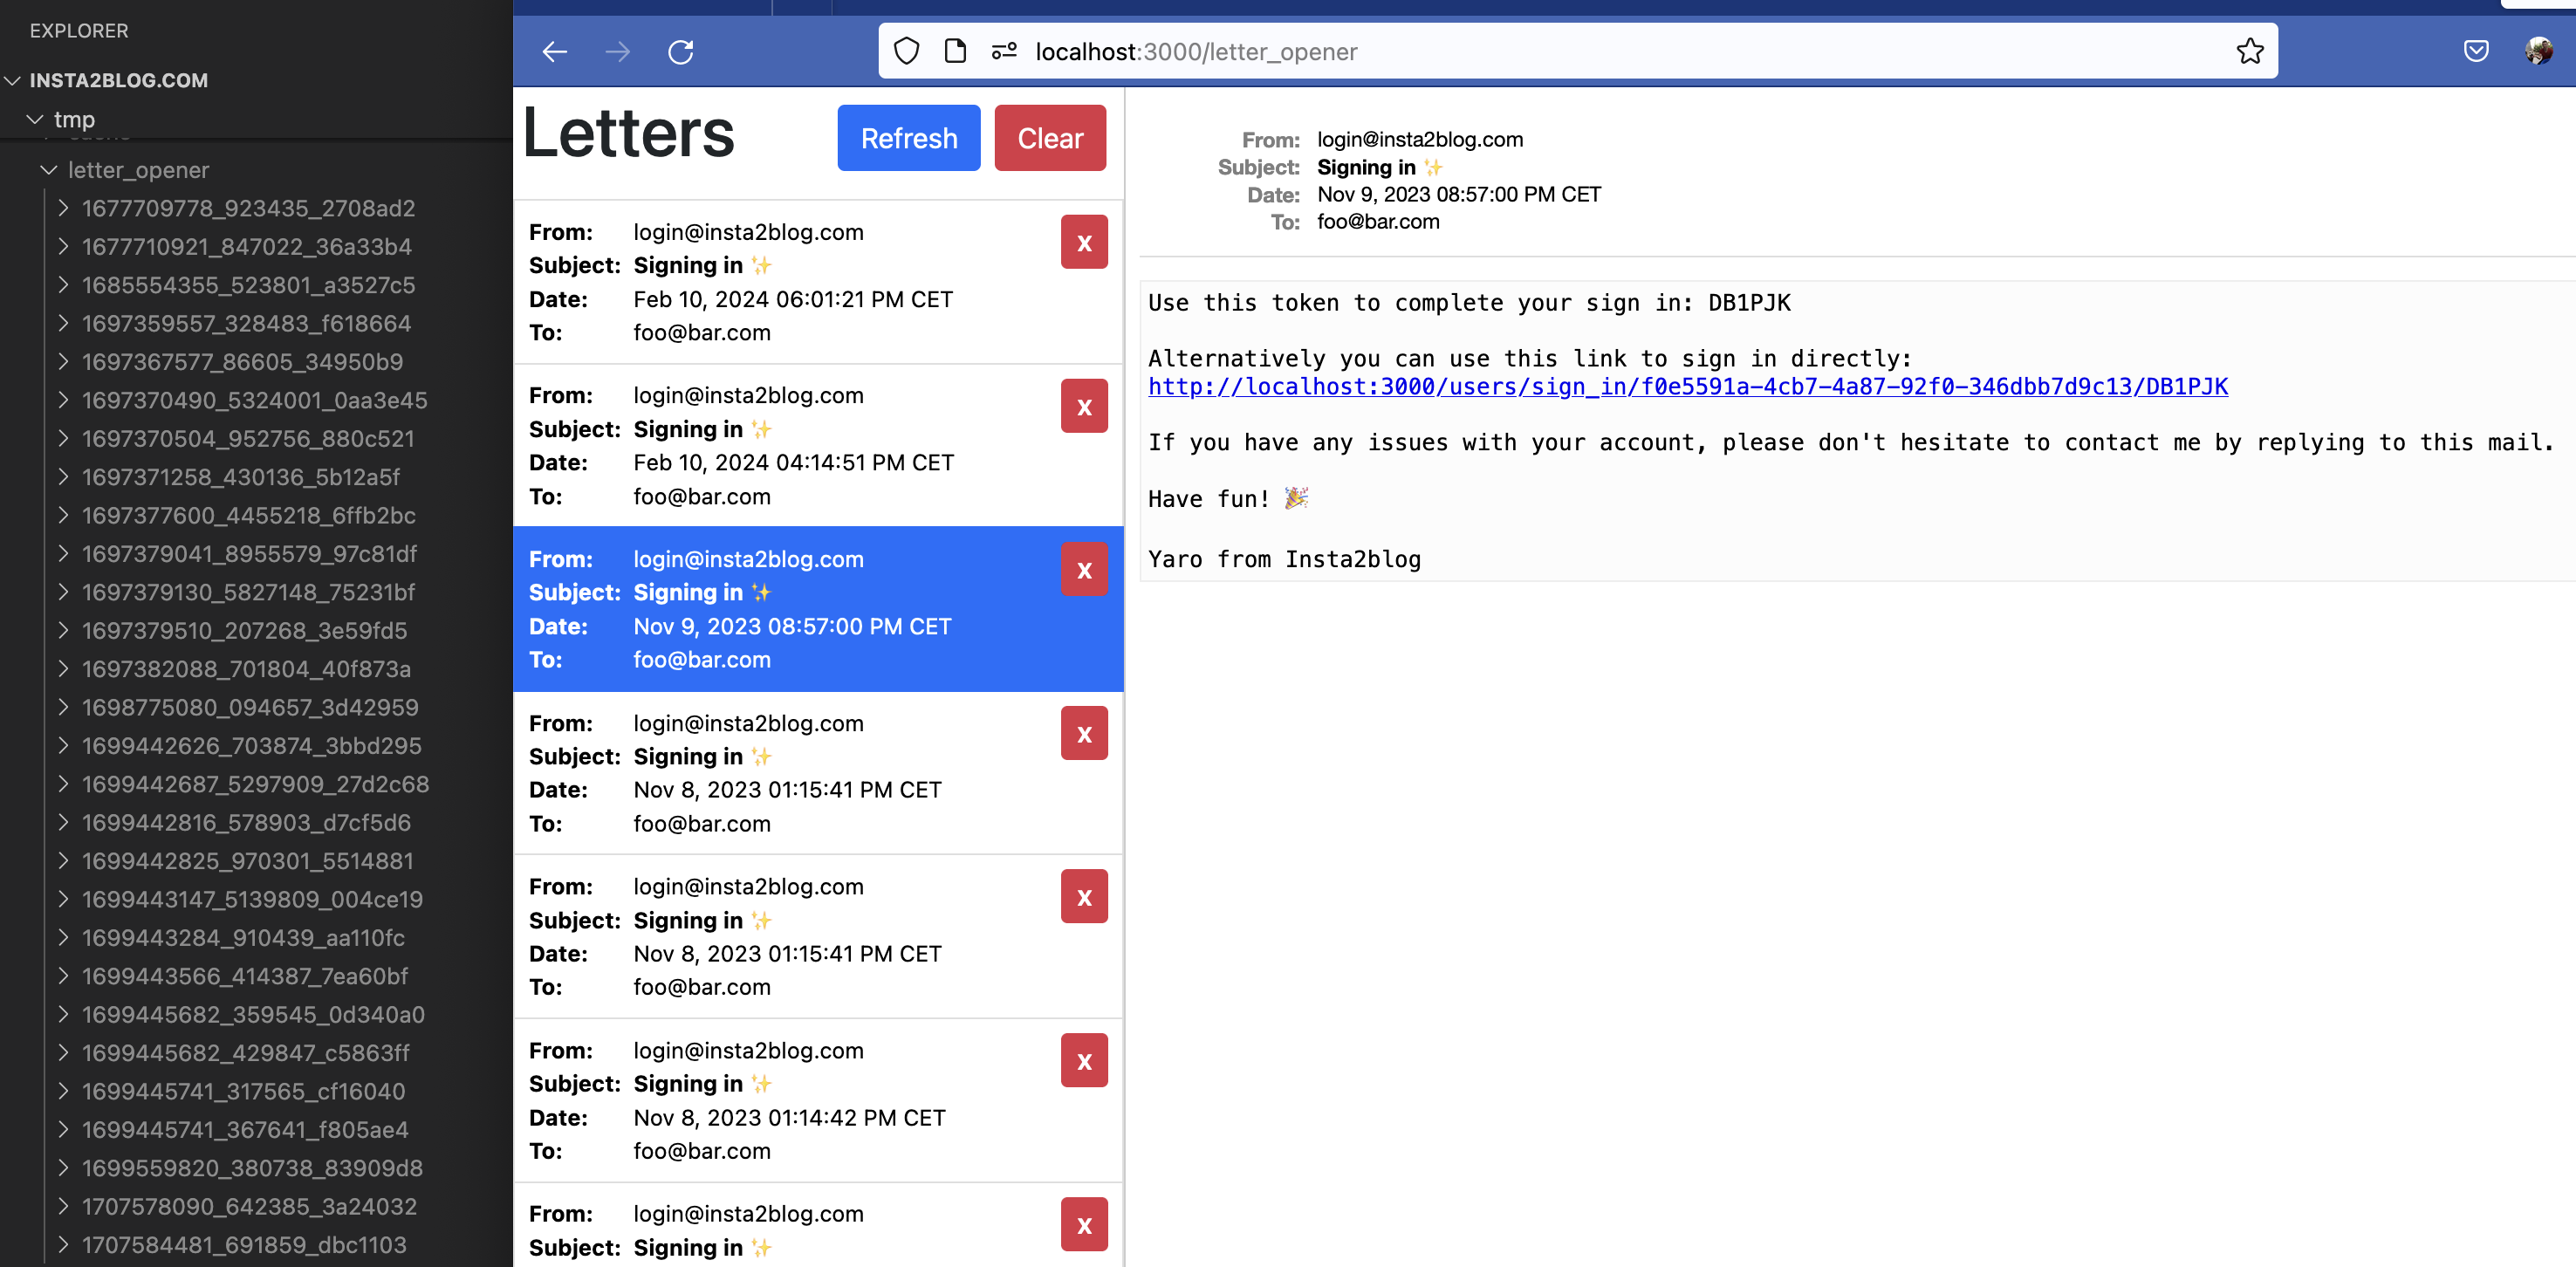


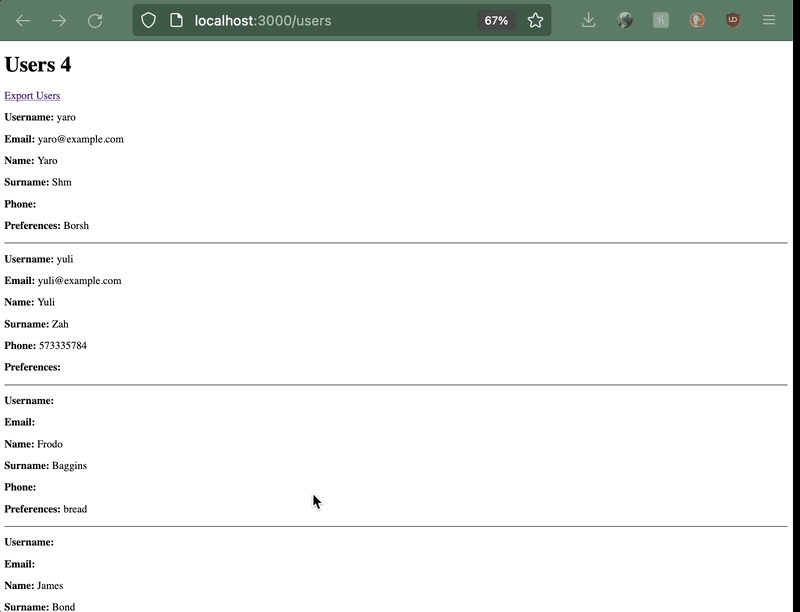


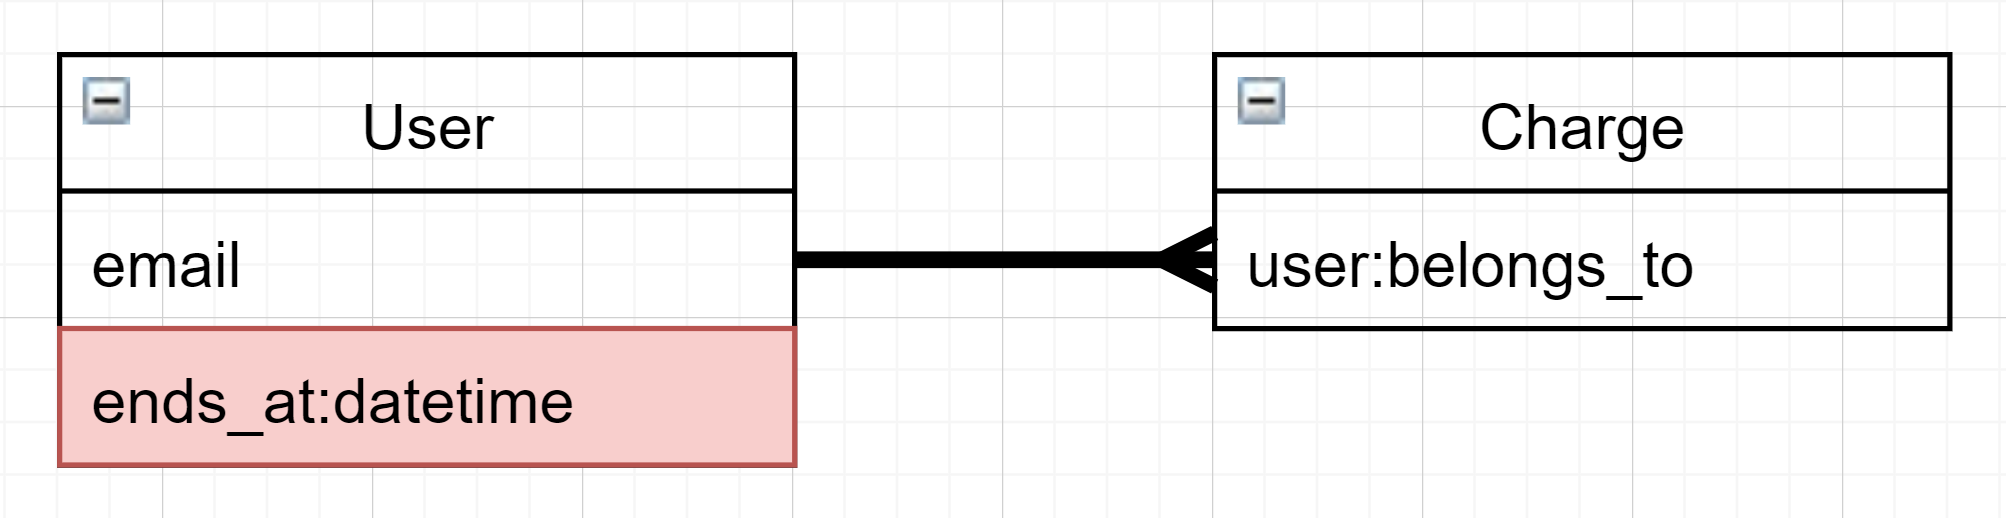
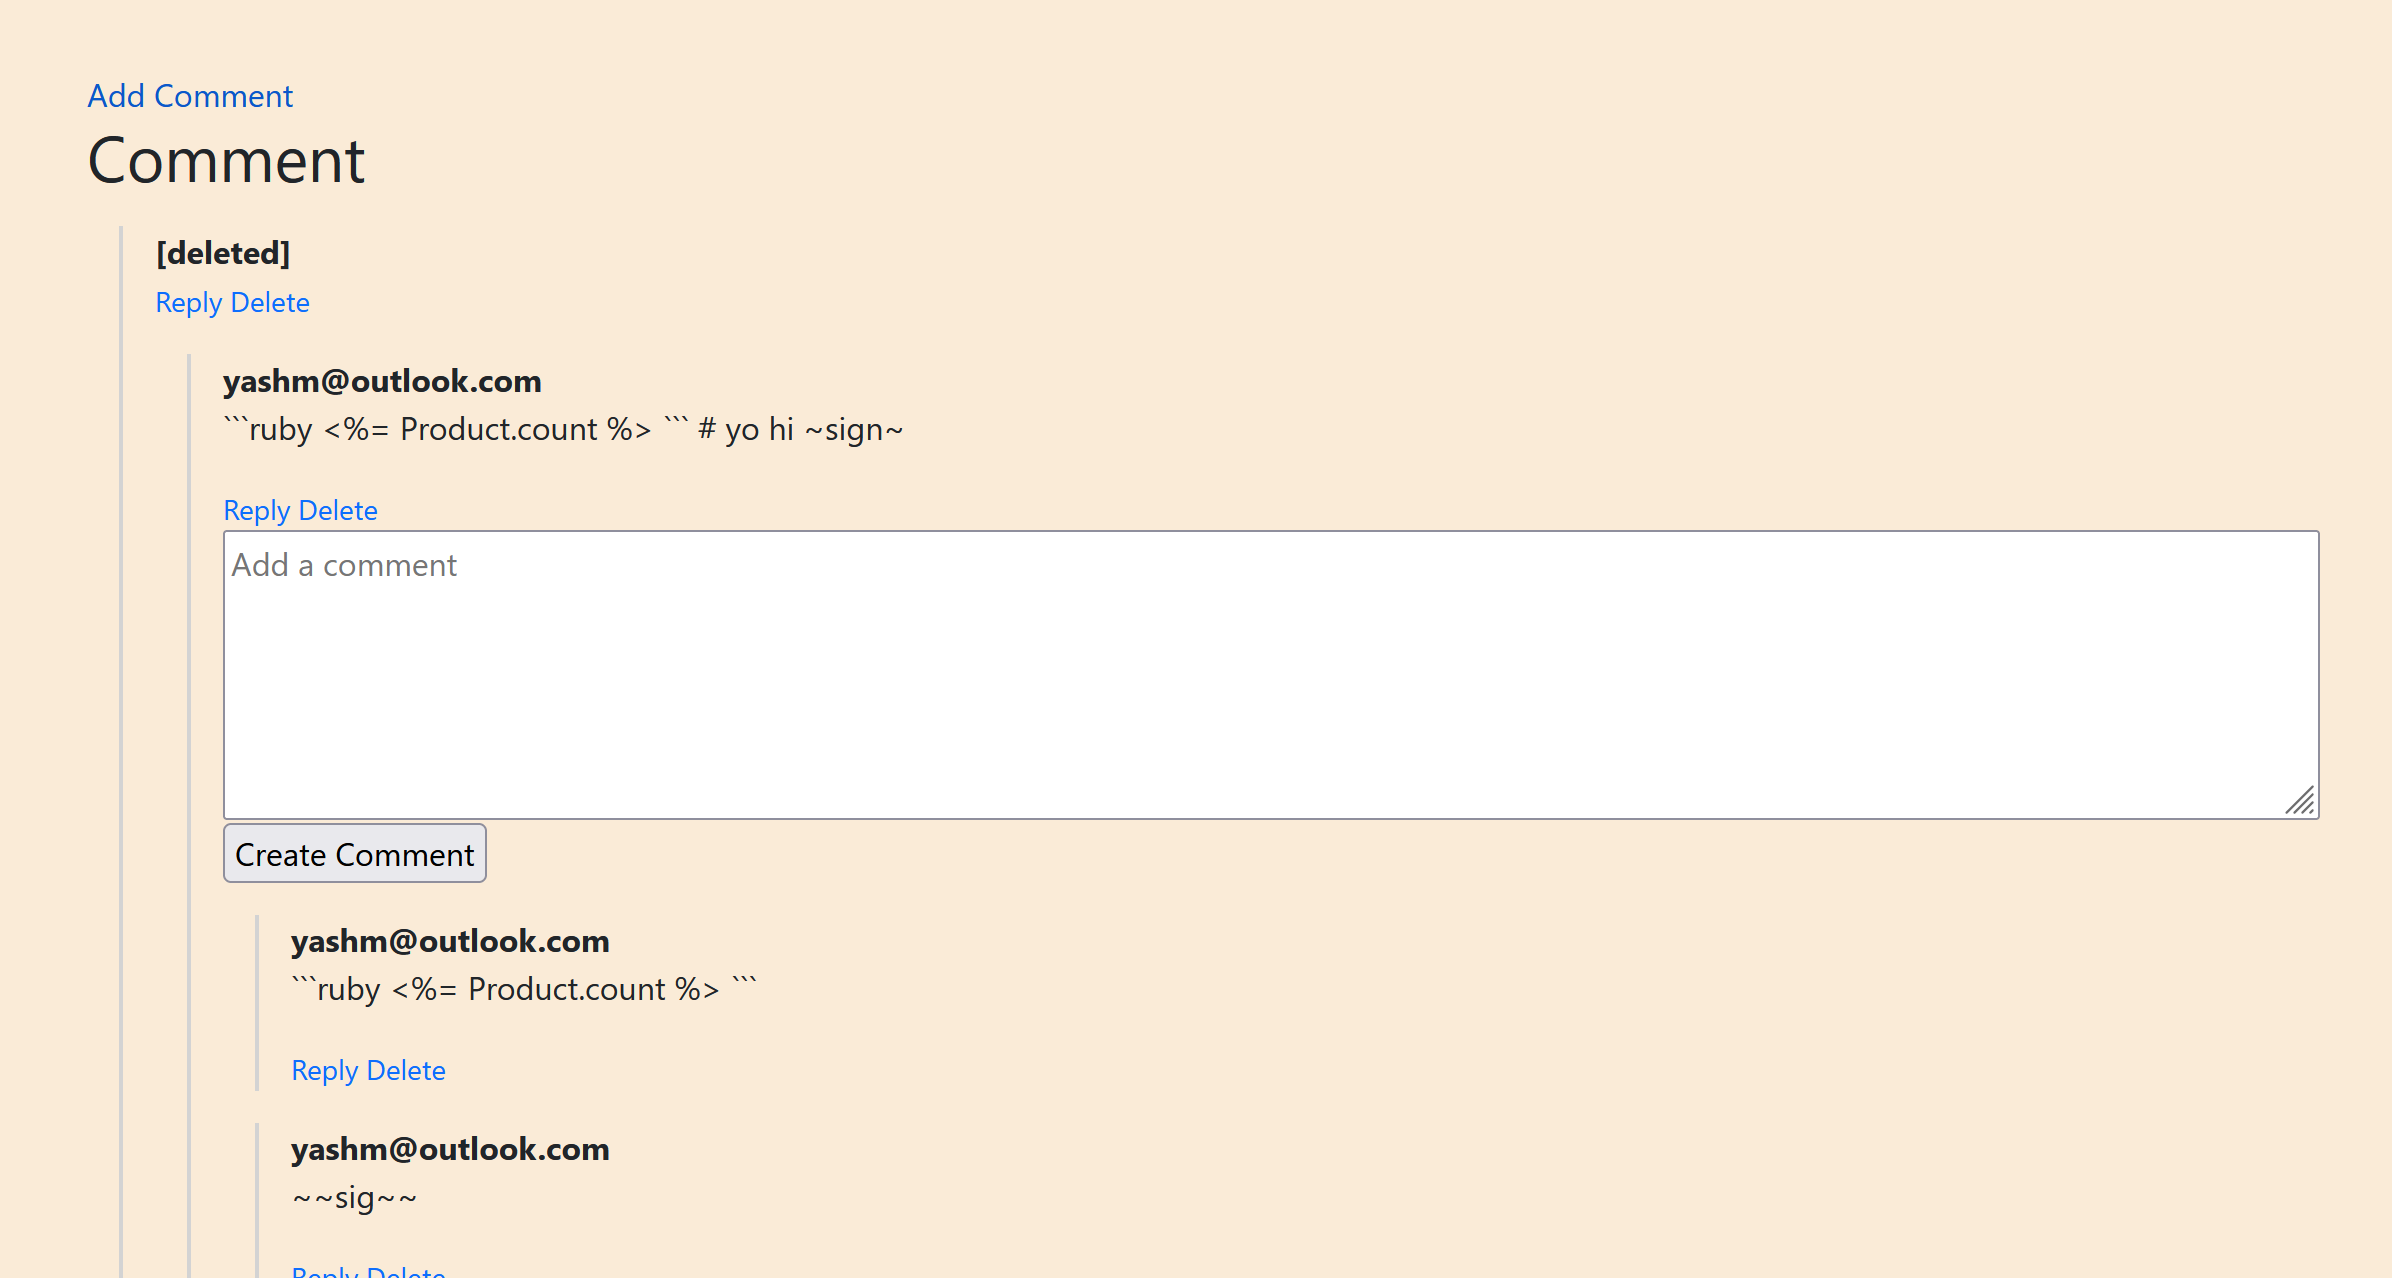
 EVERYTHING IS PERSISTED IN THE DATABASE.
 EVERYTHING IS PERSISTED IN THE DATABASE.


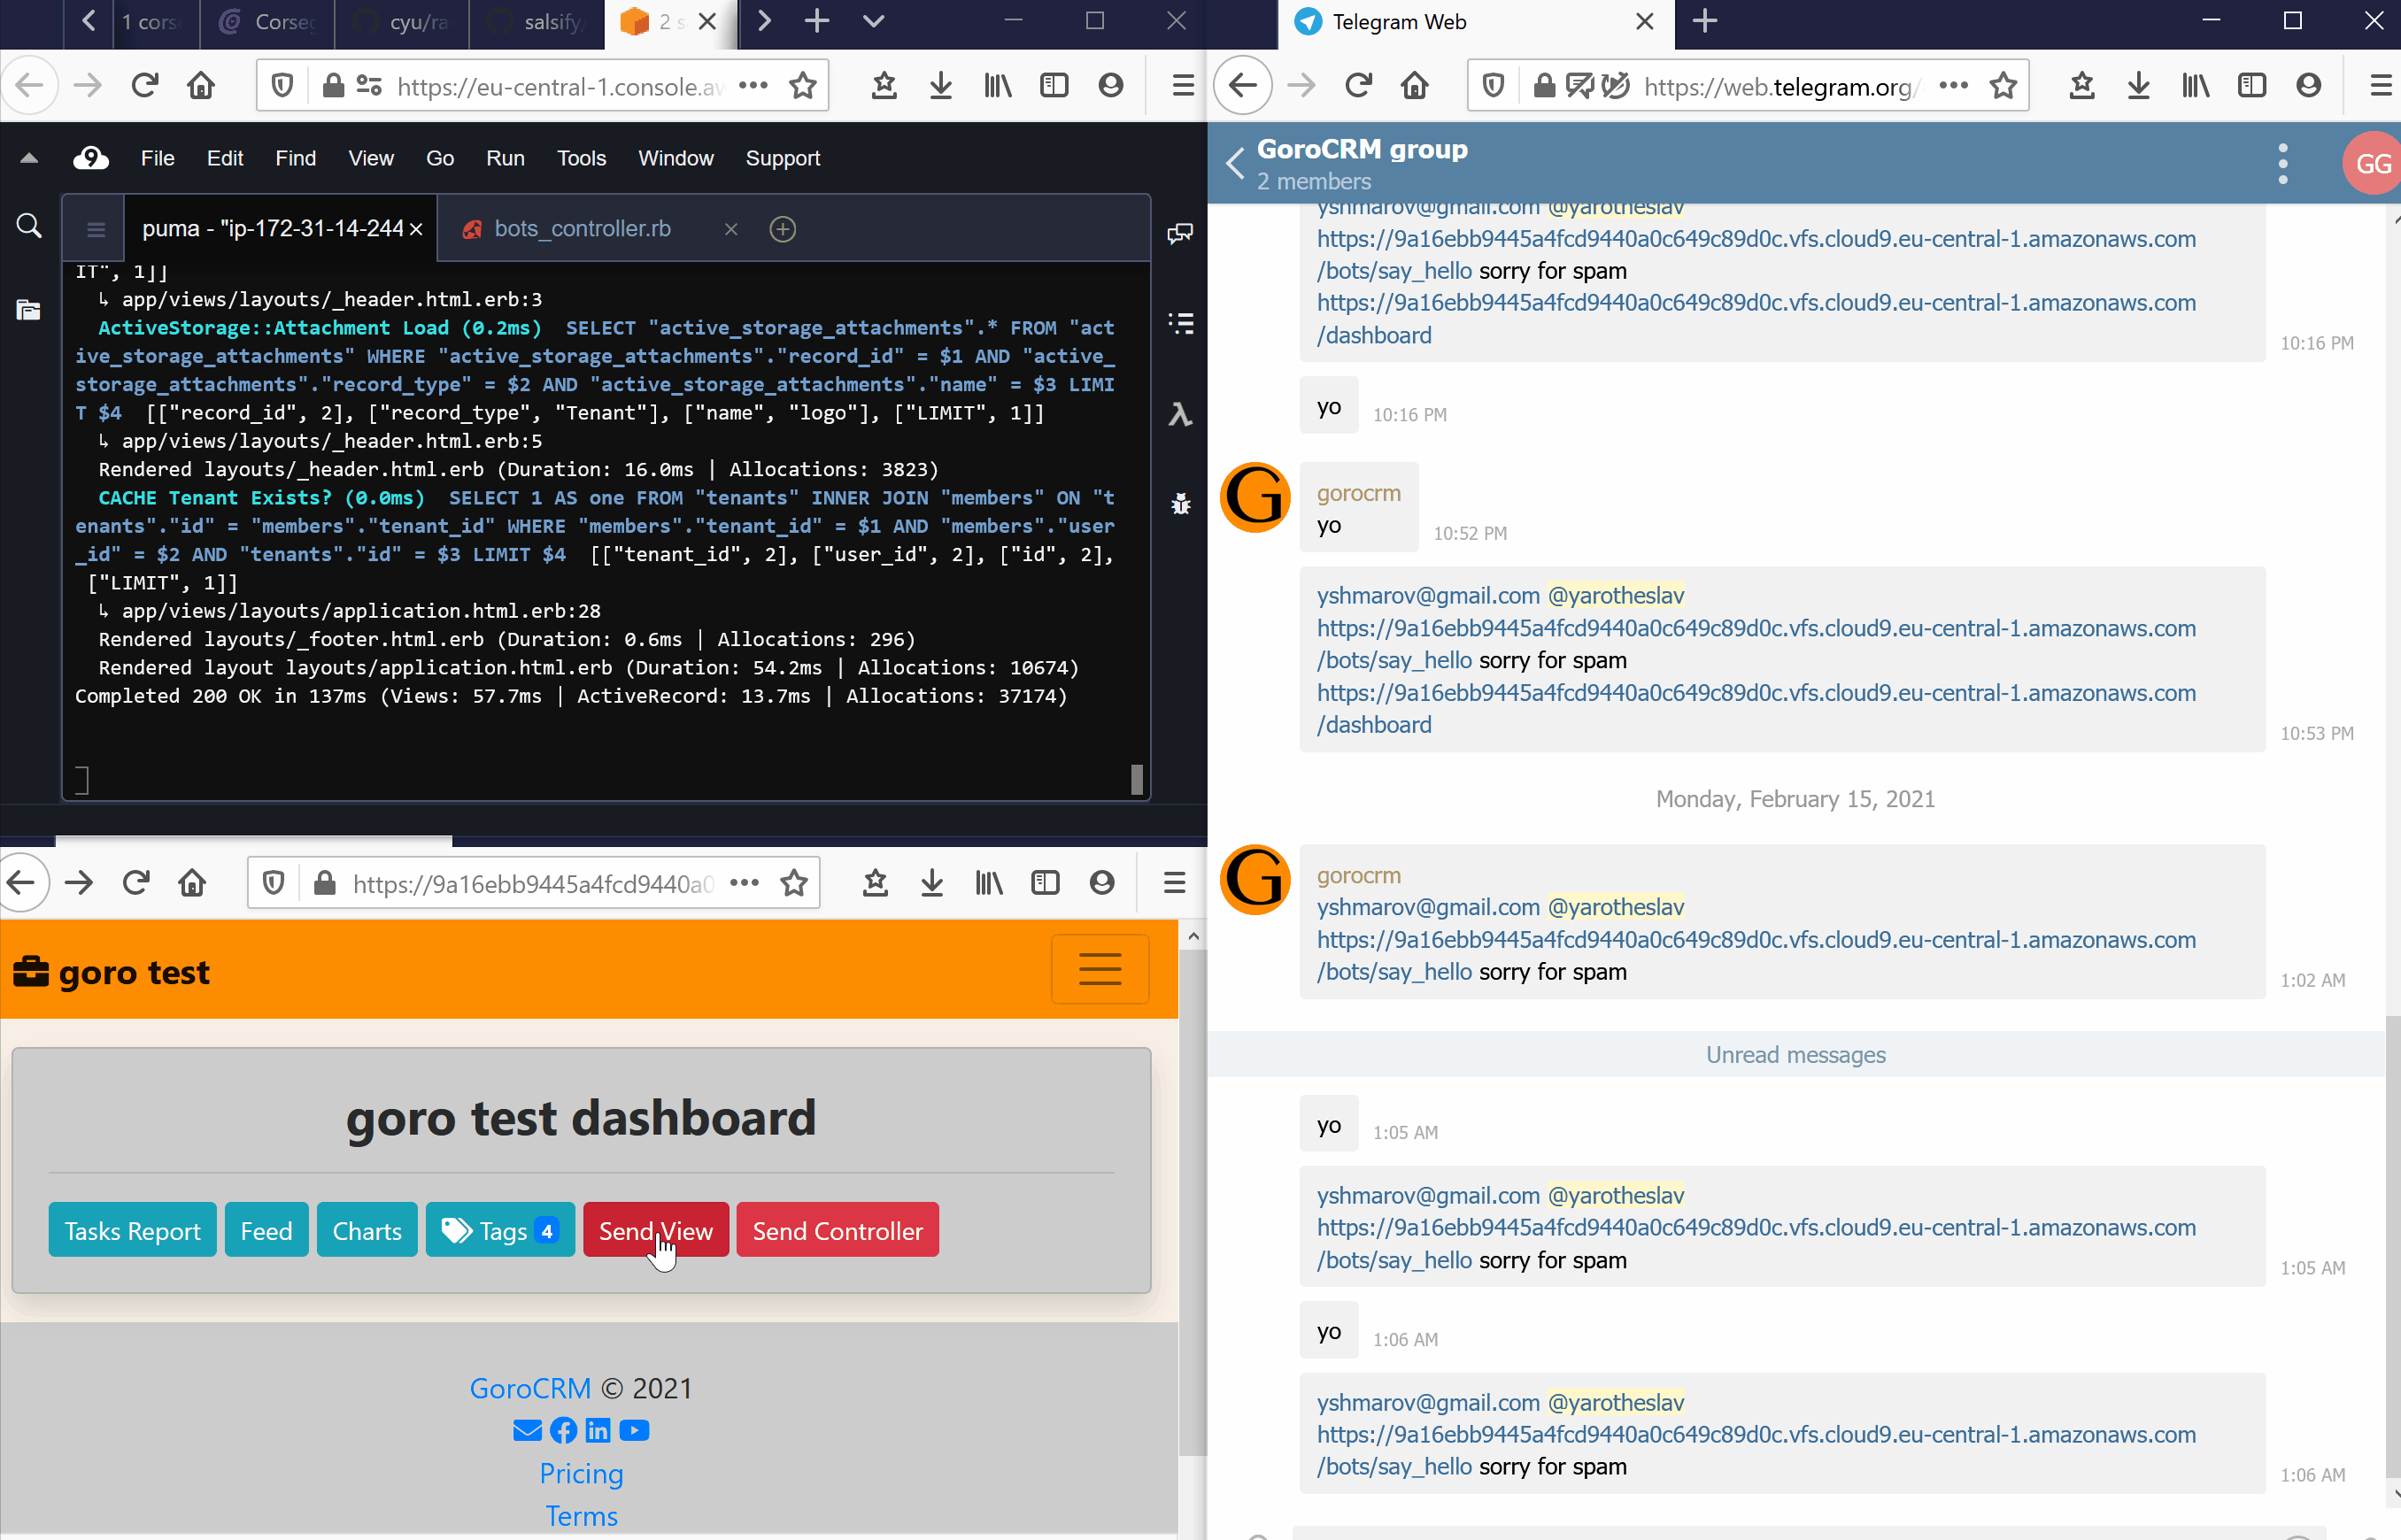
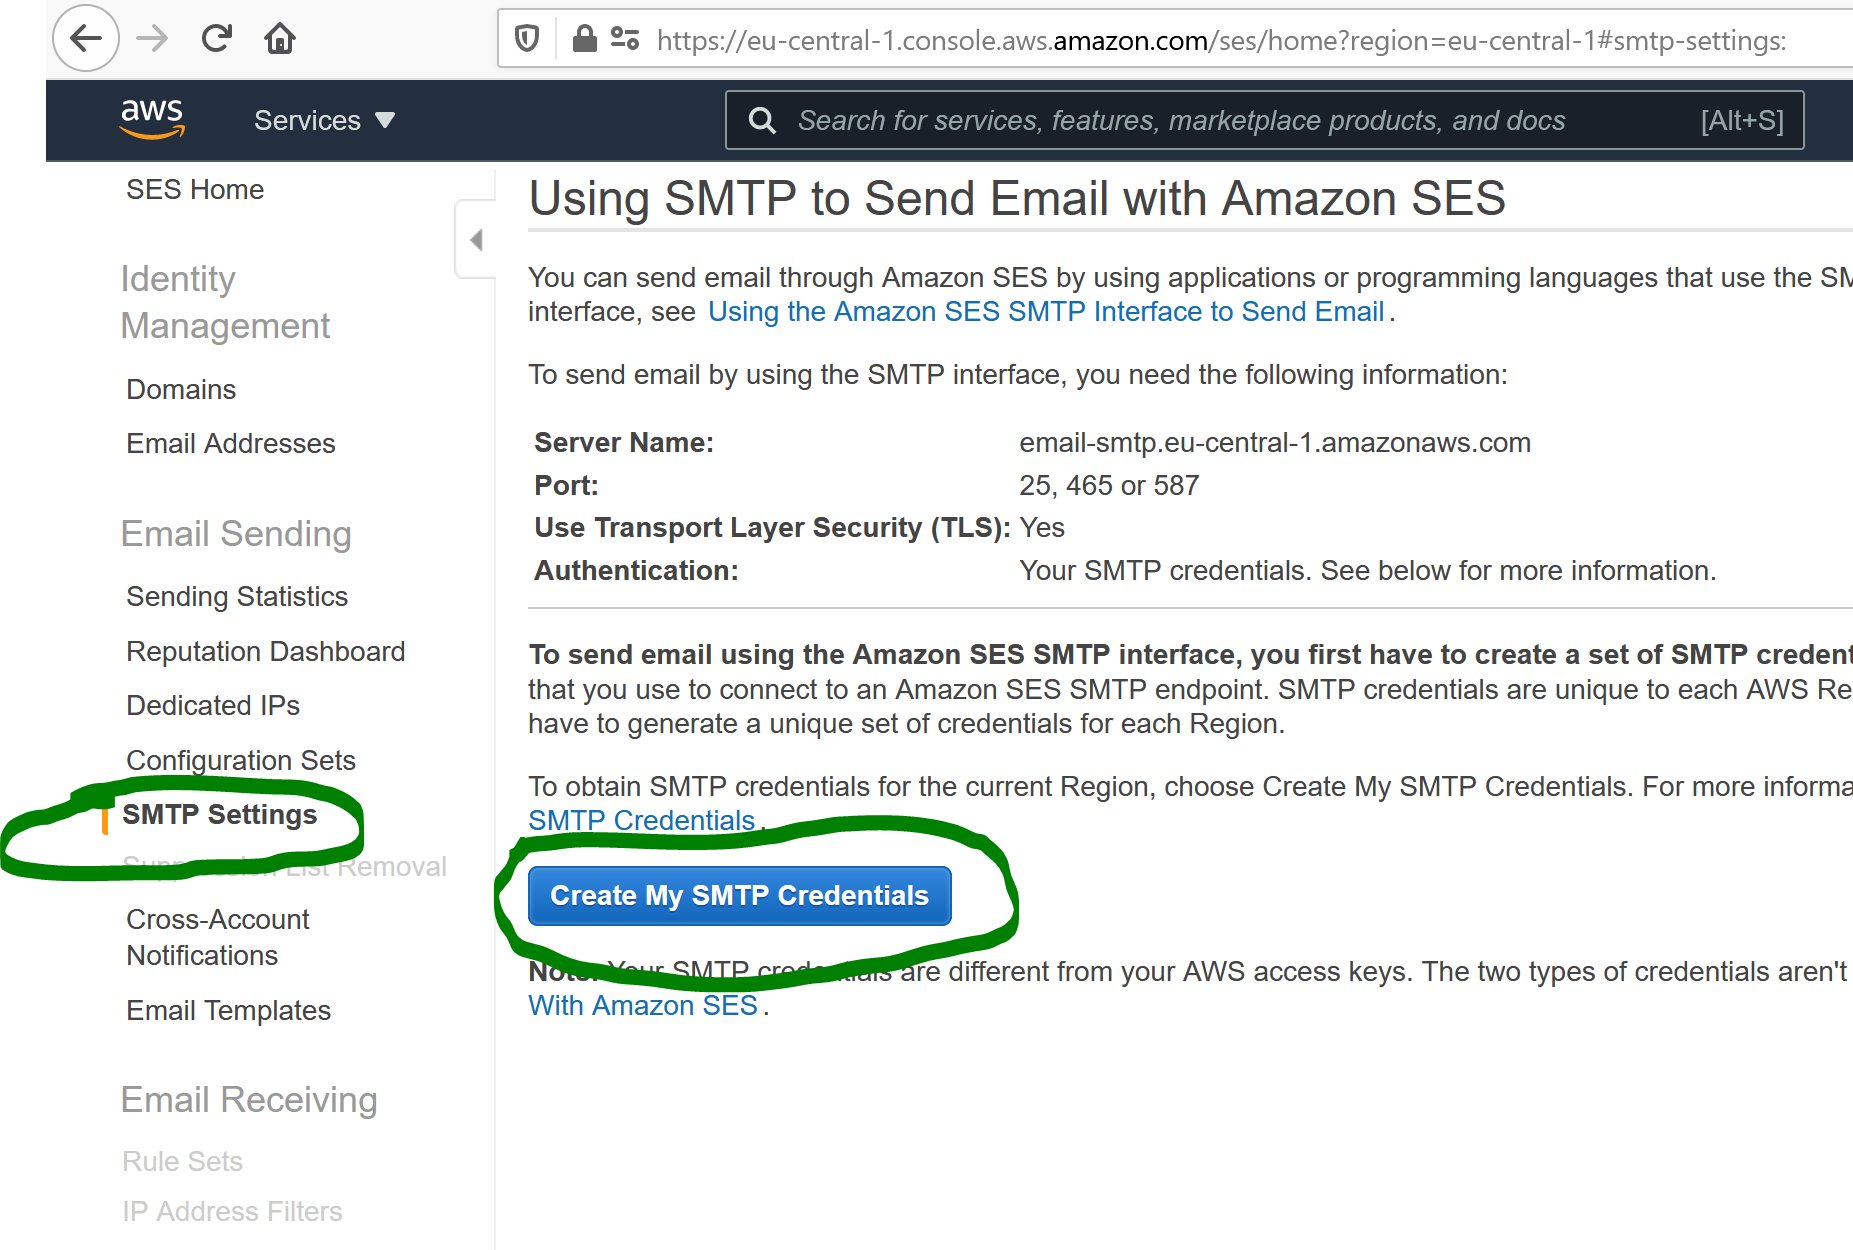
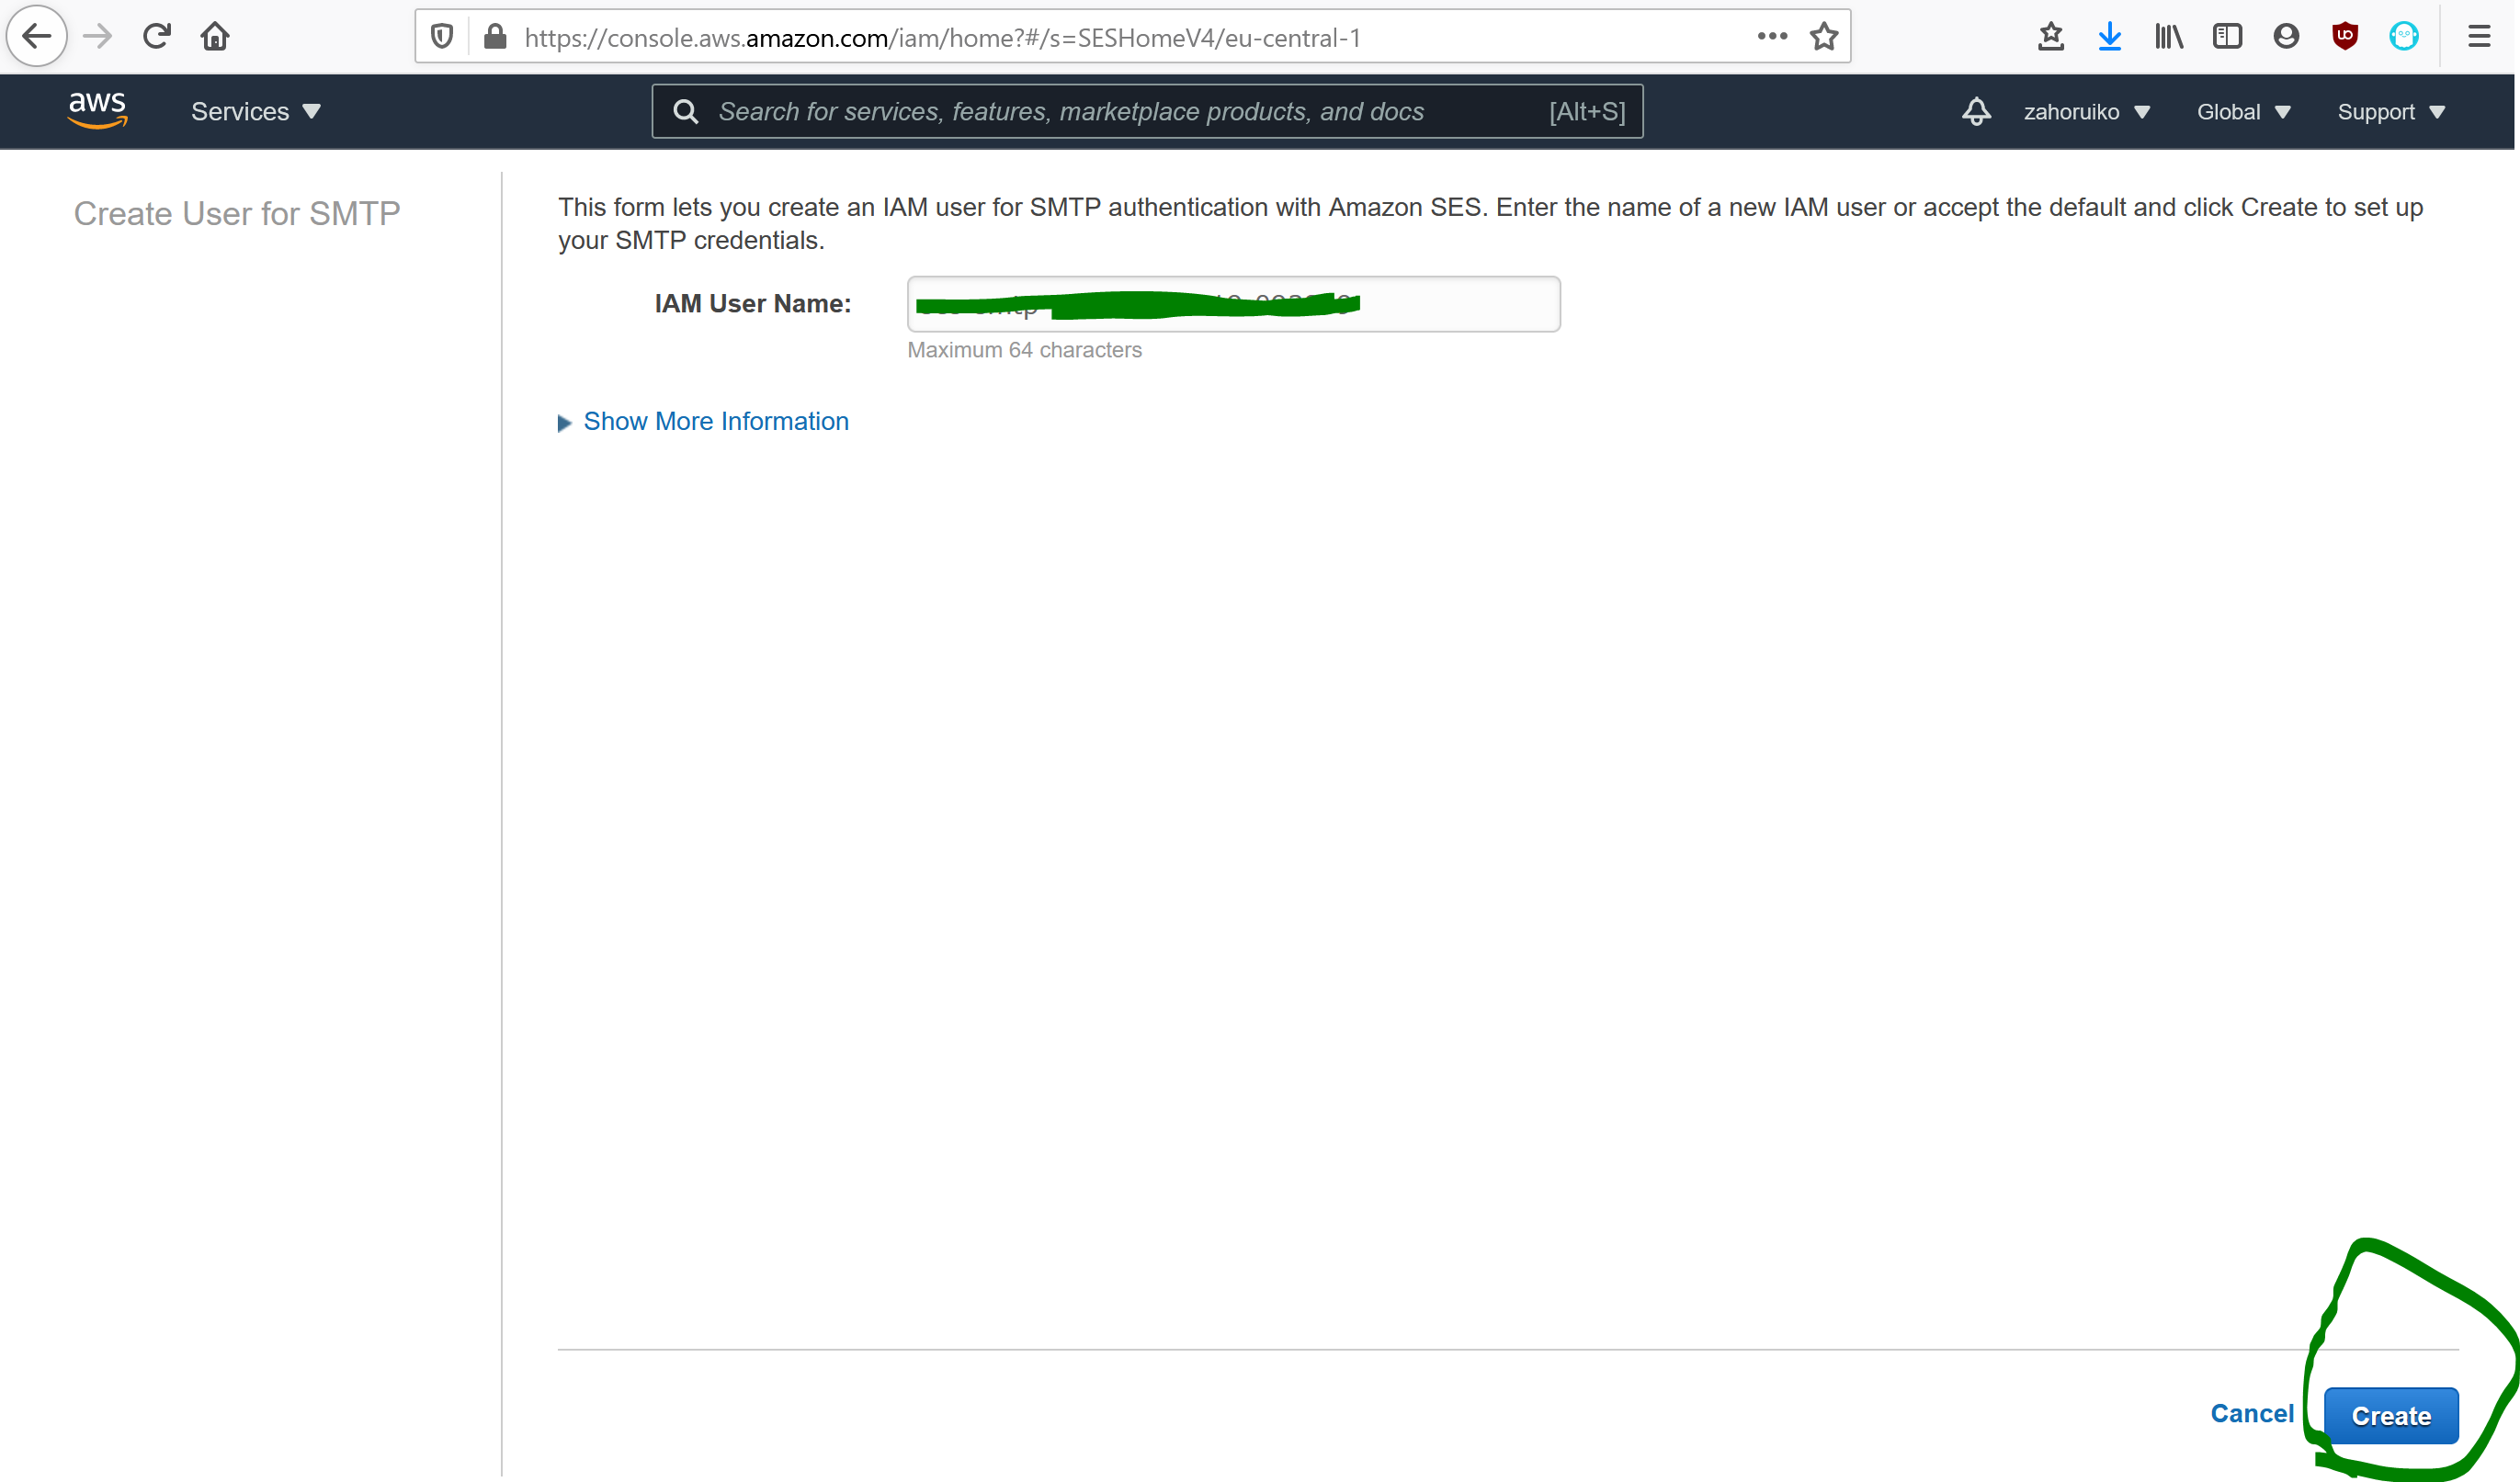
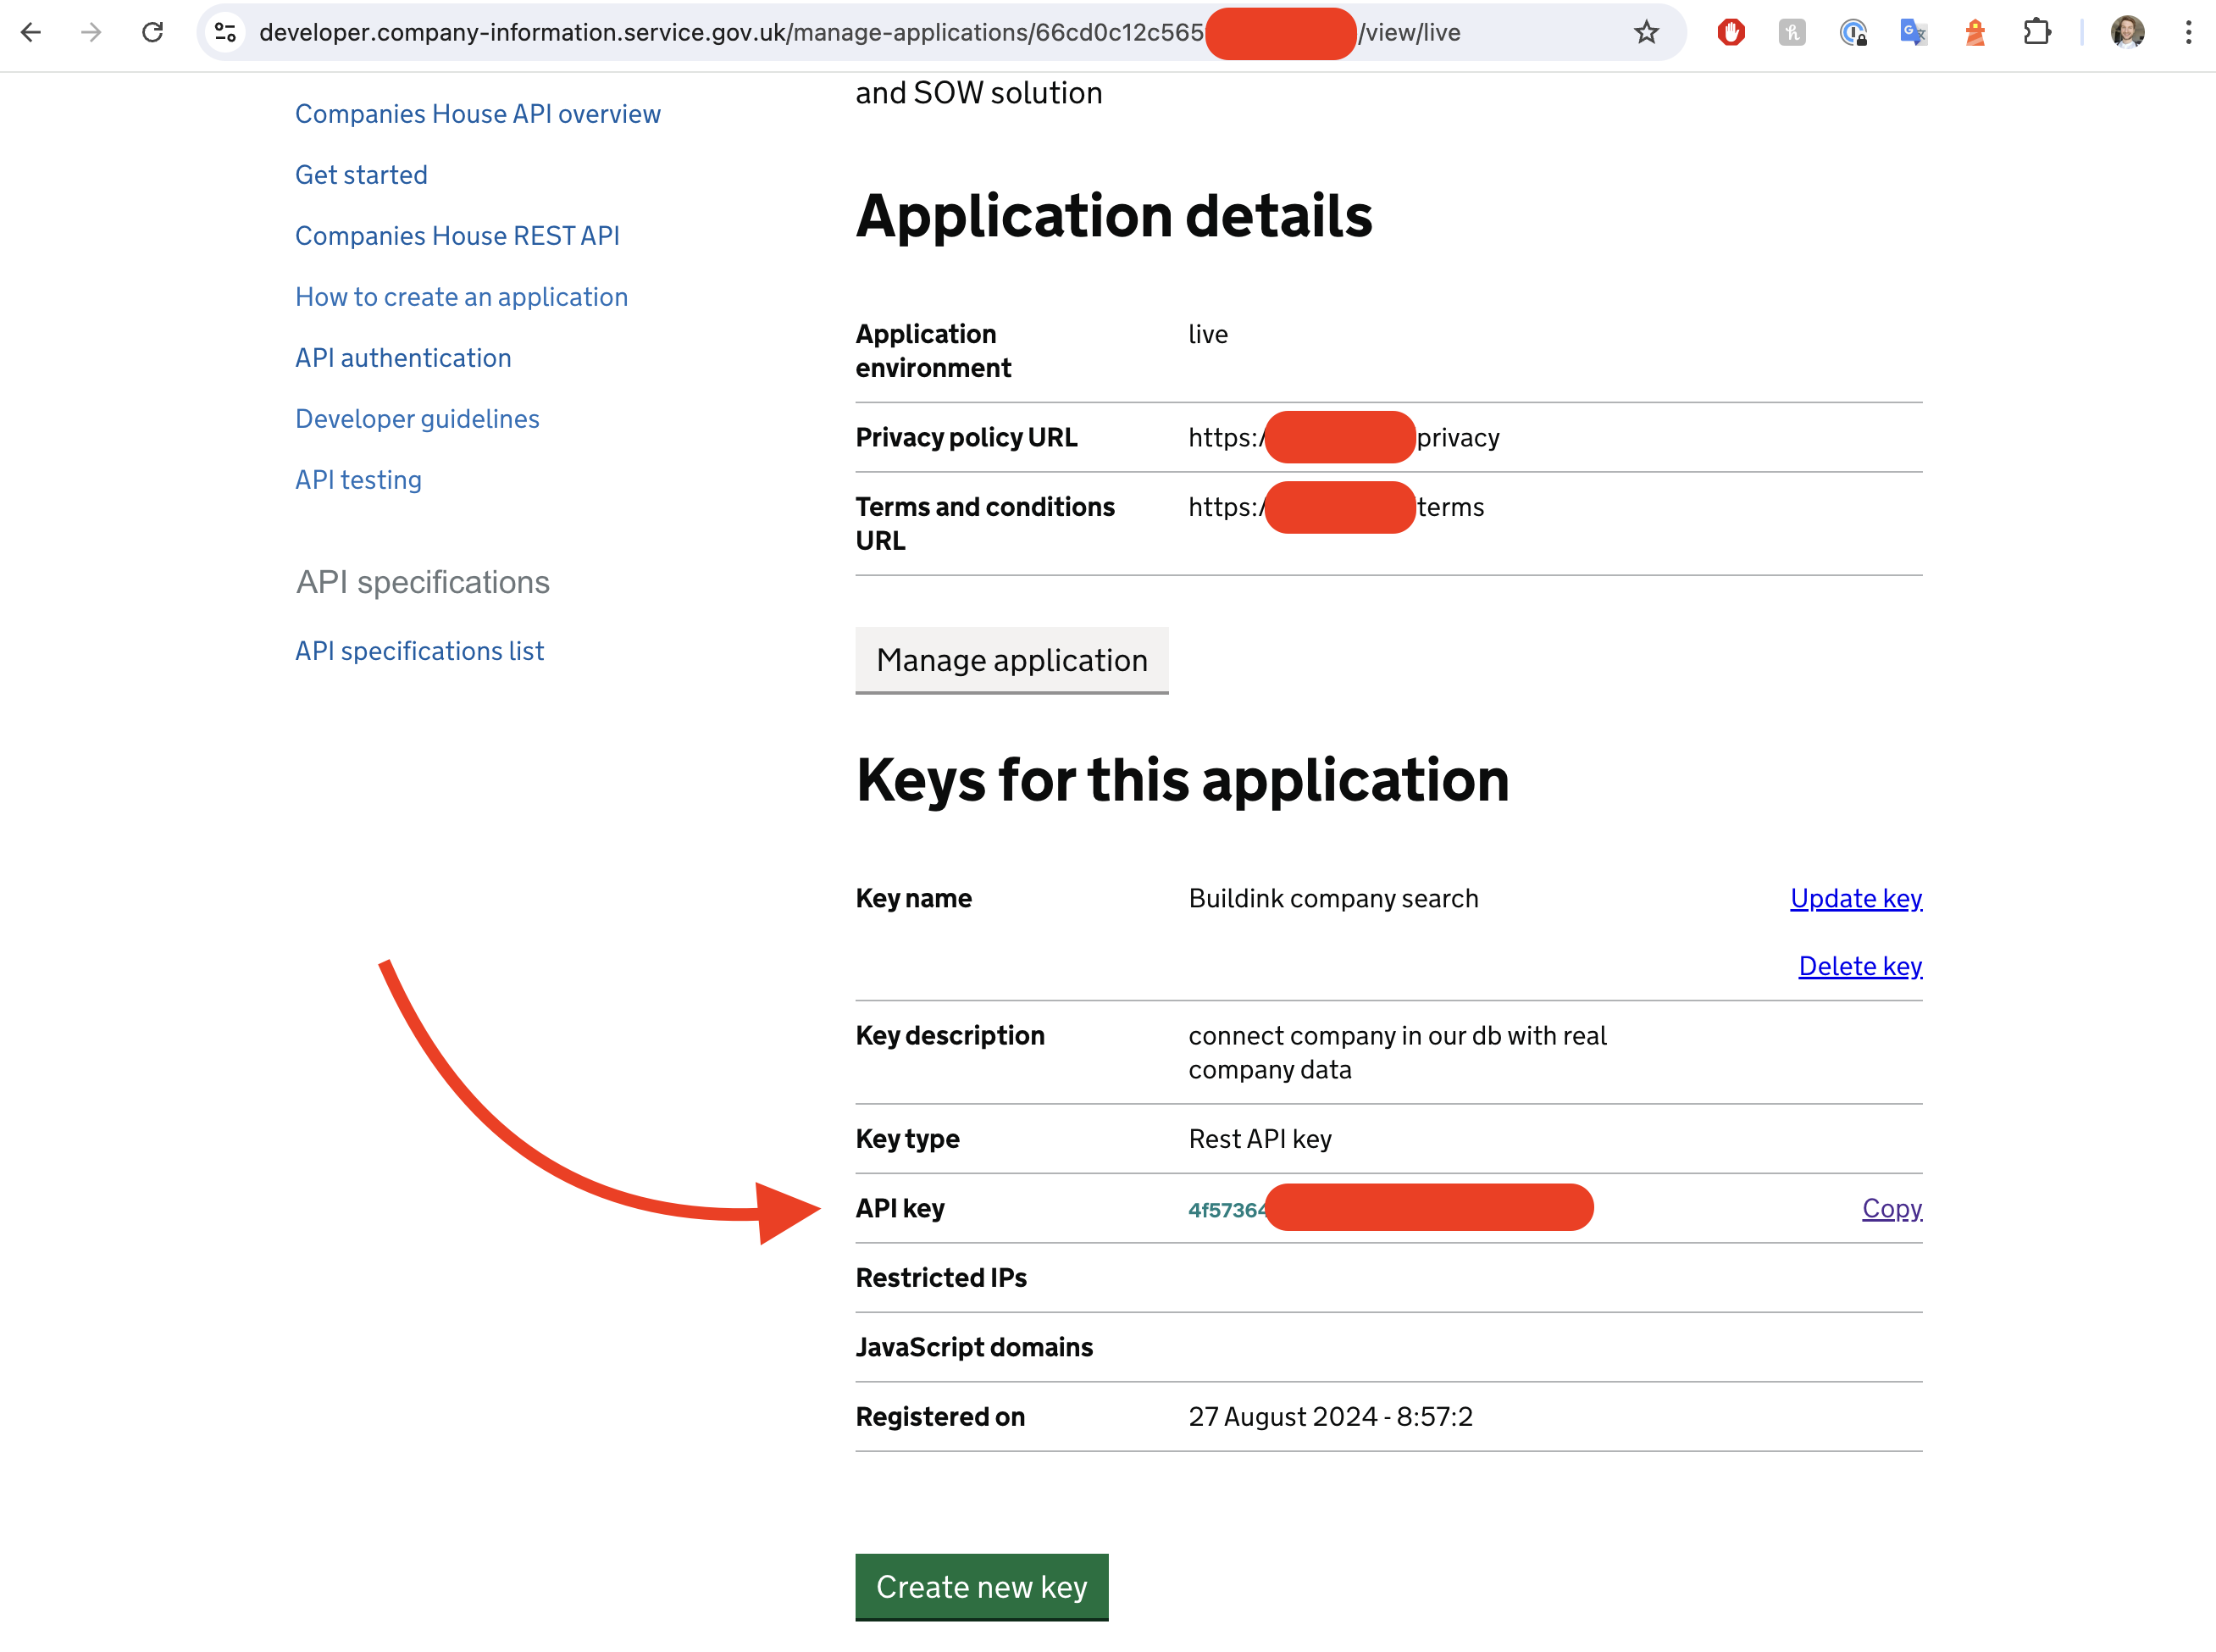
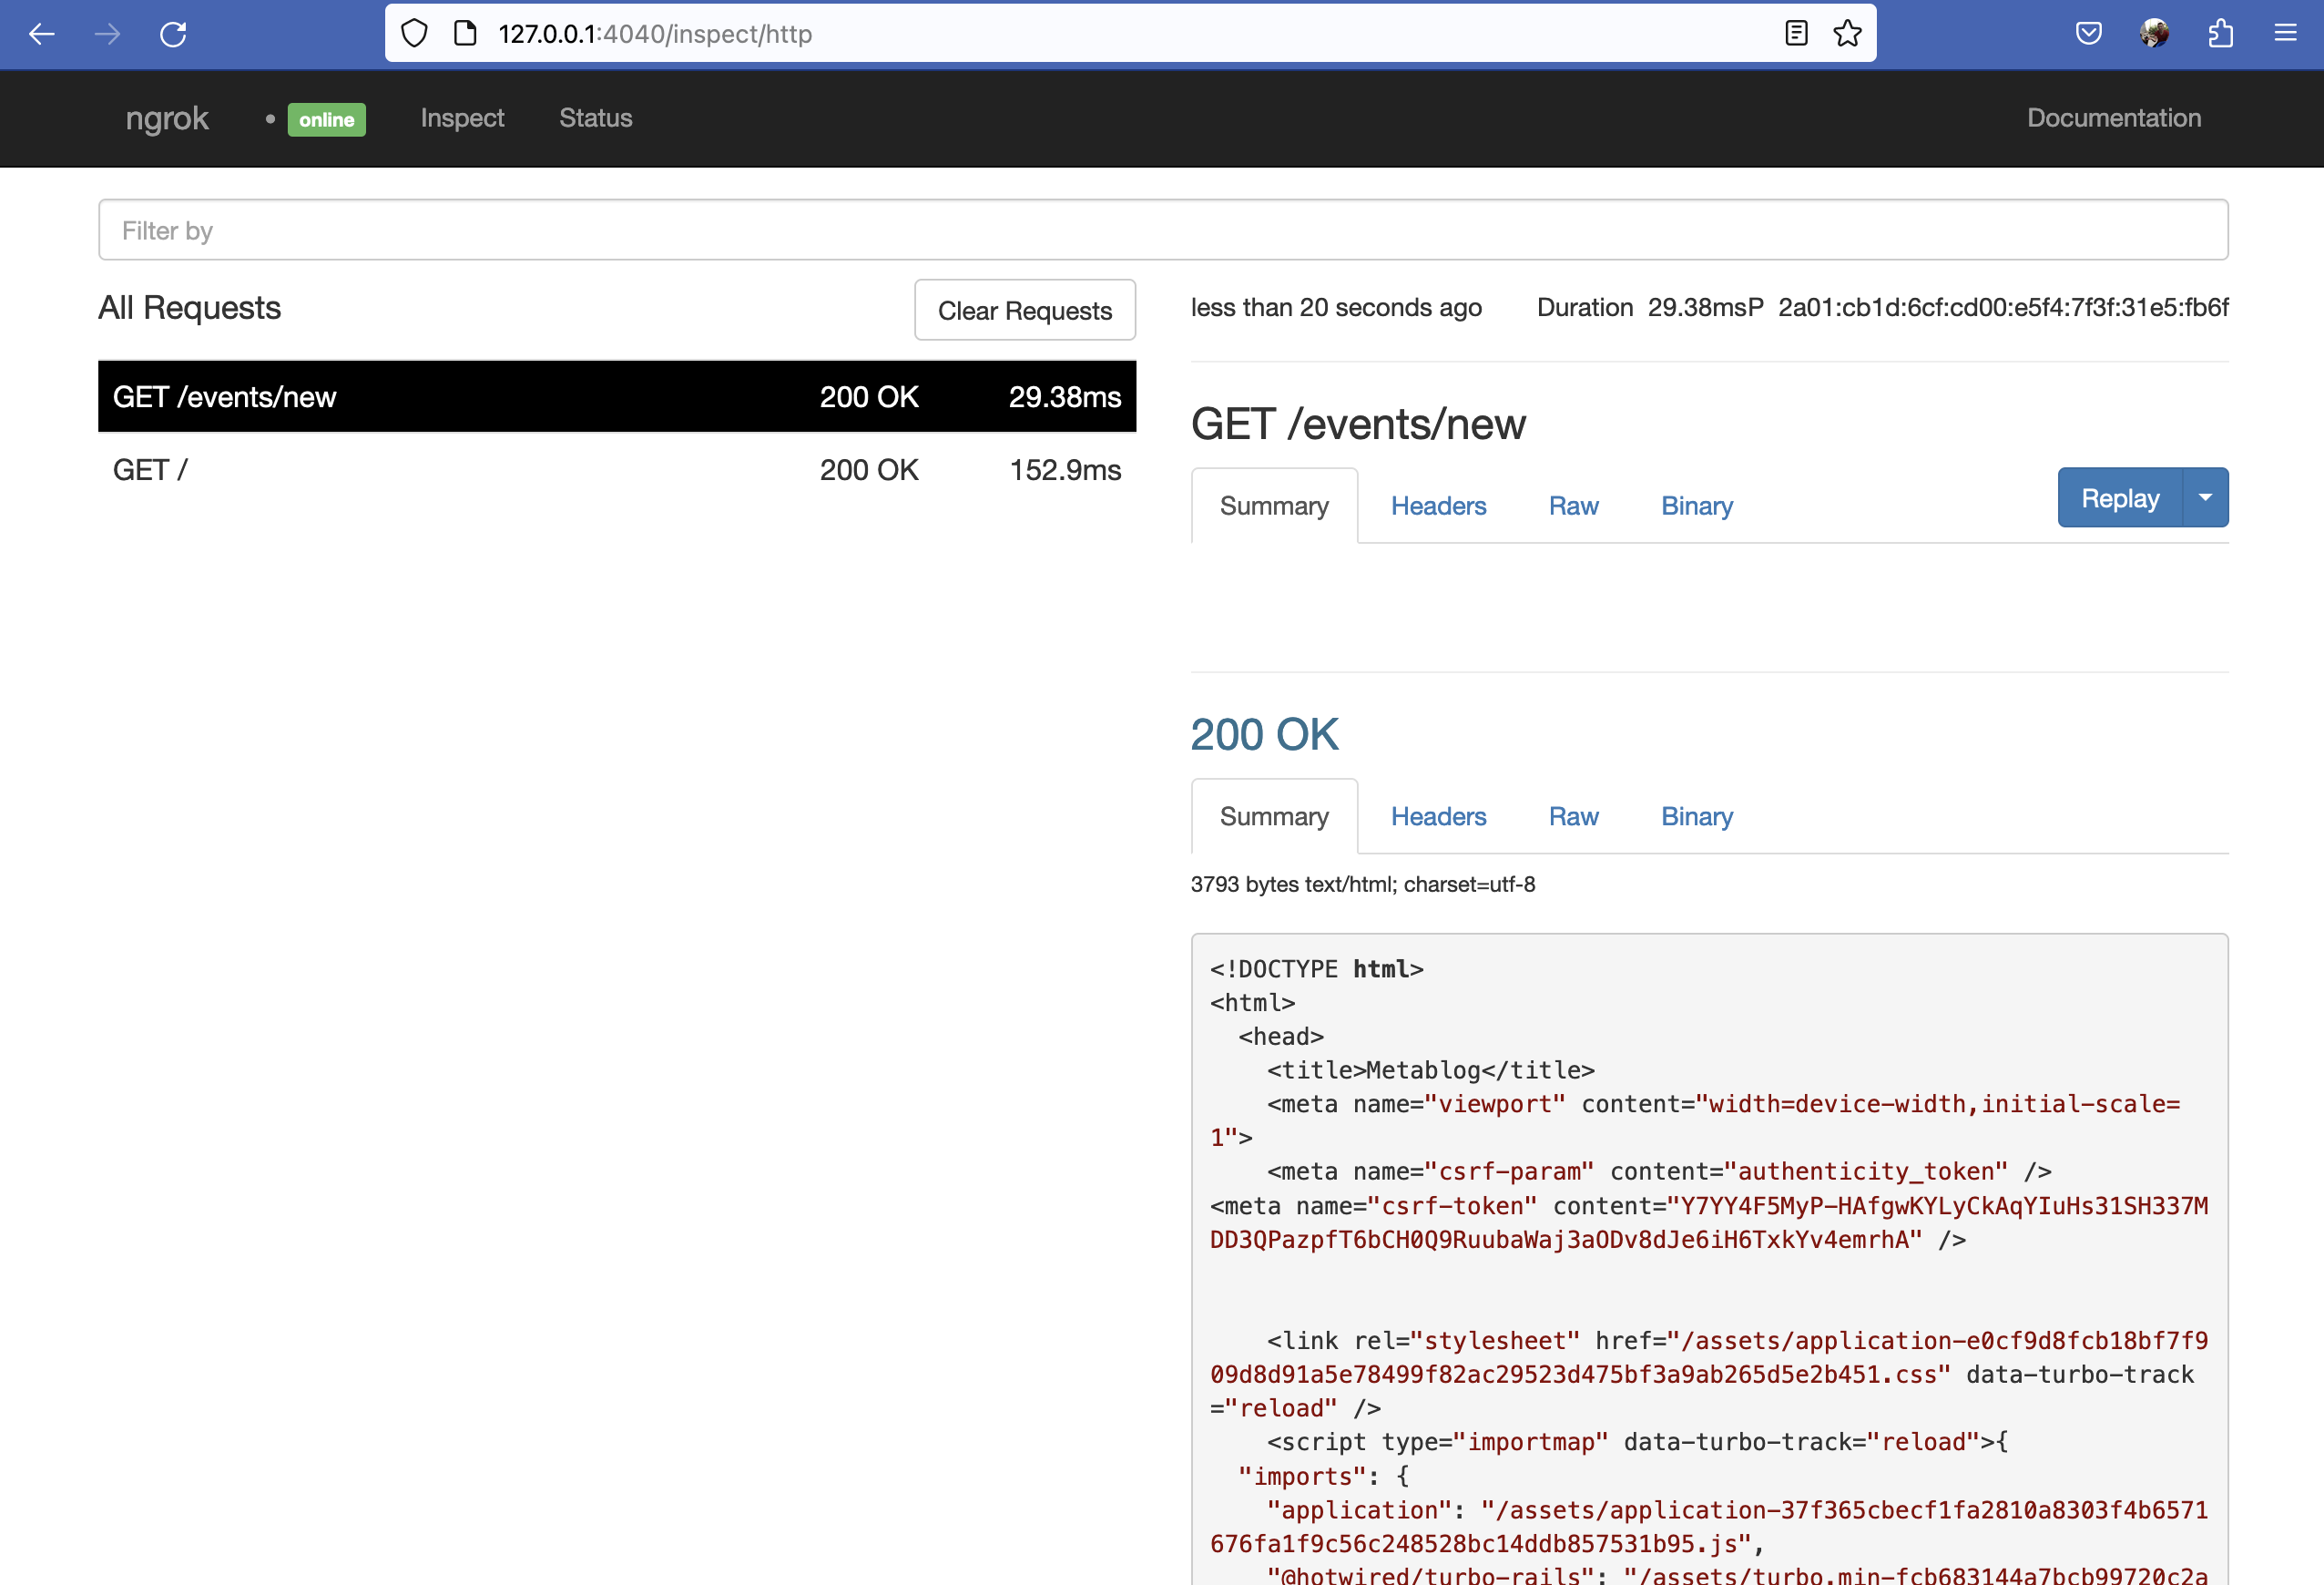
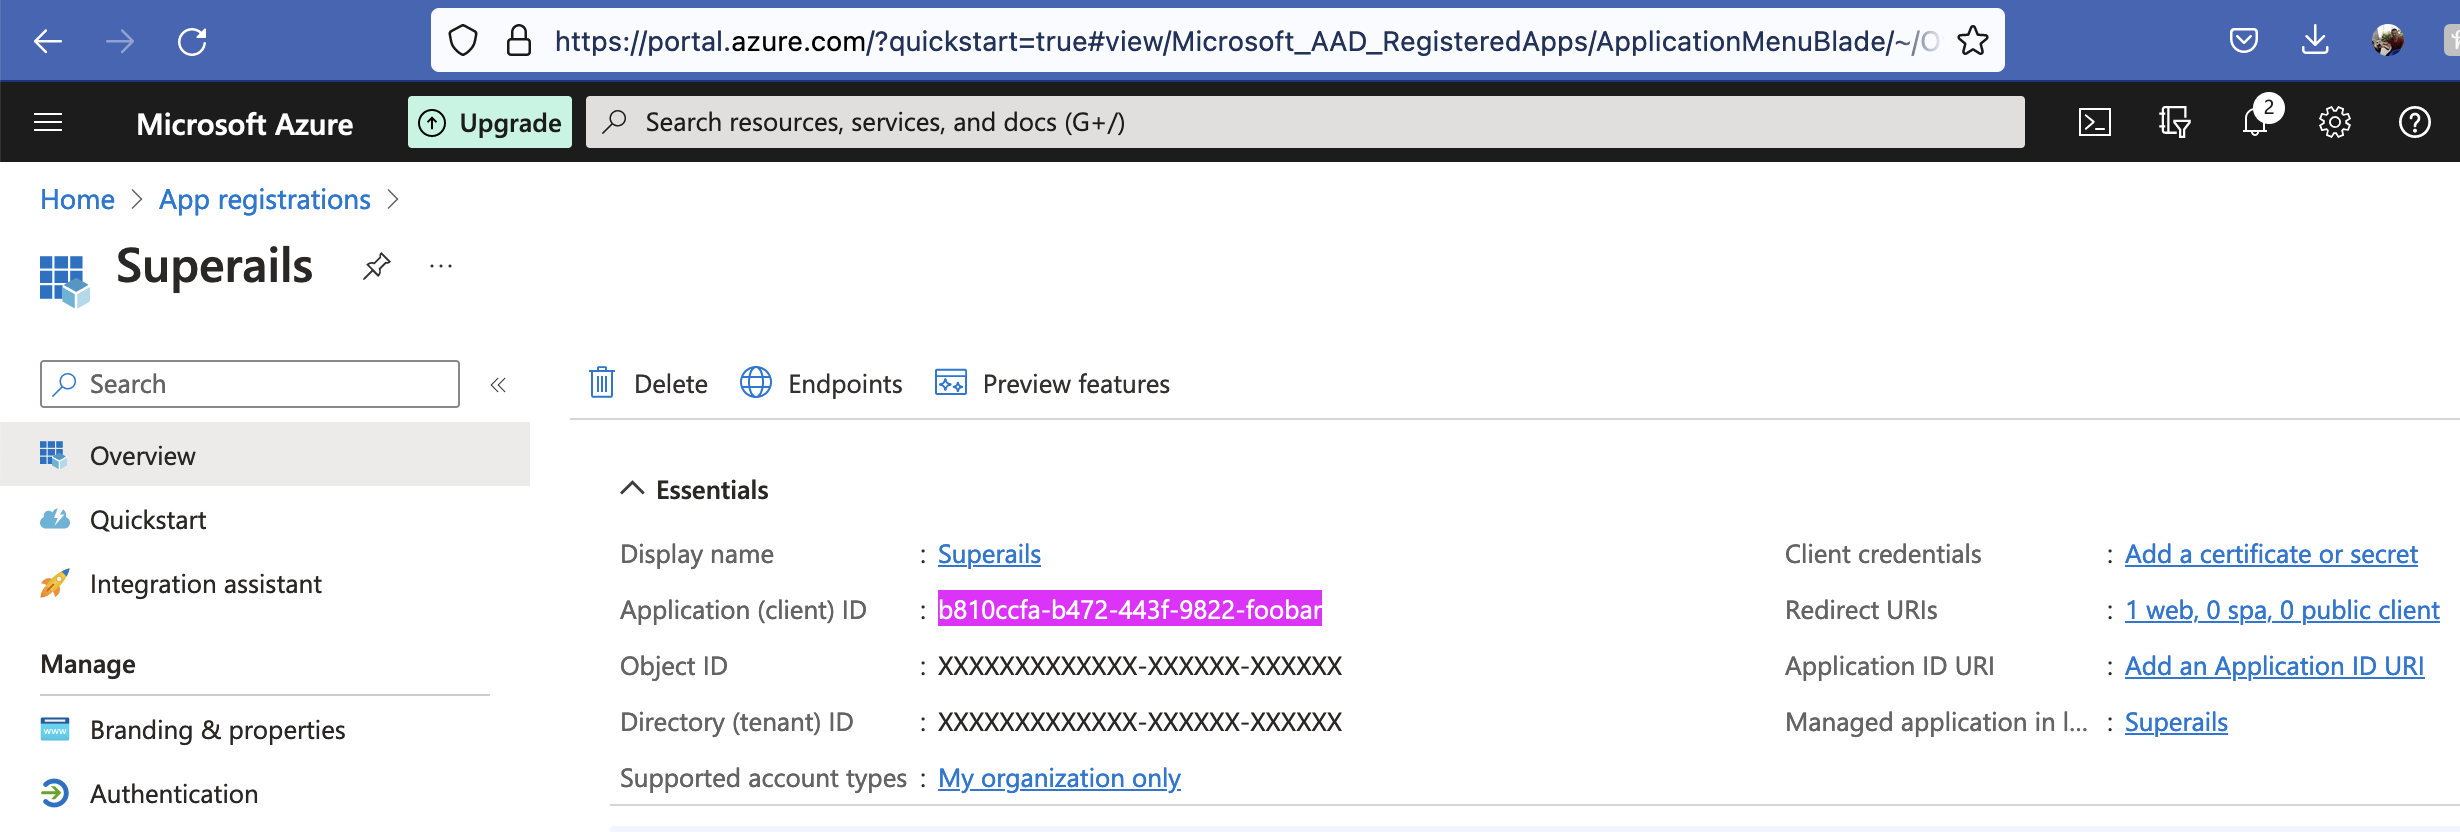
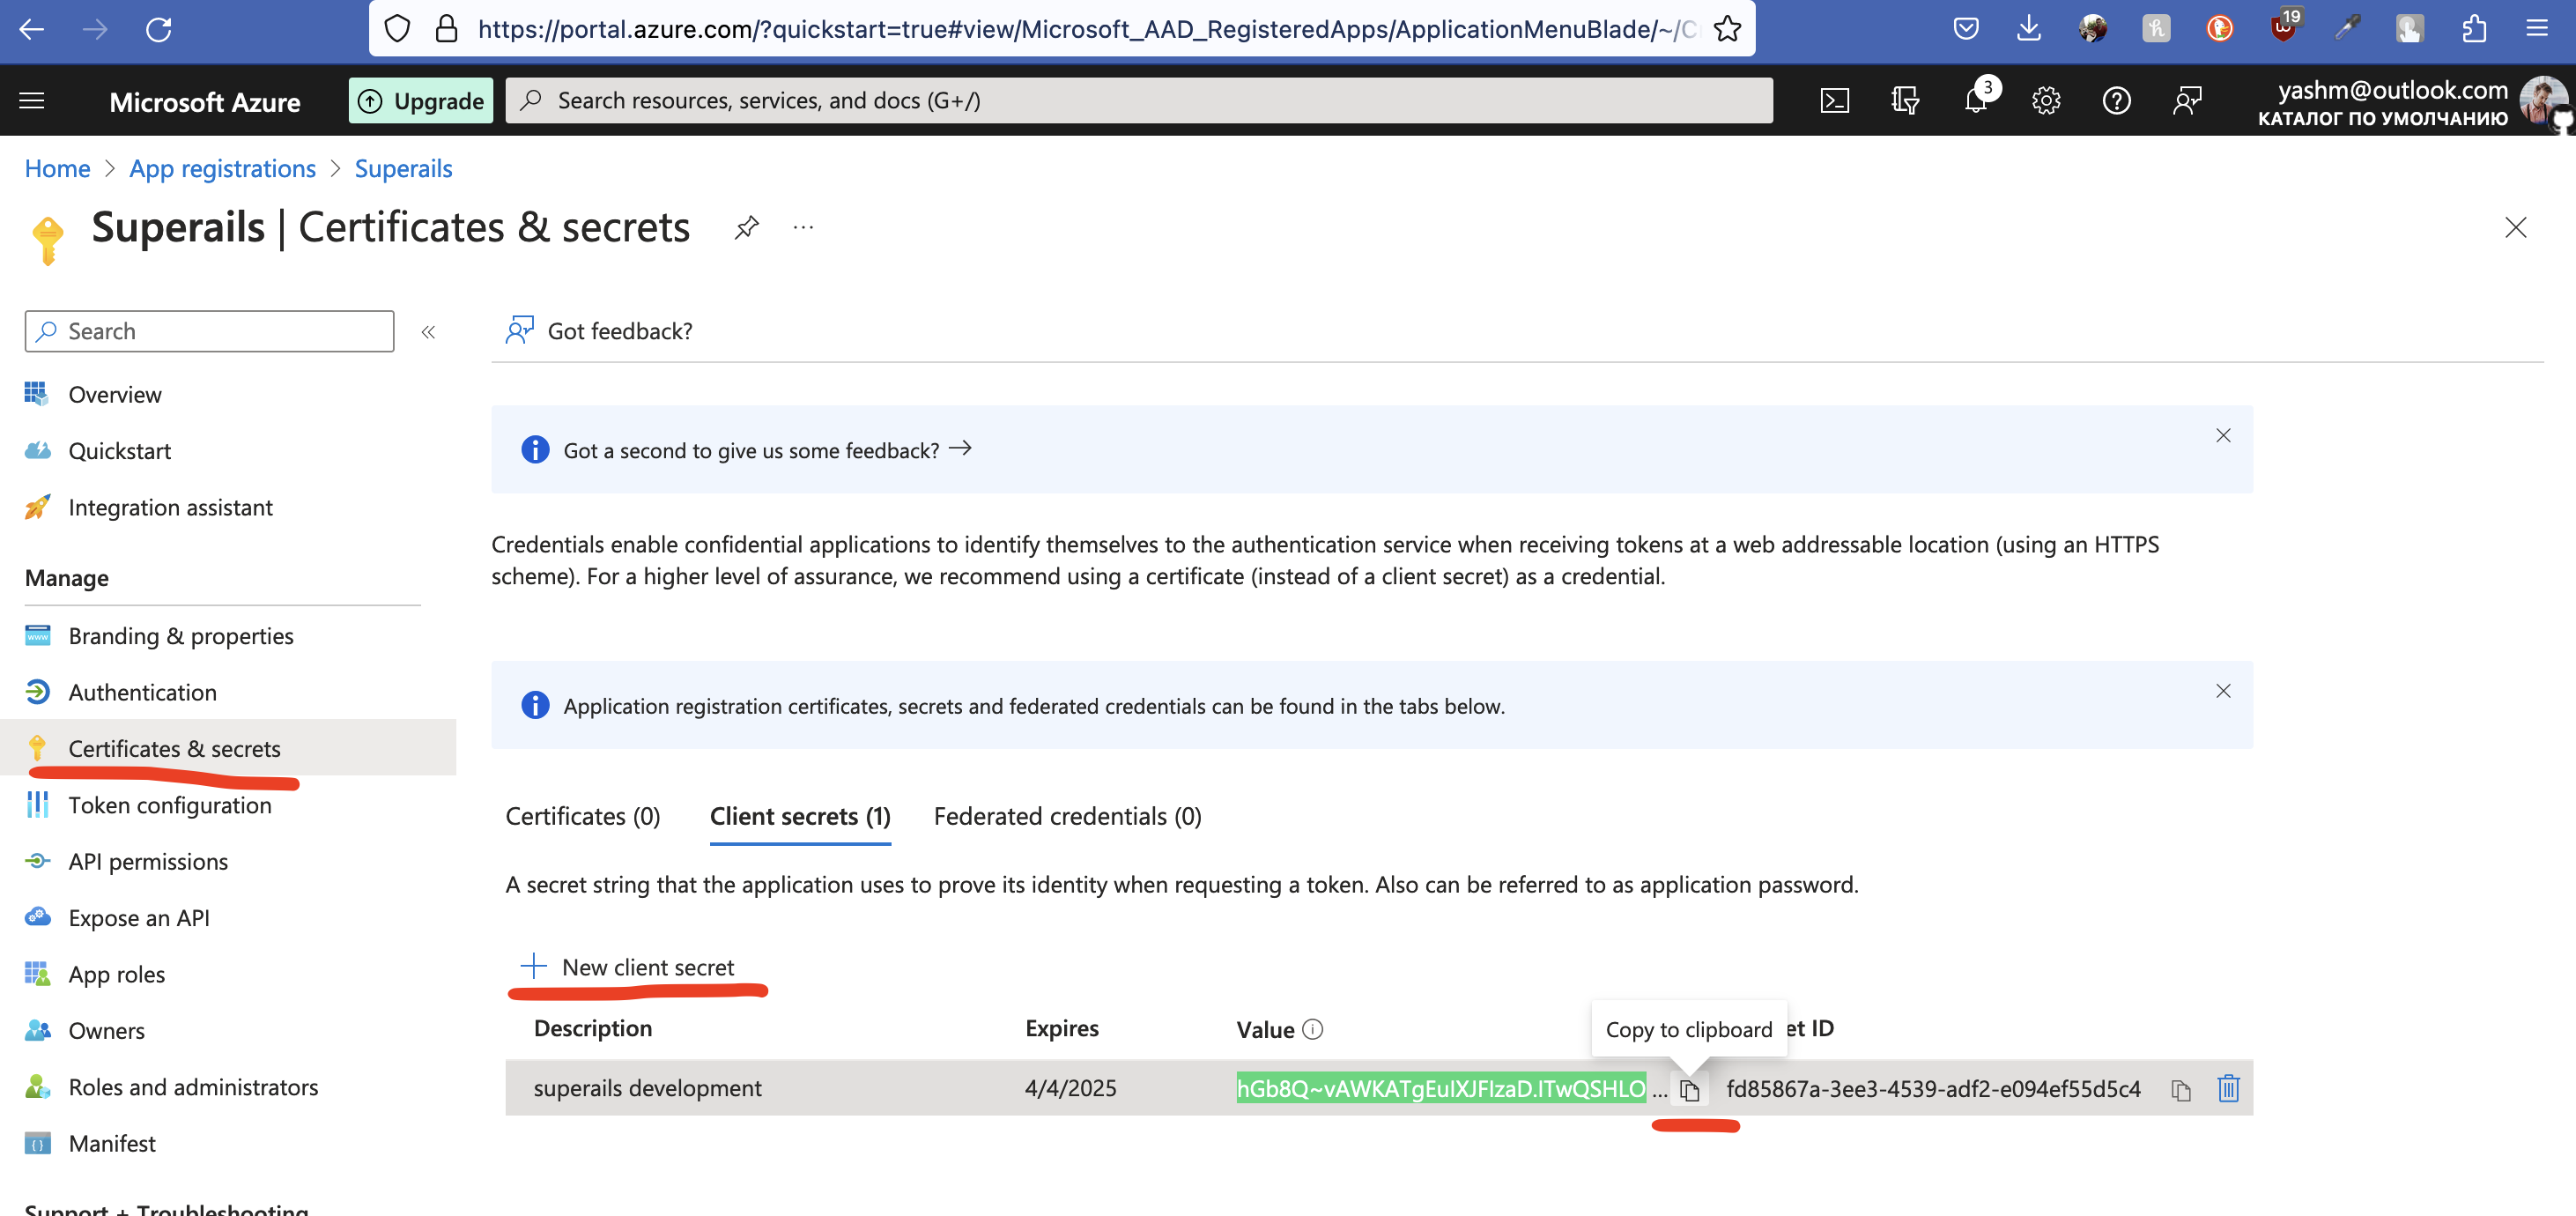
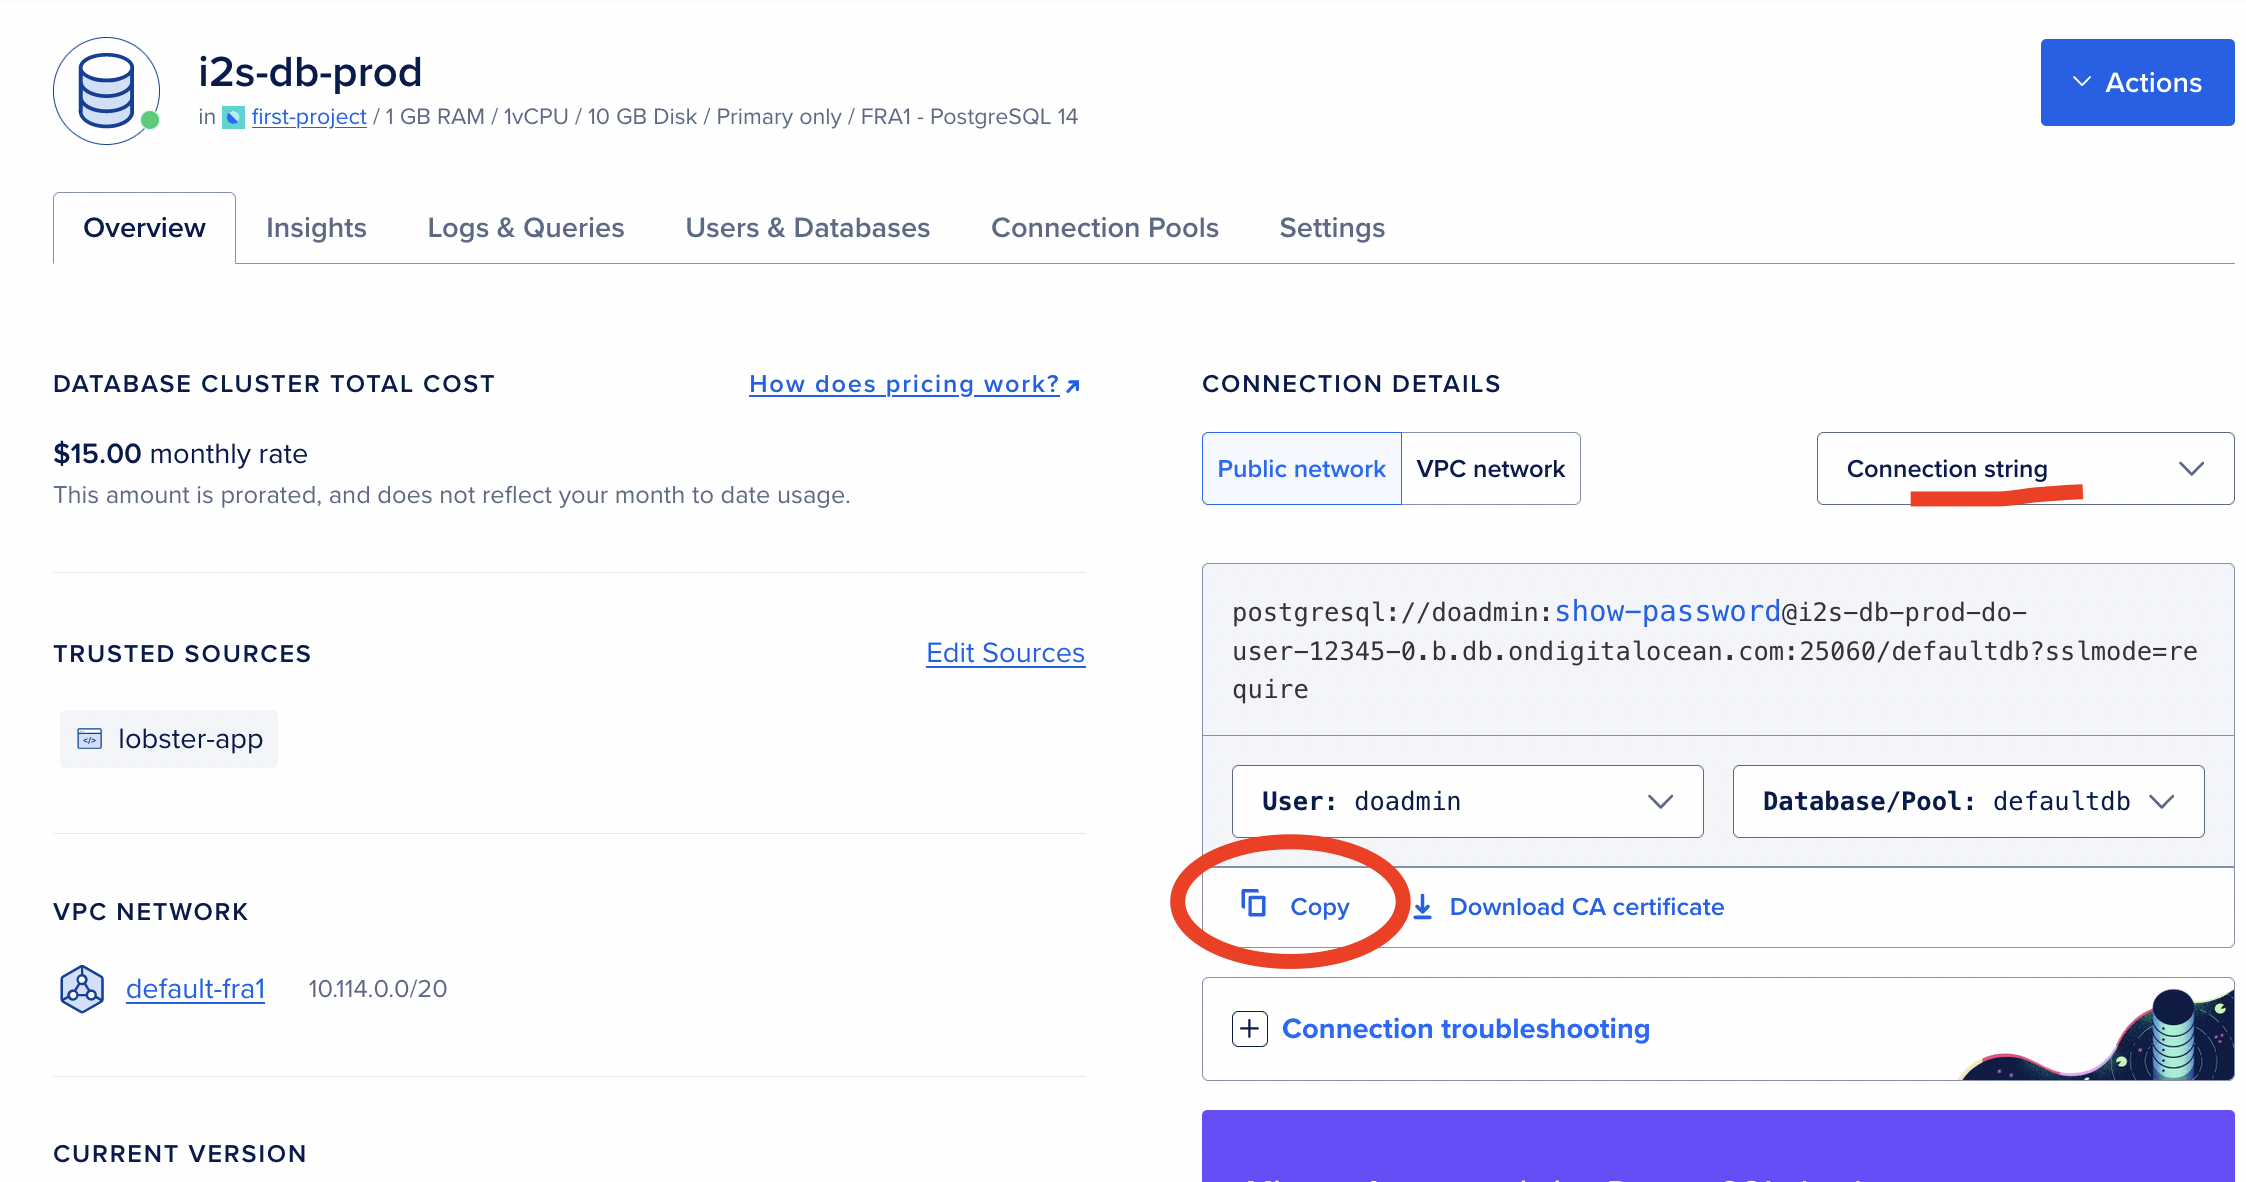
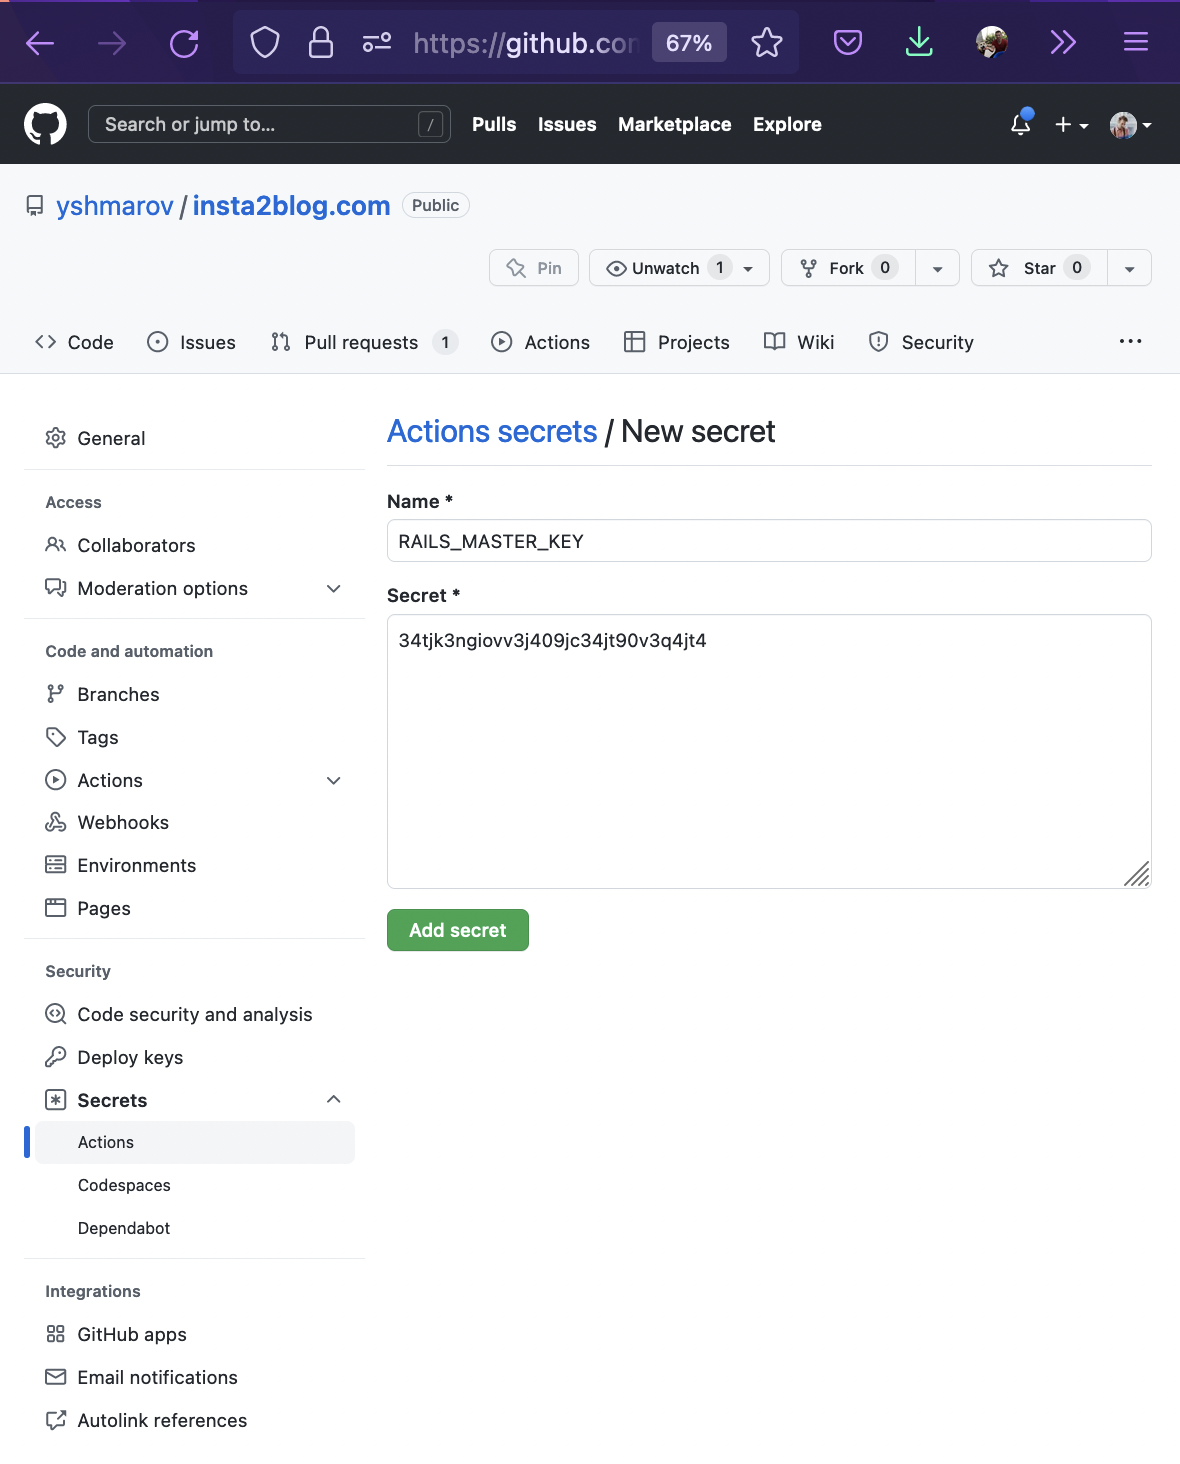
 save the API key that you were given to access the app:
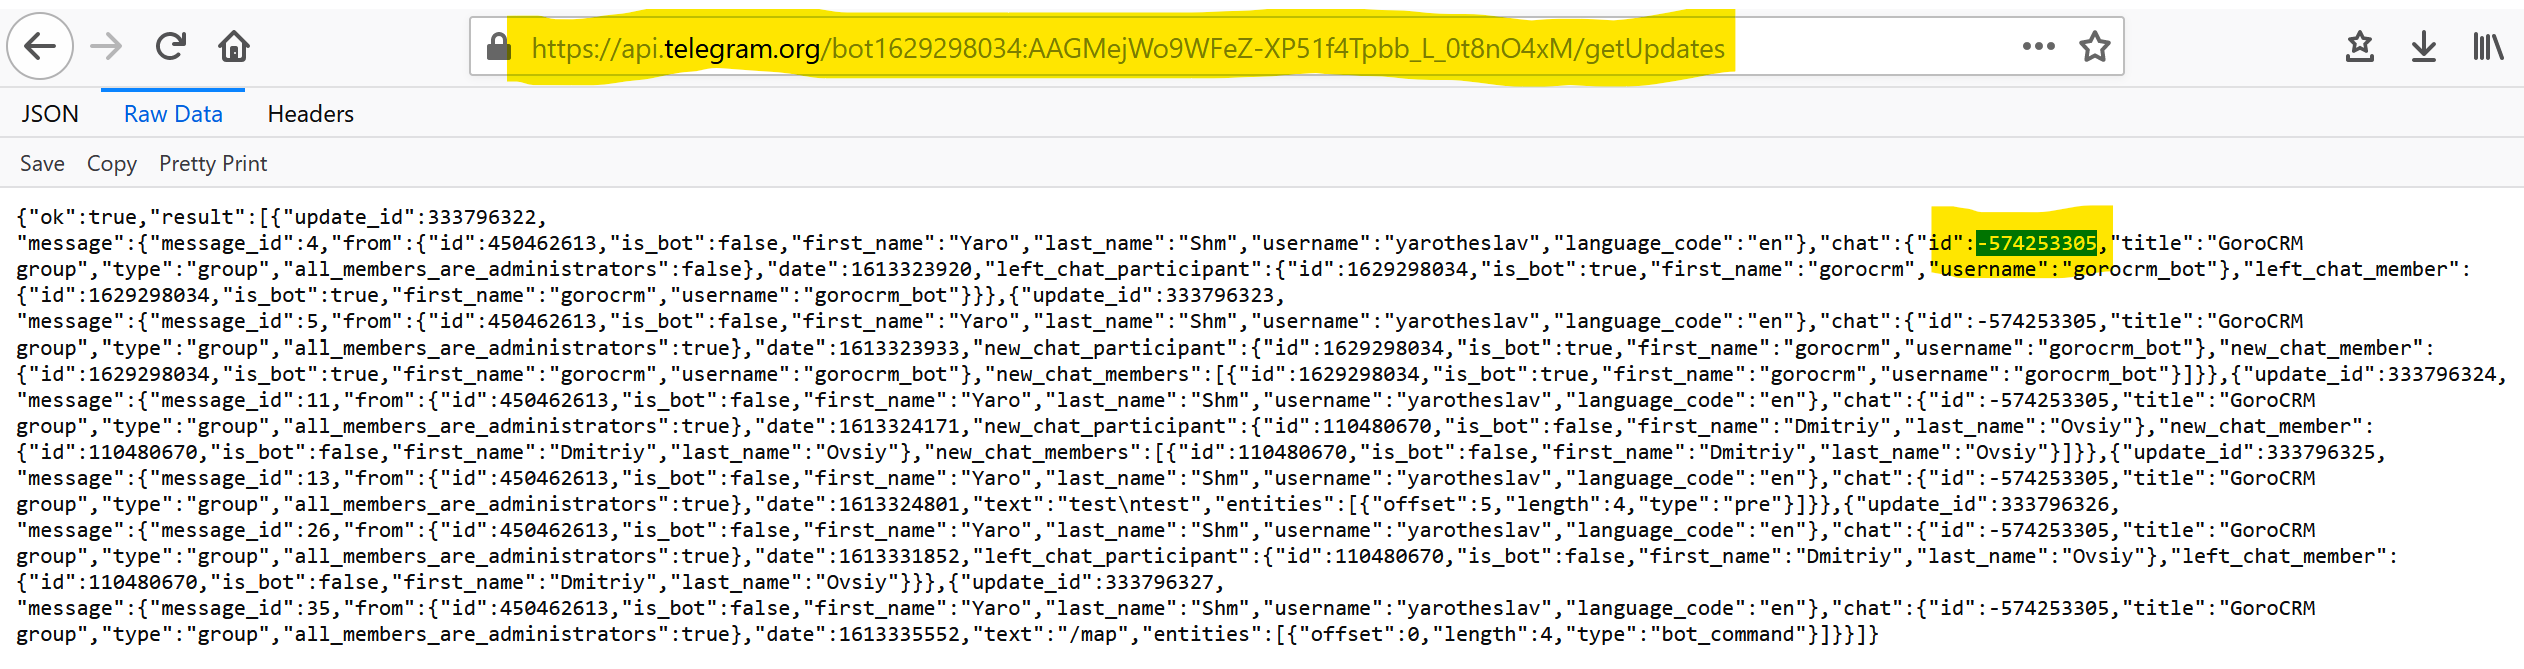 from the request we will see the group id: