 Start a blog with Jekyll and Github Pages for free
Are you even a developer, if you don’t use Git and Markdown for your blog?
JekyllRb is a static site generator. I use Jekyll for this blog. With Jekyll you can use Git and Markdown for creating your blog. Jekyll also has many extensions (libraries).
Github pages allows you host static sites for free.
To host Jekyll on Github pages and render the website on your own domain:
1. create a github repo. #
2. create a jekyll website (follow the docs), push to repo. #
3. deploy on your own domain #
First, verify a domain with Github
Update DNS settings of your domain name:
| Type | Host | Value |
|---|---|---|
| TXT | _github… | code… |
View active DNS settings via terminal:
dig CORSEGO.COM +noall +answer -t A
3.1. Host on root (apex) domain & WWW #
Assuming I want to host my website on the corsego.com domain.
In DNS settings, set CNAME to www & @. You need both.
Value = your github handle + .github.io.
| Type | Host | Value |
|---|---|---|
| CNAME | @ | yshmarov.github.io. |
| CNAME | www | yshmarov.github.io. |
| TXT | _github-pages-… | vgwemr4fi24f23 |
In your code repo, create a file named CNAME and add your domain name with www:
File CNAME
www.corsego.com
Example:

In Github Pages settings should look more-less like this:

To trigger deploy, in the Page settings tab you can toggle branch & click “Save”. Wait for the DNS to be verified. Click on Enforce HTTPS checkbox.
This can take 10-15 minutes
3.2. deploy on a subdomain #
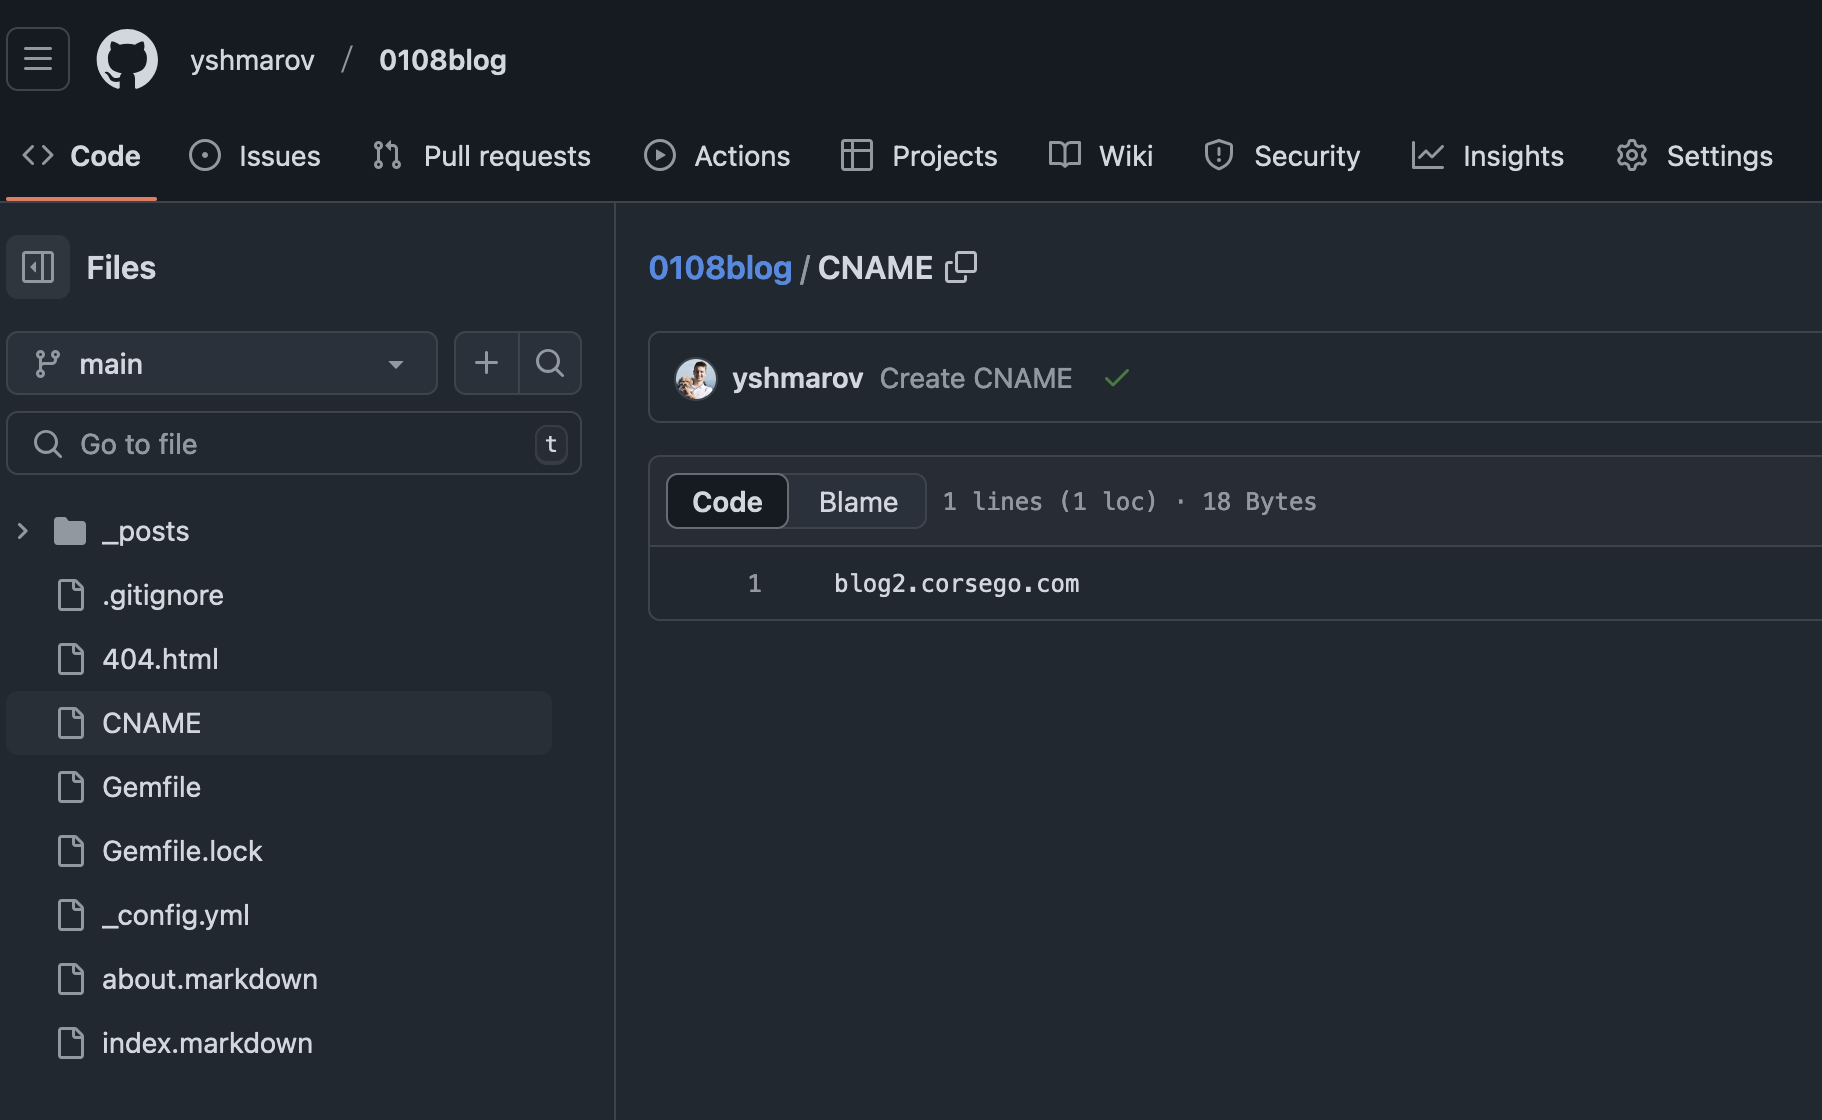
Assuming I want to host my website on the blog2 subdomain of corsego.com domain
File CNAME
blog2.corsego.com
DNS settings:
| Type | Host | Value |
|---|---|---|
| CNAME | blog2 | yshmarov.github.io. |
| TXT | _github-pages-… | vgwemr4fi24f23 |
5. Finish #
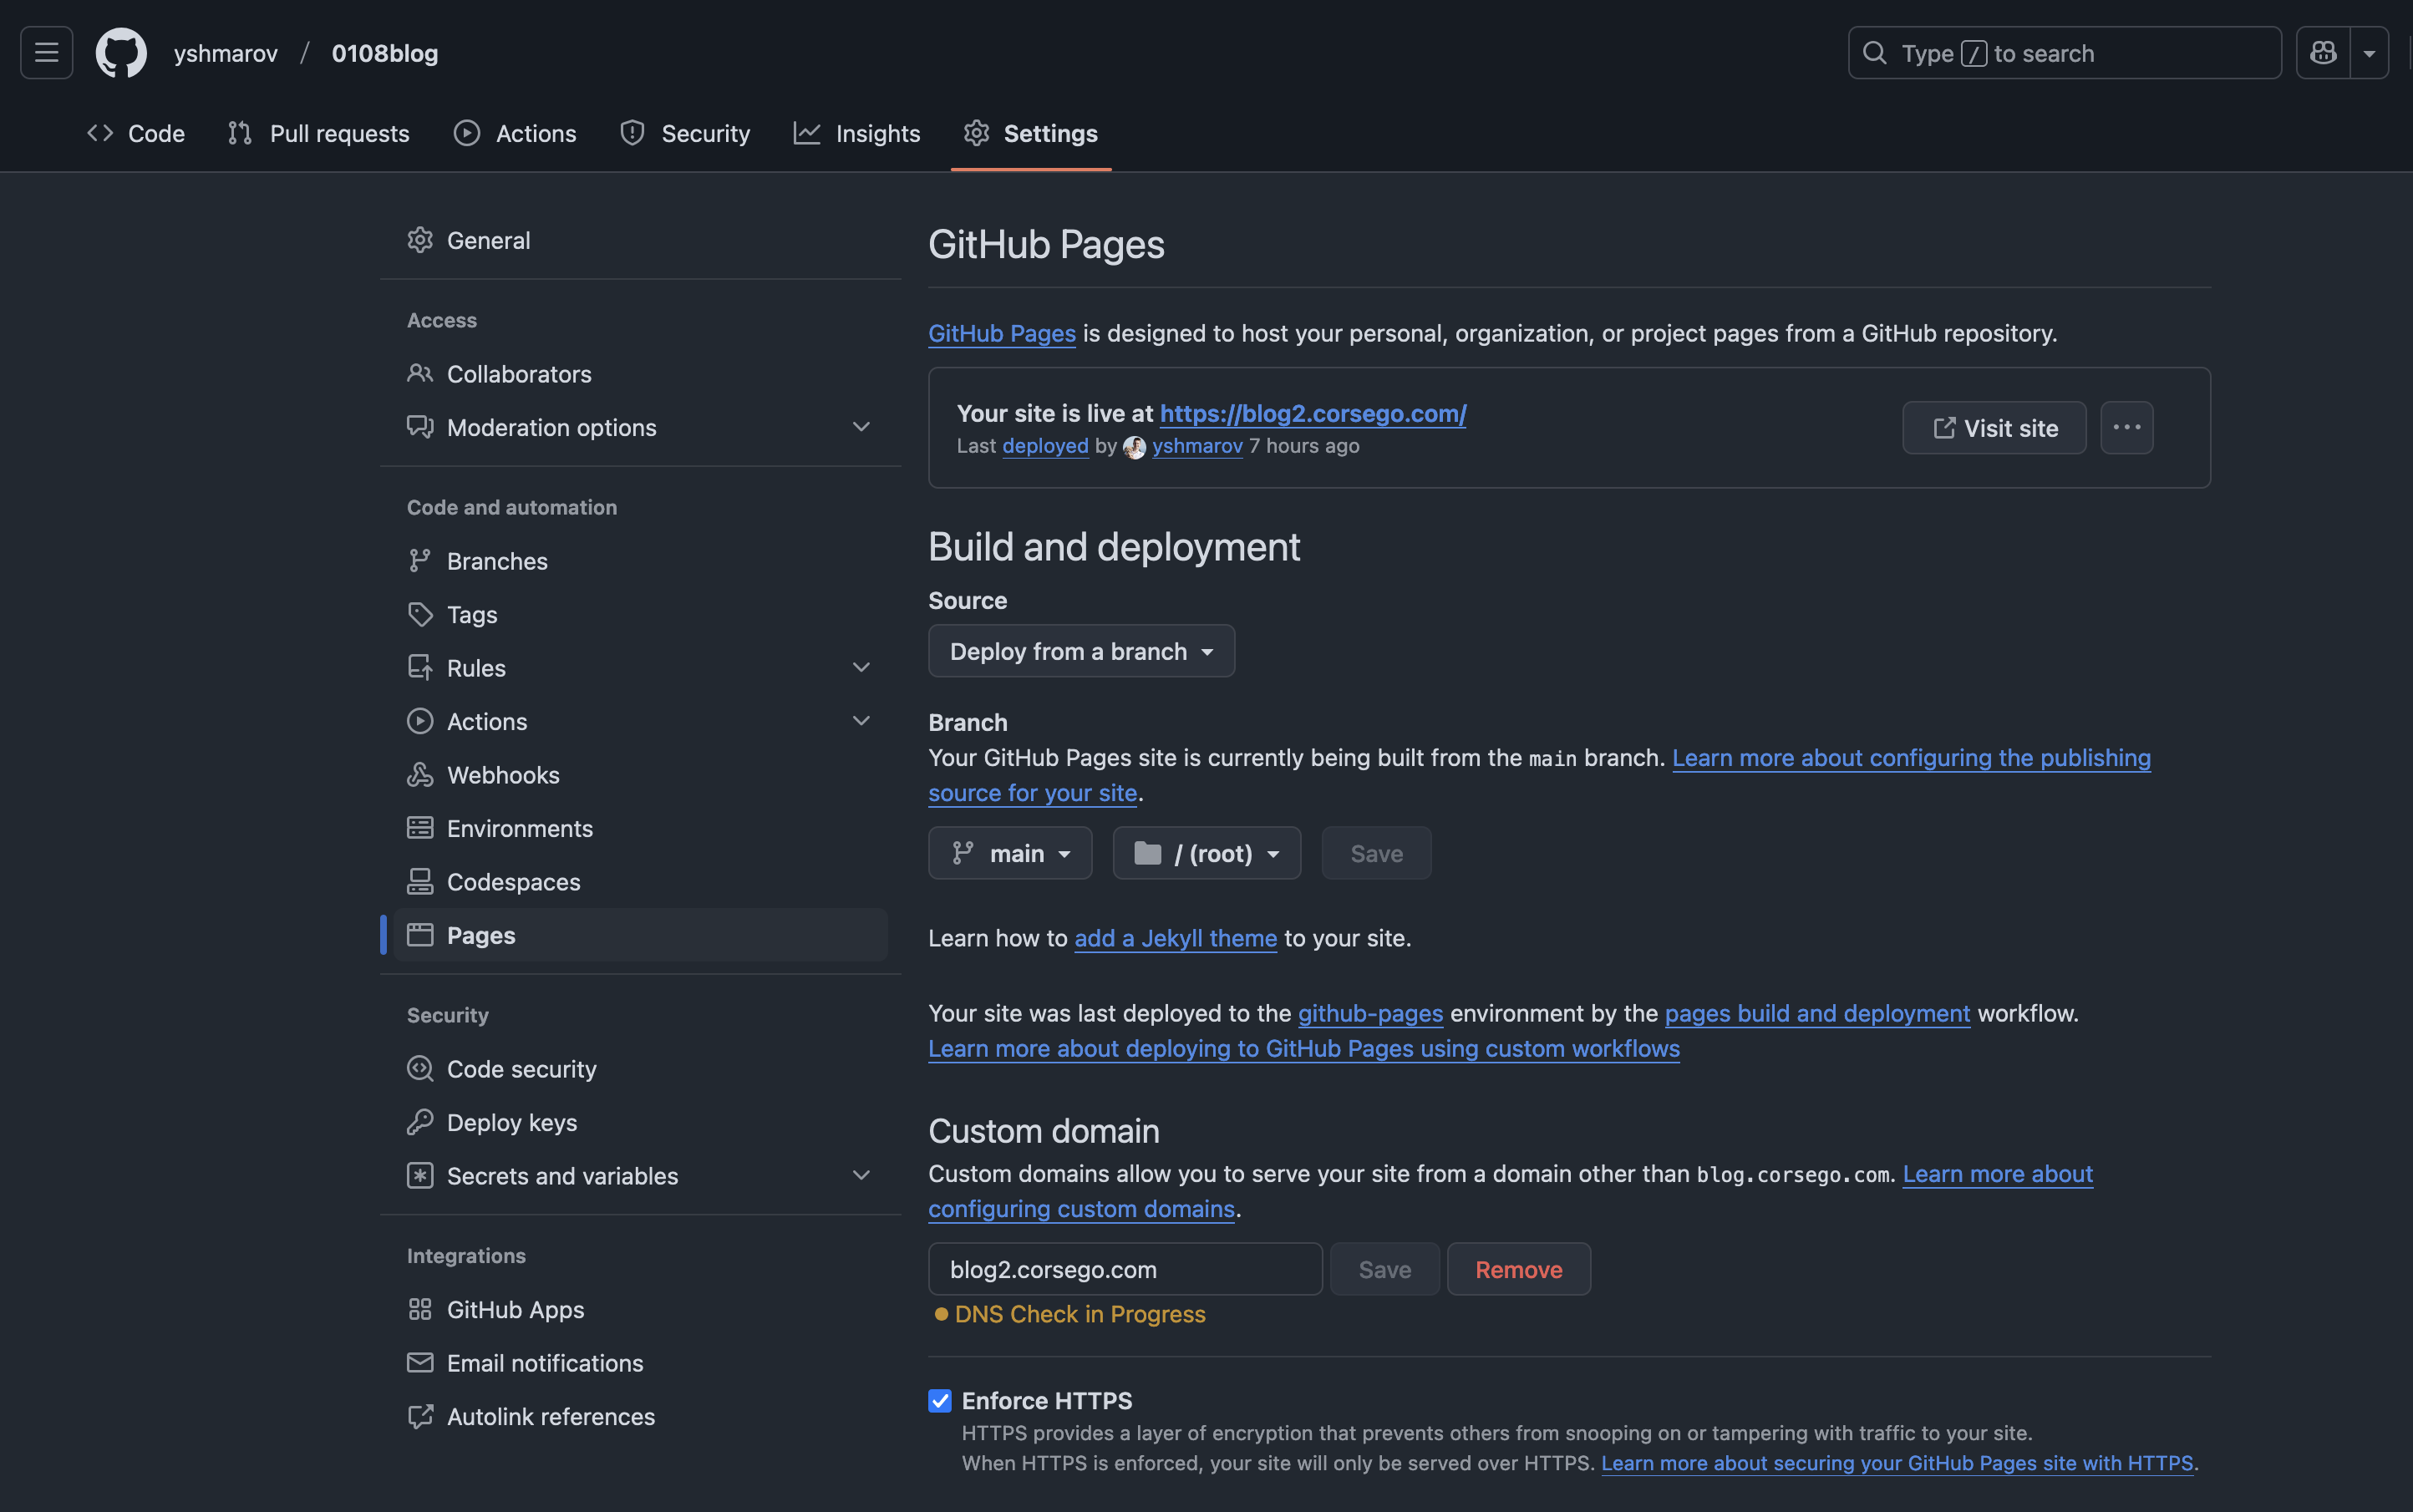
The page settings should look more-less like this:

Good luck with your blog!
Did you like this article? Did it save you some time?
