 Omniauth with Microsoft (Azure Active Directory)
While @google emails are popular among tech startups, most corporations use Microsoft to manage their employees email addresses. These companies often want to enable their employees to single-sign-on to work-related services with their Microsoft account.
Previously I’ve written about setting up omniauth with Github.
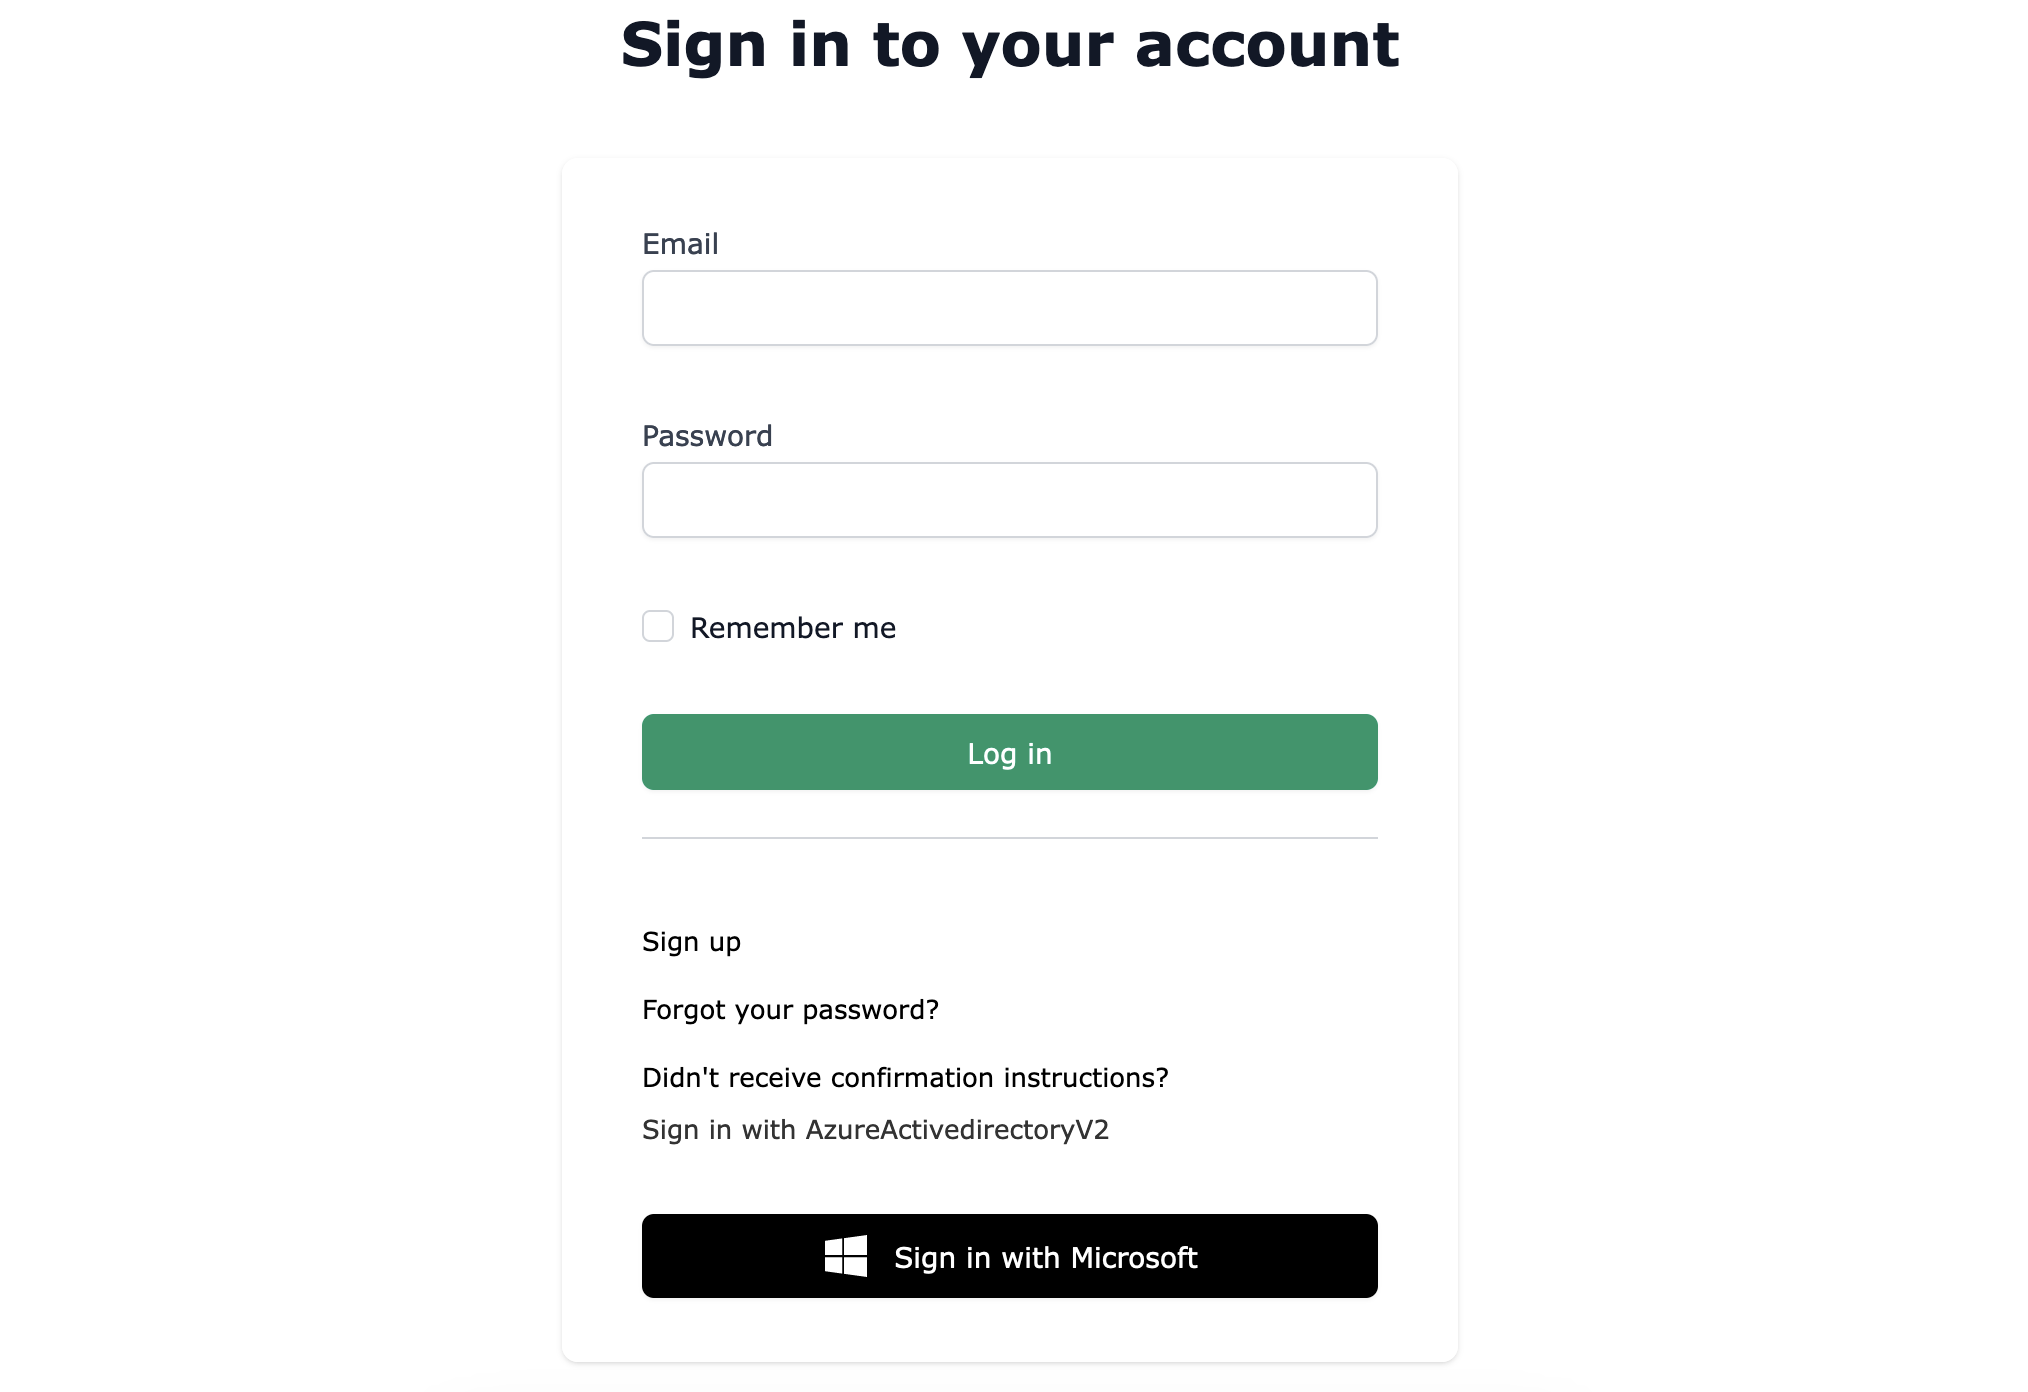
Now, let’s add a “Sign in with Microsoft” button:
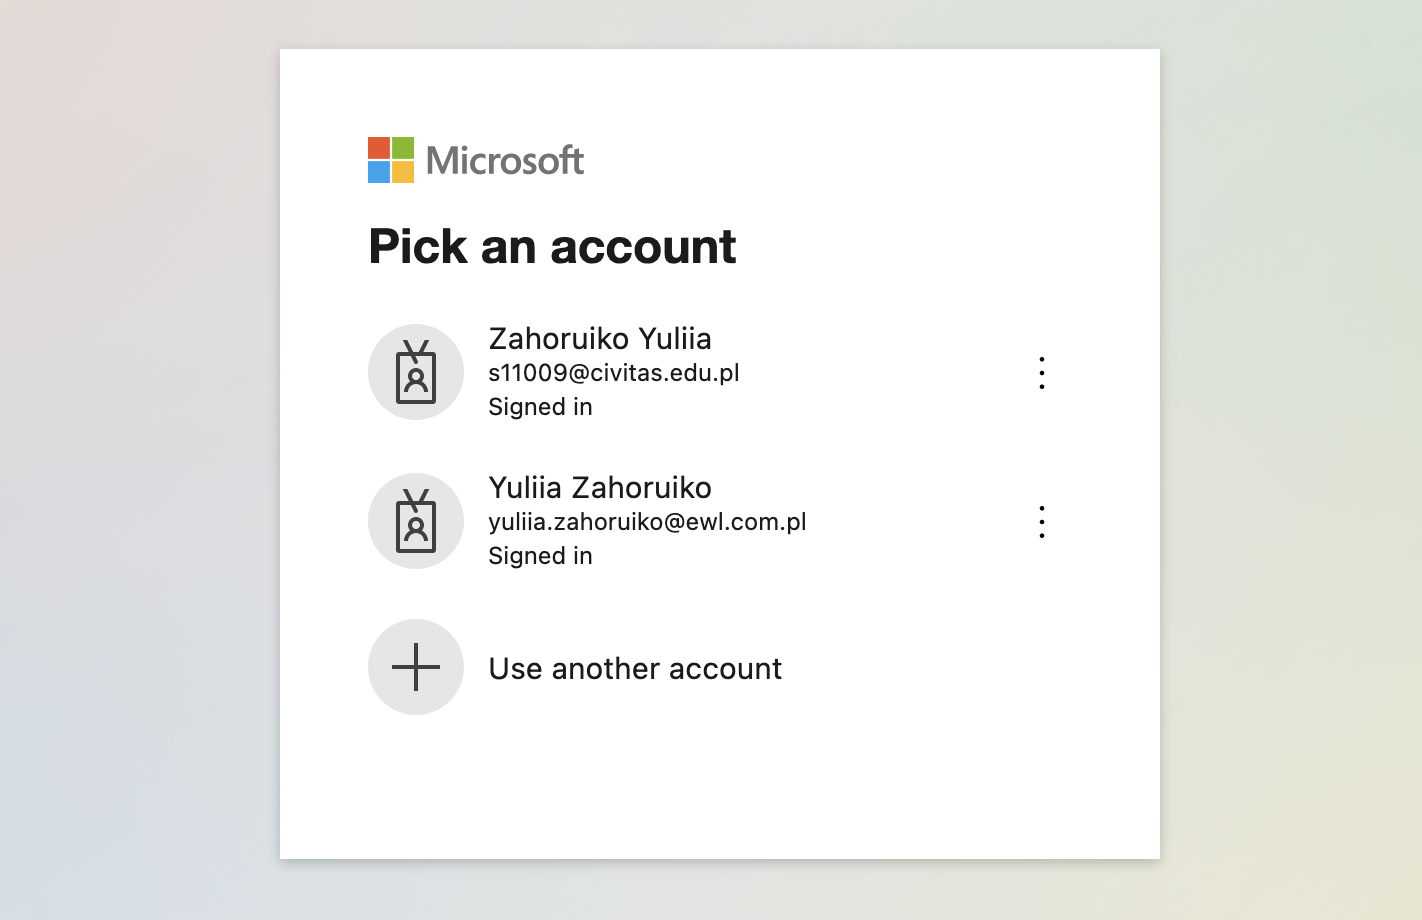
After clicking the button, the user will be prompted to authenticate with one of his Microsoft accounts:
The approach is more-less similar for any omniauth provider. However I think the hardest part is navigating provider dashboards, getting valid API keys, registering your app, enabling the app in production 😬.
1. Get Microsoft oAuth API keys #
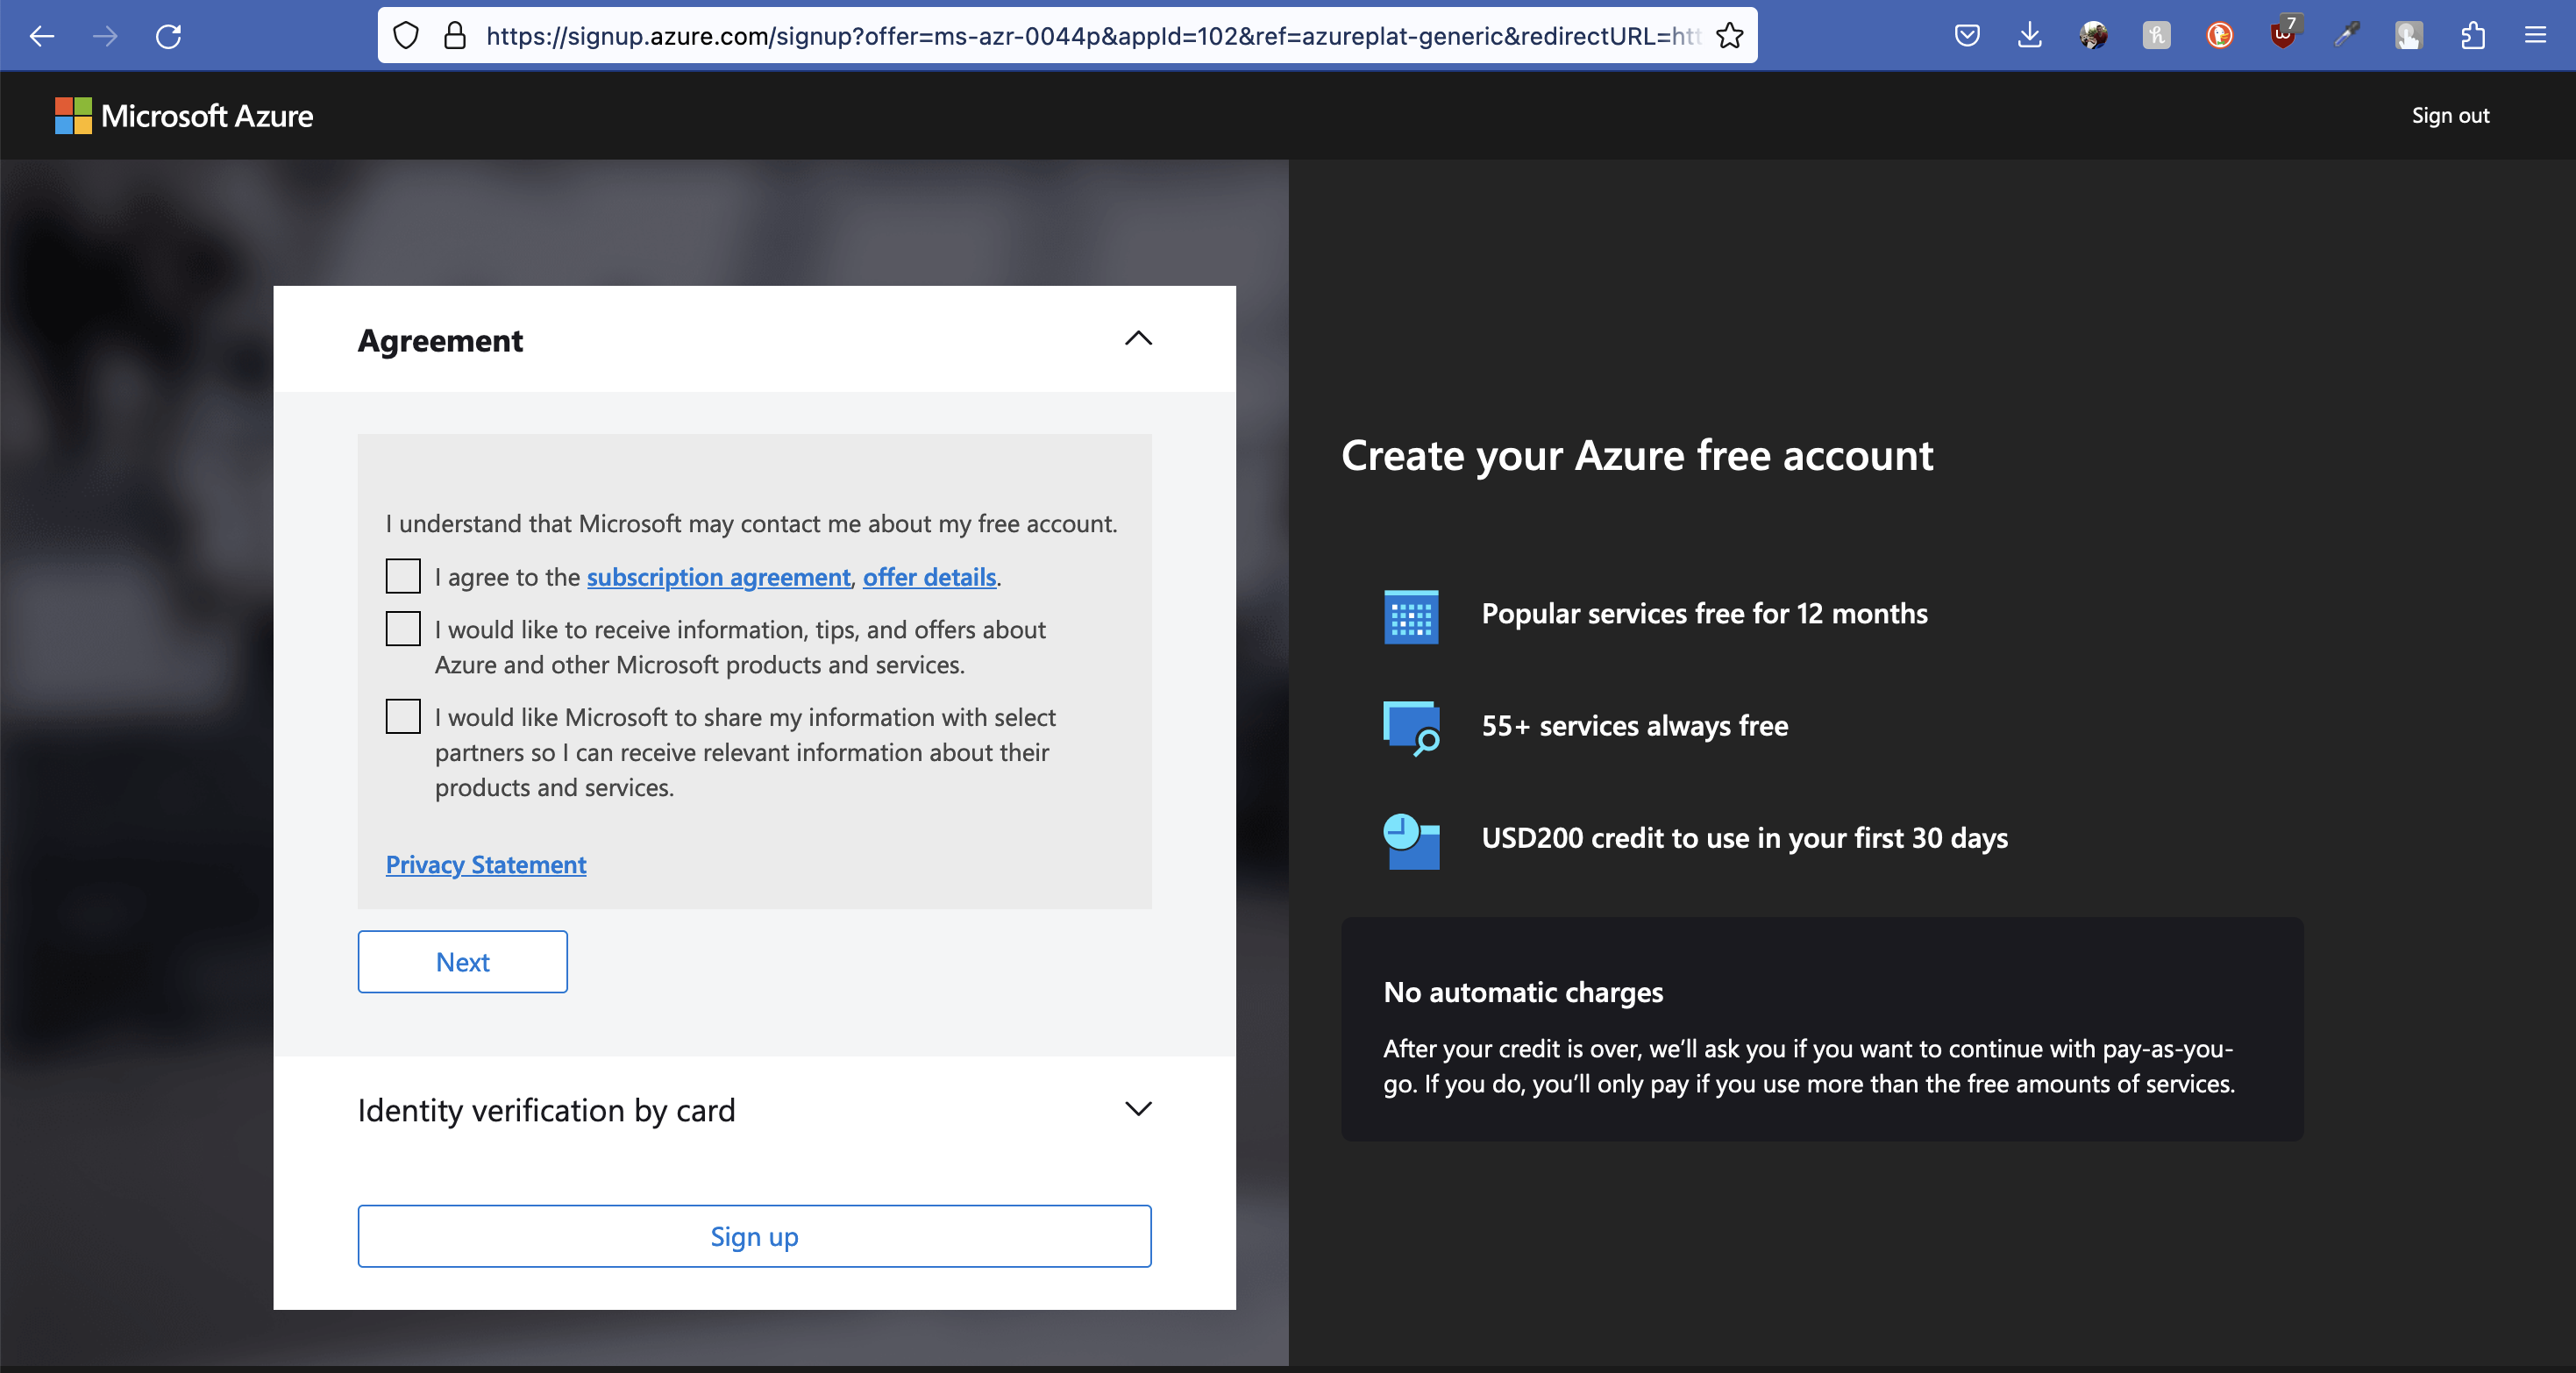
First, create a Microsoft Azure account and connect a credit card. When I created my account, I was granted ±200$ in credits for 1 year. That’s enough to experiement with the platform.
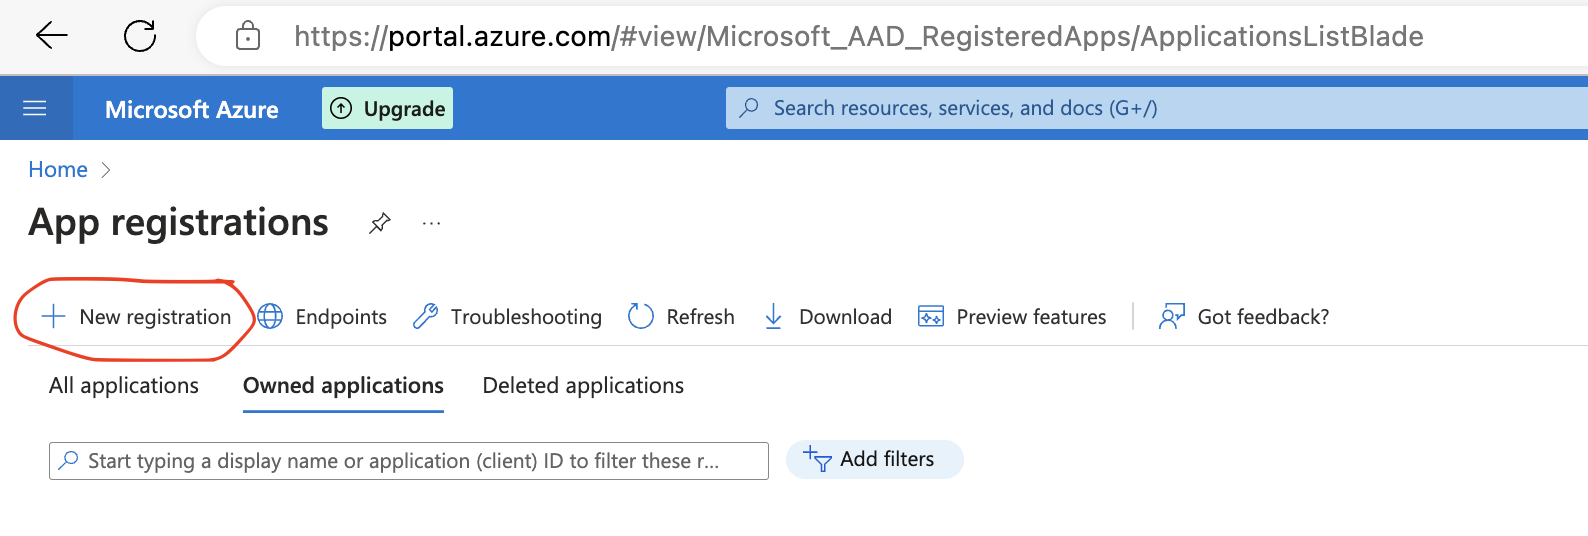
Find and open “app registration”:

Click “new registration”:
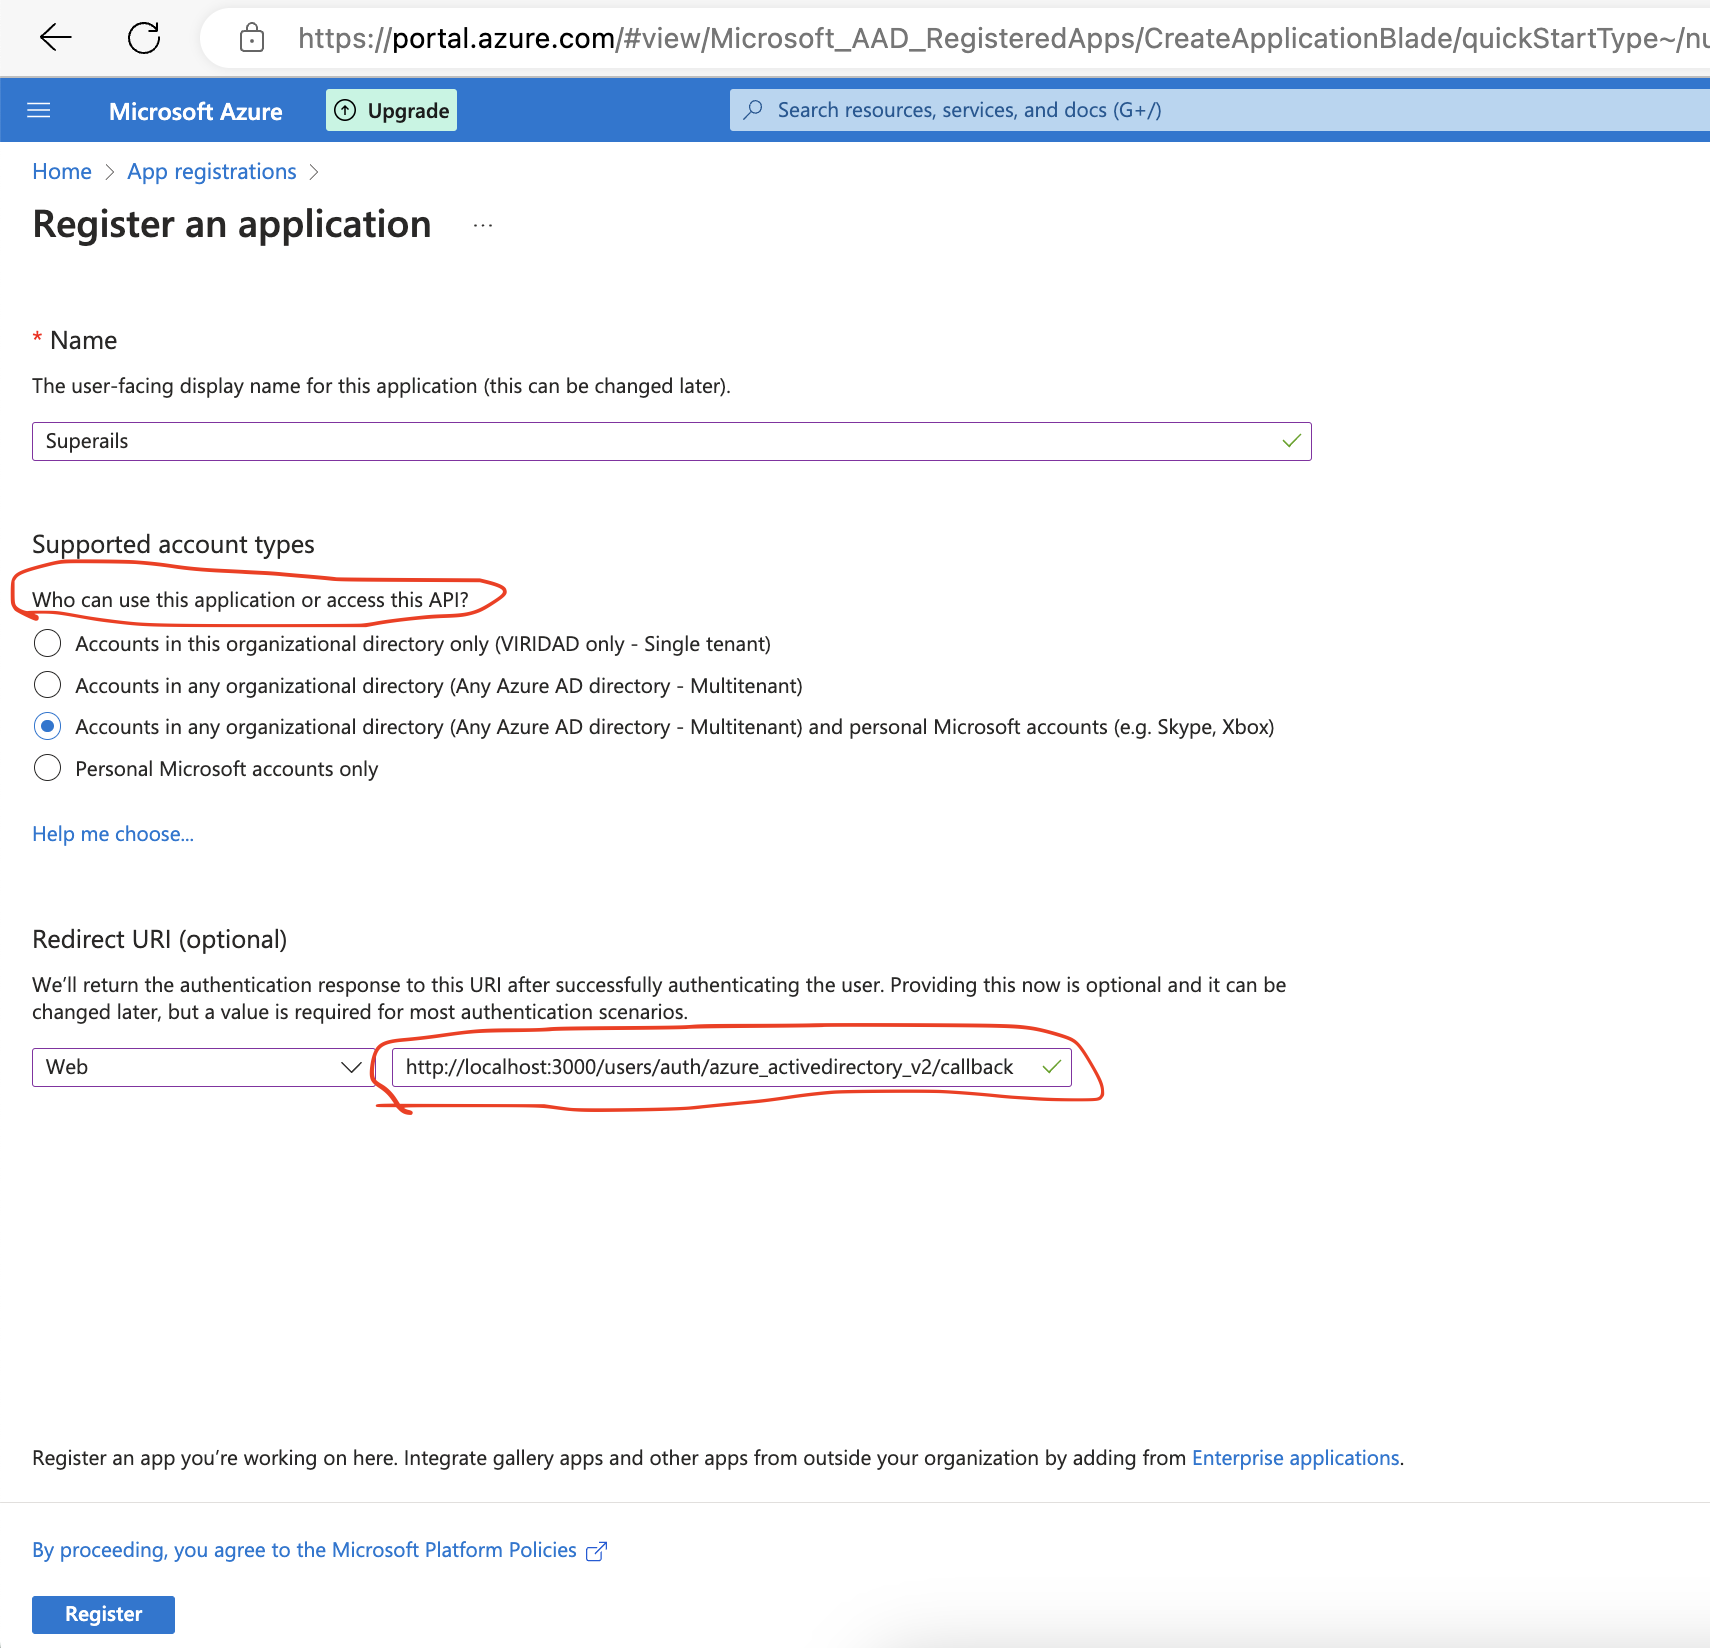
Input your app name;
Important: Select supported account types. When you are building a B2B app, often you will want to let only email accounts provided by an organization to access your app. This filters out some lurkers and spies.
Redirect URI for localhost should be http://localhost:3000/users/auth/azure_activedirectory_v2/callback
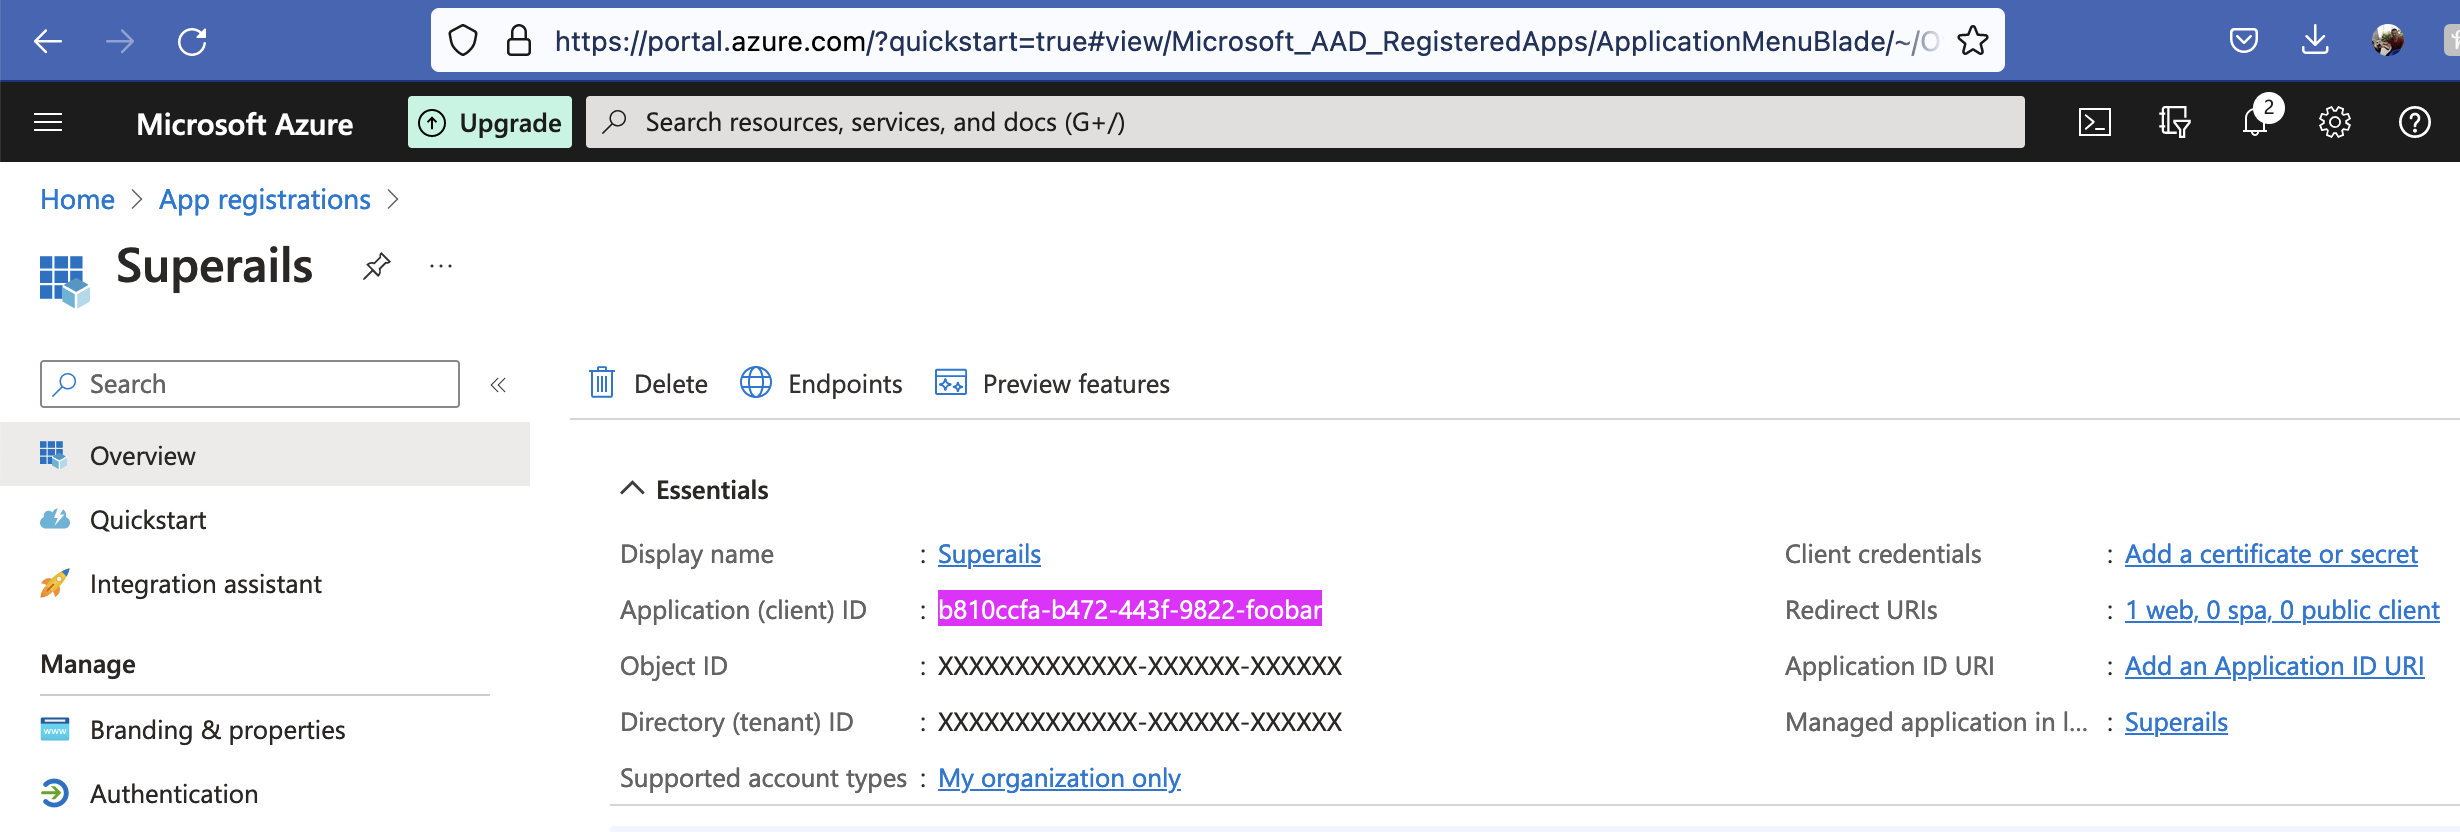
Success! You’ve created an app! Now you see your client_id for omniauth:
Generate a client_secret. Copy the value.
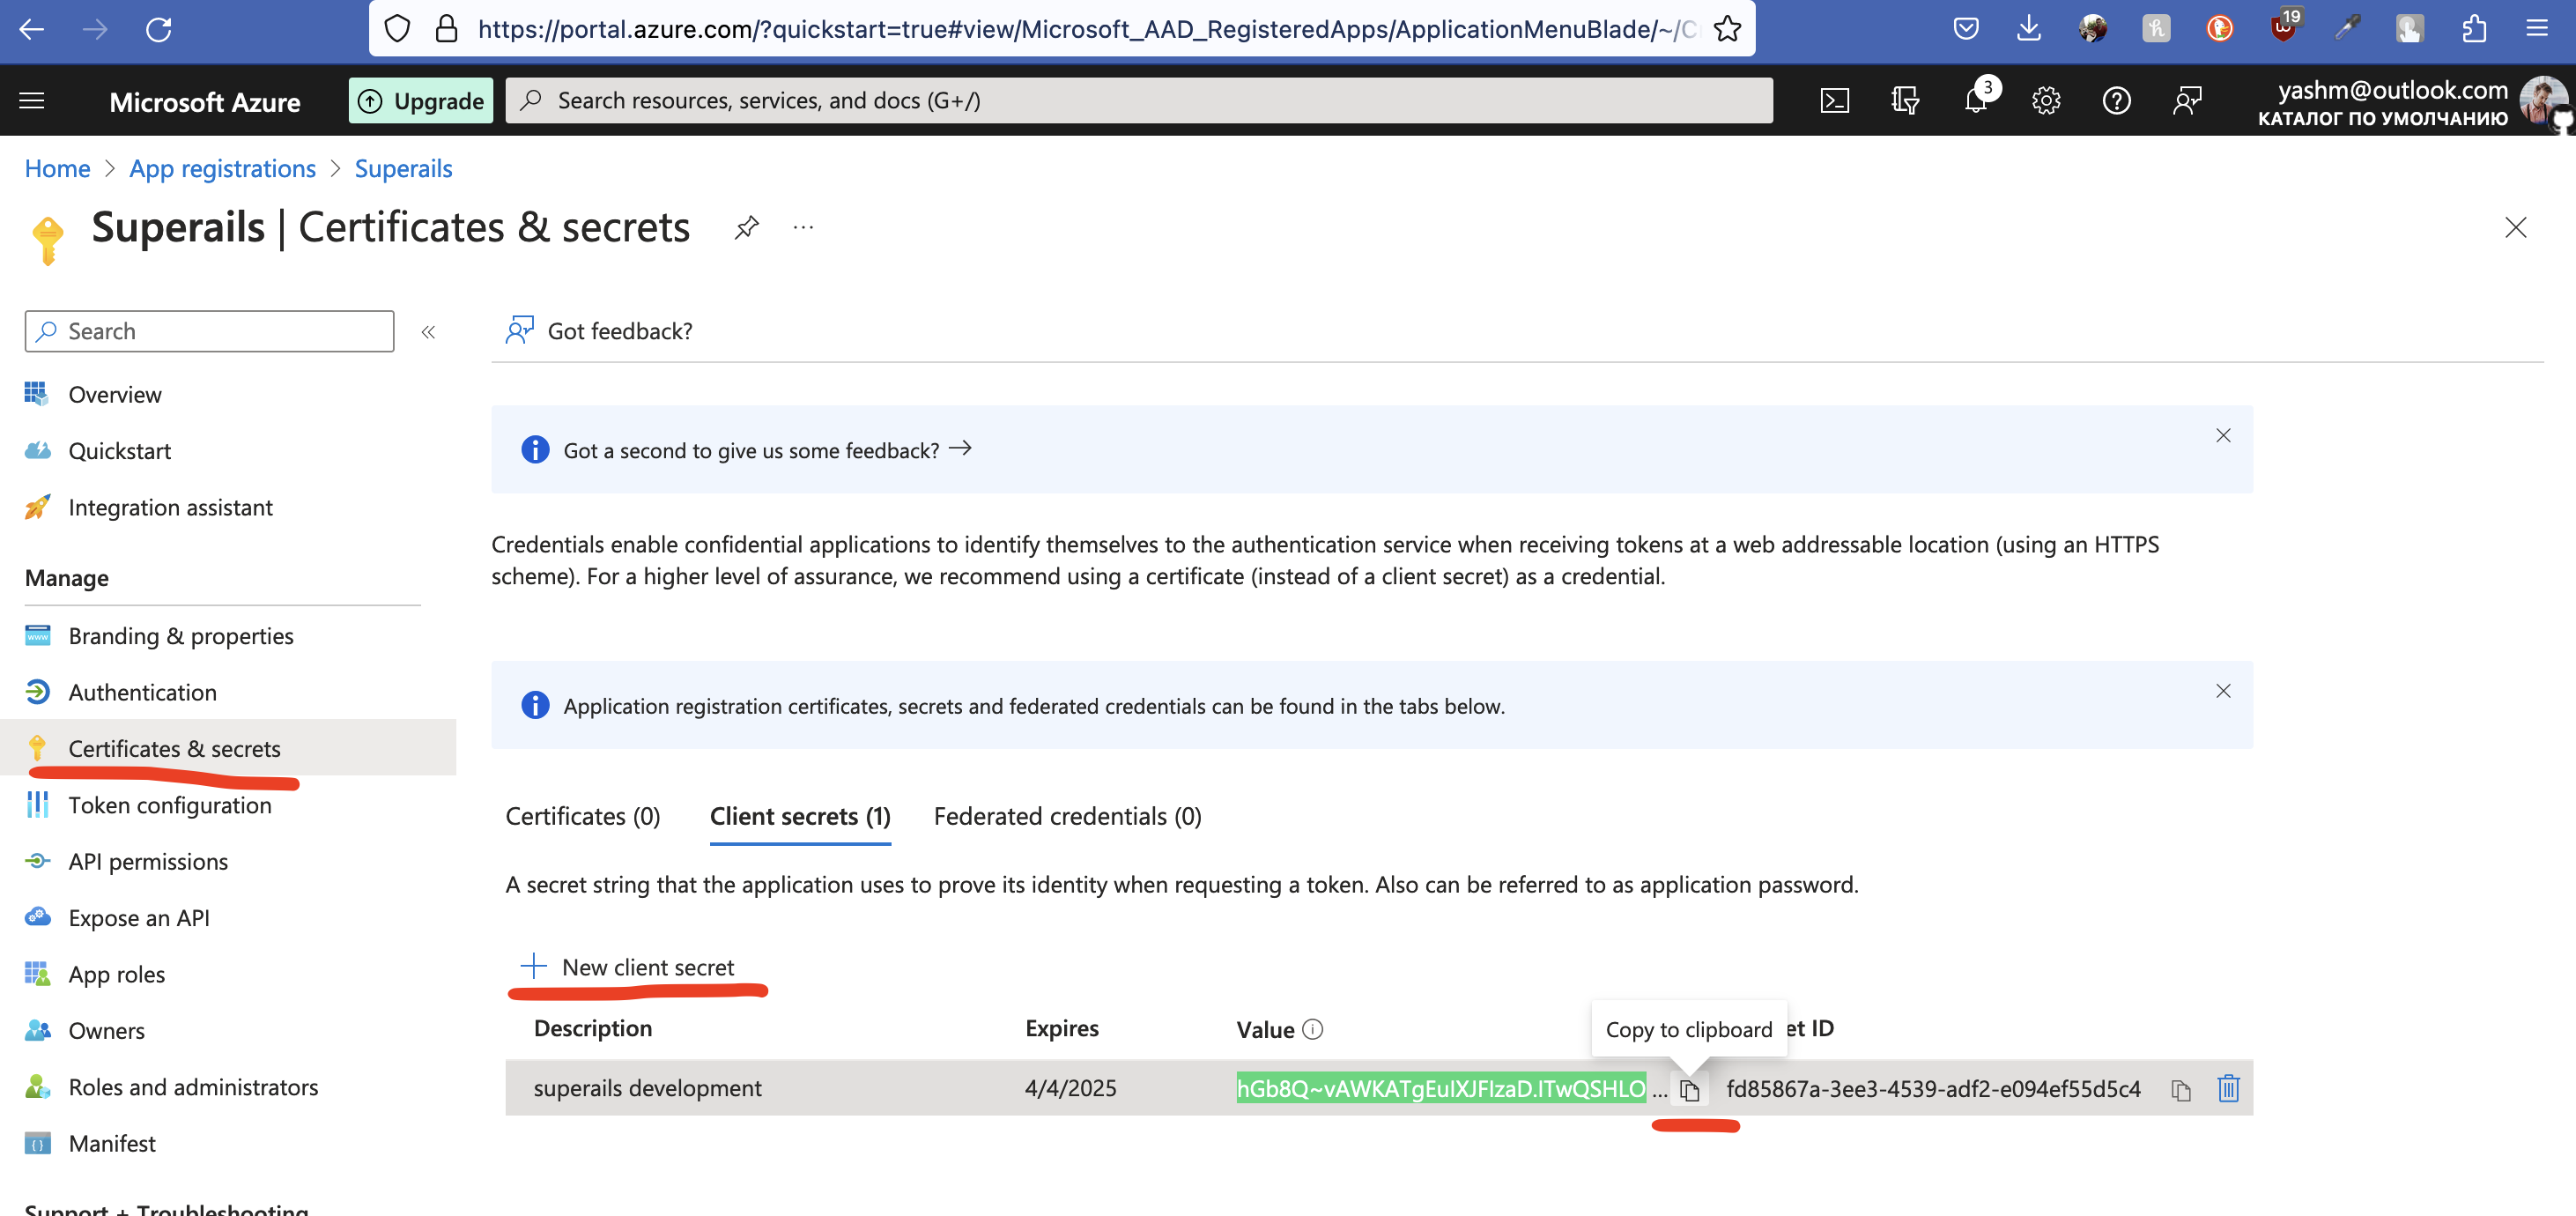
I suggest storing them in Rails credentials as:
microsoft_oauth:
  client_id: b810ccfa...
  client_secret: hGb8Q...
3. Configure your Rails app #
If you don’t want to use devise, see how to add omniauth without devise.
Here we assume that you already use Devise.
First, install the gem “omniauth-azure-activedirectory-v2”:
# Gemfile
gem 'omniauth-azure-activedirectory-v2'
gem 'omniauth-rails_csrf_protection'
Add the generated API keys to your app:
# config/initializers/devise.rb
config.omniauth :azure_activedirectory_v2,
  client_id: Rails.application.credentials.dig(:microsoft_oauth, :client_id),
  client_secret: Rails.application.credentials.dig(:microsoft_oauth, :client_secret)
Afterwards, it’s the same process as for any other omniauth provider:
# app/models/user.rb
devise :omniauthable, omniauth_providers: [:azure_activedirectory_v2]
# config/routes.rb
devise_for :users, controllers: { omniauth_callbacks: 'users/omniauth_callbacks' }
rails g migration add_oauth_attributes_to_users provider uid
rails db:migrate
# app/controllers/users/omniauth_callbacks_controller.rb
class Users::OmniauthCallbacksController < Devise::OmniauthCallbacksController
  def azure_activedirectory_v2
    data = request.env['omniauth.auth']['info']
    @user = User.where(email: data['email']).first
    @user ||= User.create(
      email: data['email'],
      password: Devise.friendly_token[0, 20],
      provider: request.env['omniauth.auth']['provider'],
      uid: request.env['omniauth.auth']['uid']
    )

    if @user.persisted?
      flash[:notice] = 'Welcome!'
      sign_in_and_redirect @user, event: :authentication
    else
      flash[:alert] = I18n.t 'Authentication failed, please try again.'
      redirect_to new_user_registration_url, notice: @user.errors.full_messages.join("\n")
    end
  end

  def failure
    redirect_to root_path, alert: 'Authentication failed, please try again.'
  end
end
# app/views/devise/shared/_links.html.erb
<%= button_to "Sign in with #{OmniAuth::Utils.camelize(provider)}", omniauth_authorize_path(resource_name, provider), method: :post, data: { turbo: "false" } %>
4. Troubleshooting #
If you get an unauthorized_client error, most likely the “supported account types” that you selected for your App registration don’t include your current account type.
To update it:
- In the sidebar, select Manifest.
- In the JSON code, find the
signInAudiencesetting. - Check whether the setting contains one of the following values:
AzureADMyOrgAzureADMultipleOrgsAzureADandPersonalMicrosoftAccountPersonalMicrosoftAccount
- Select the scope you need and Save.
That’s it!
Did you like this article? Did it save you some time?